Today’s session features my lovely client Benekar who needed professional portraits for branding purposes.
This personal branding session was captured at her home in Sonoma, Ca where we made an on-location studio to capture photos.
Headshots For Social Media & Author Bios
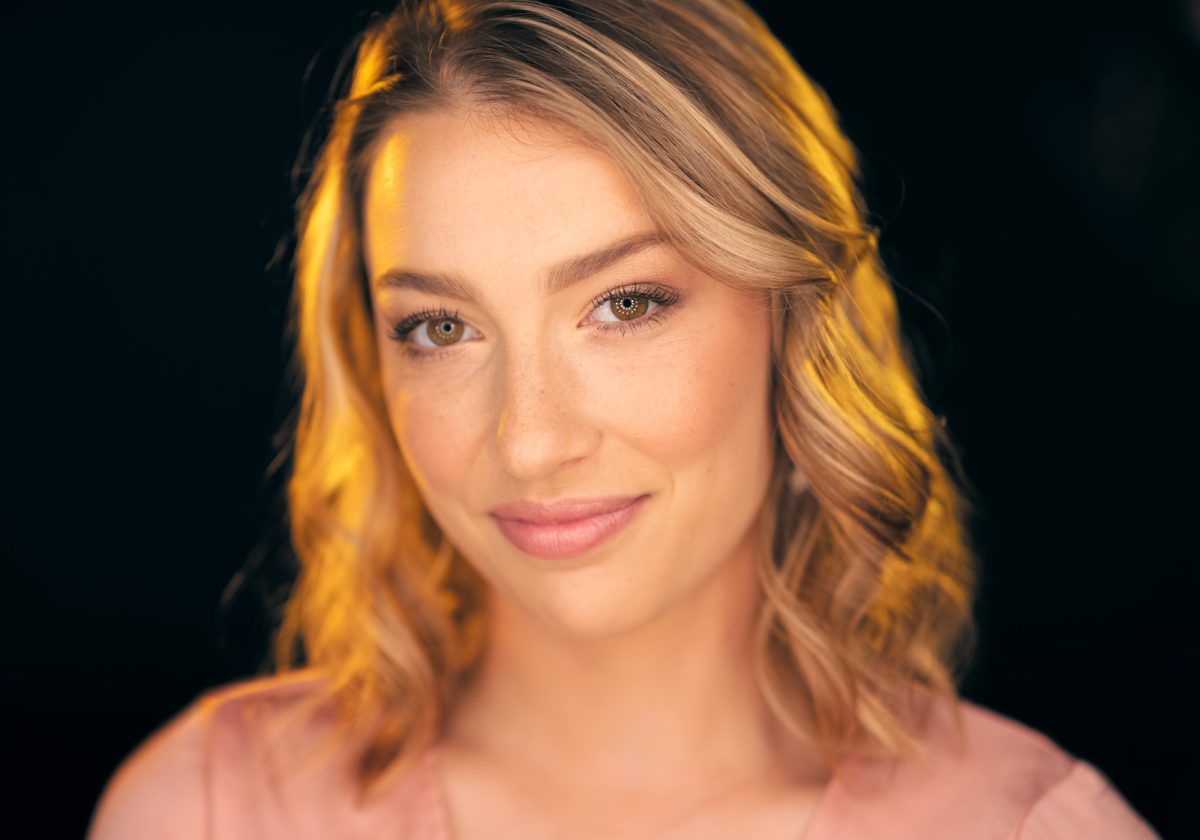
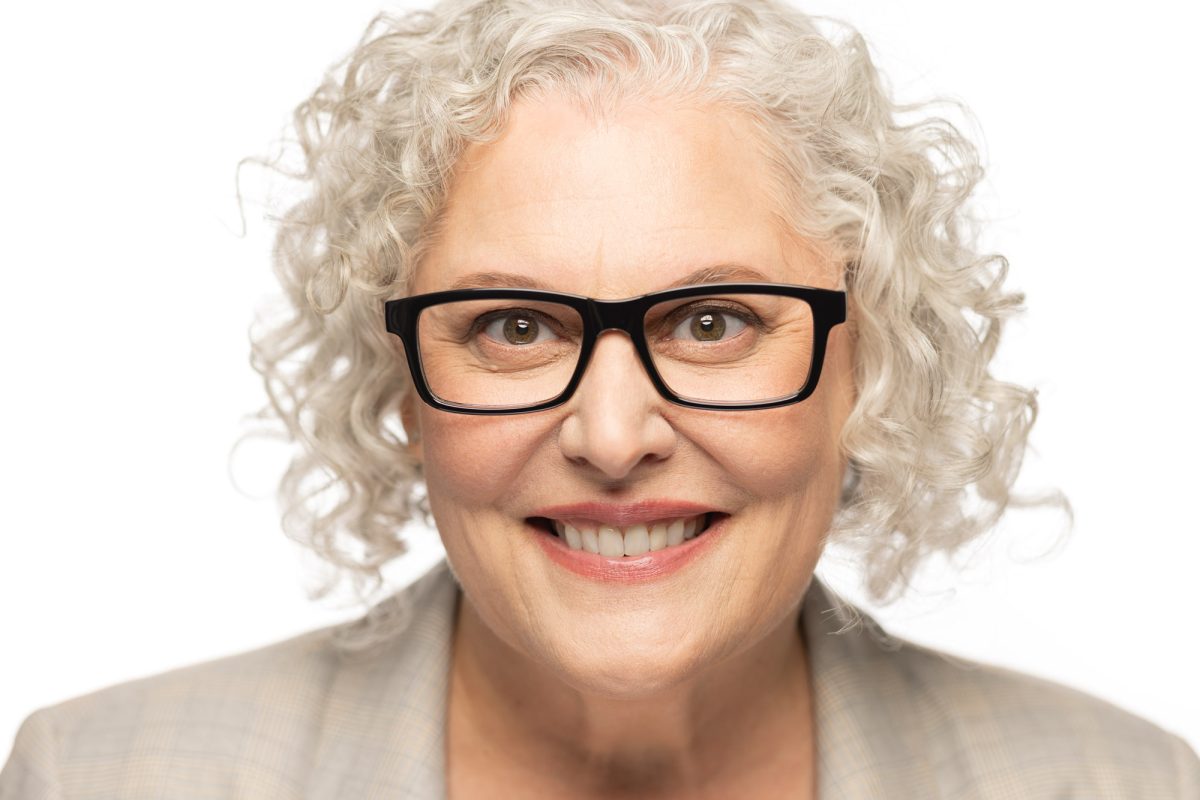
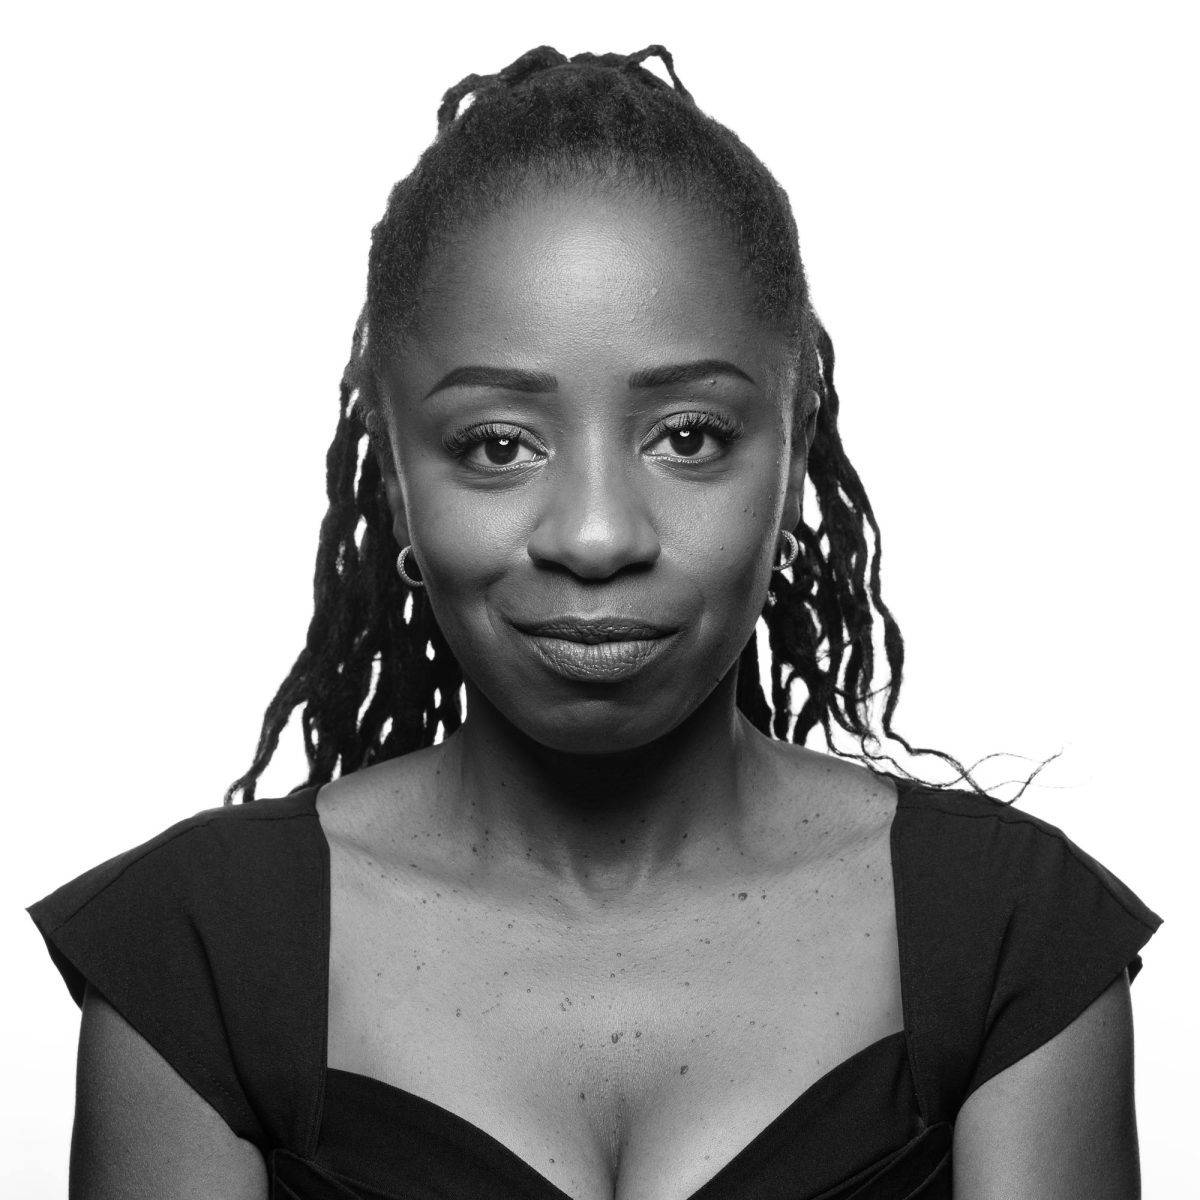
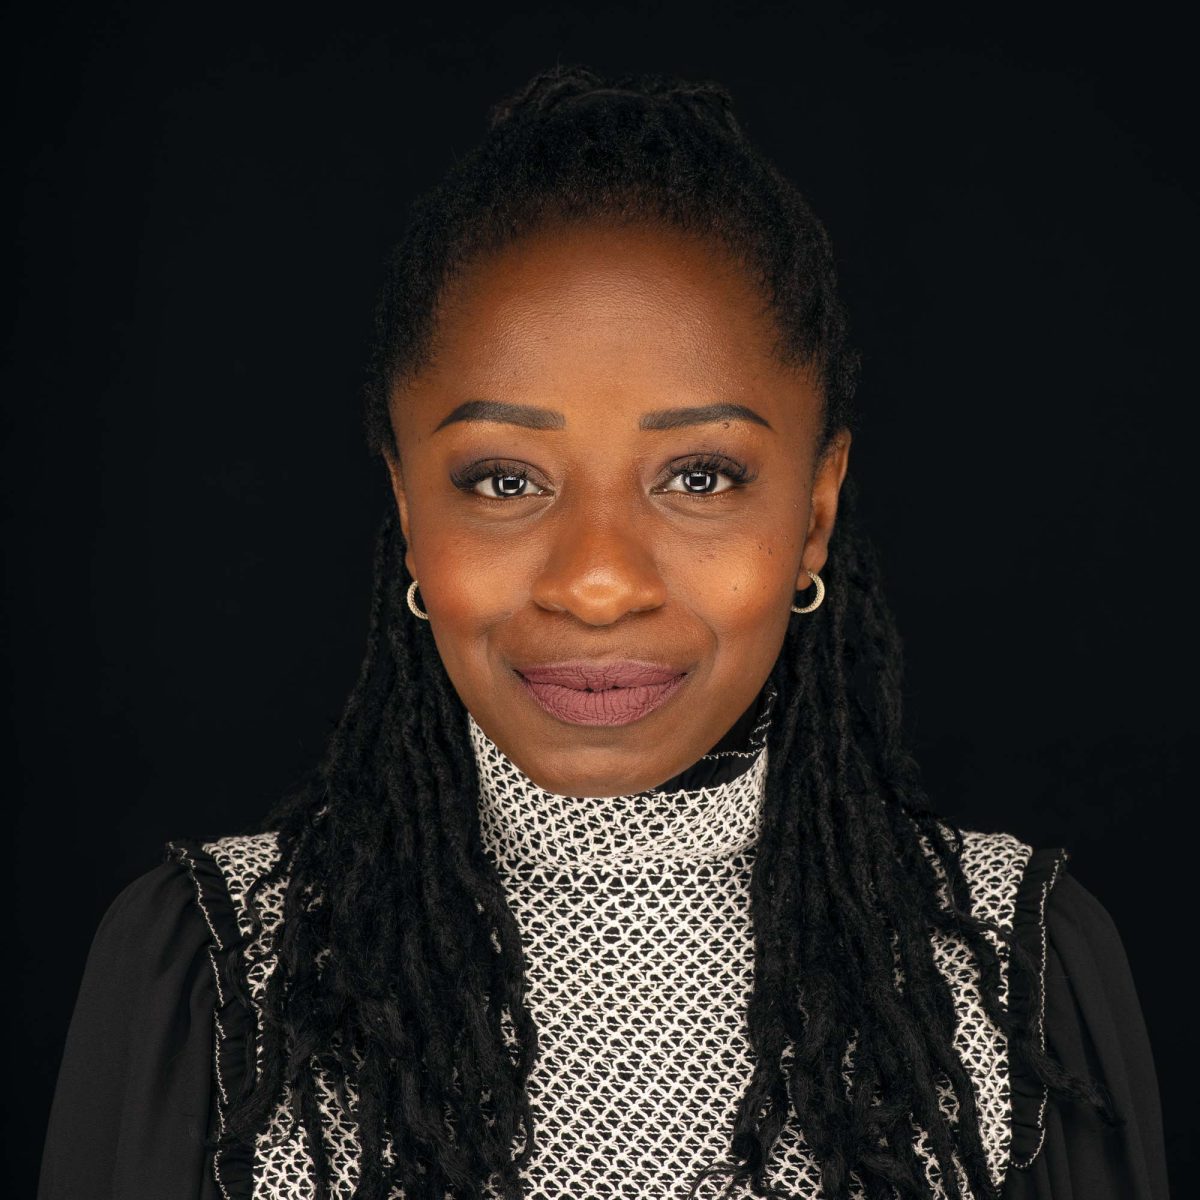
The first photos we captured from her session where some headshots she could use for her social channels and author bios. Benekar is both an MD and an author, so she wanted a few different looks she could deploy for different purposes.
For example she wanted a casual headshot that would connect with her patients as she’d see them on a daily basis. She also wanted some stylized headshots she could use as her author bio, in guest posts or as keynote portraits for industry events.

Personal Branding Portraits
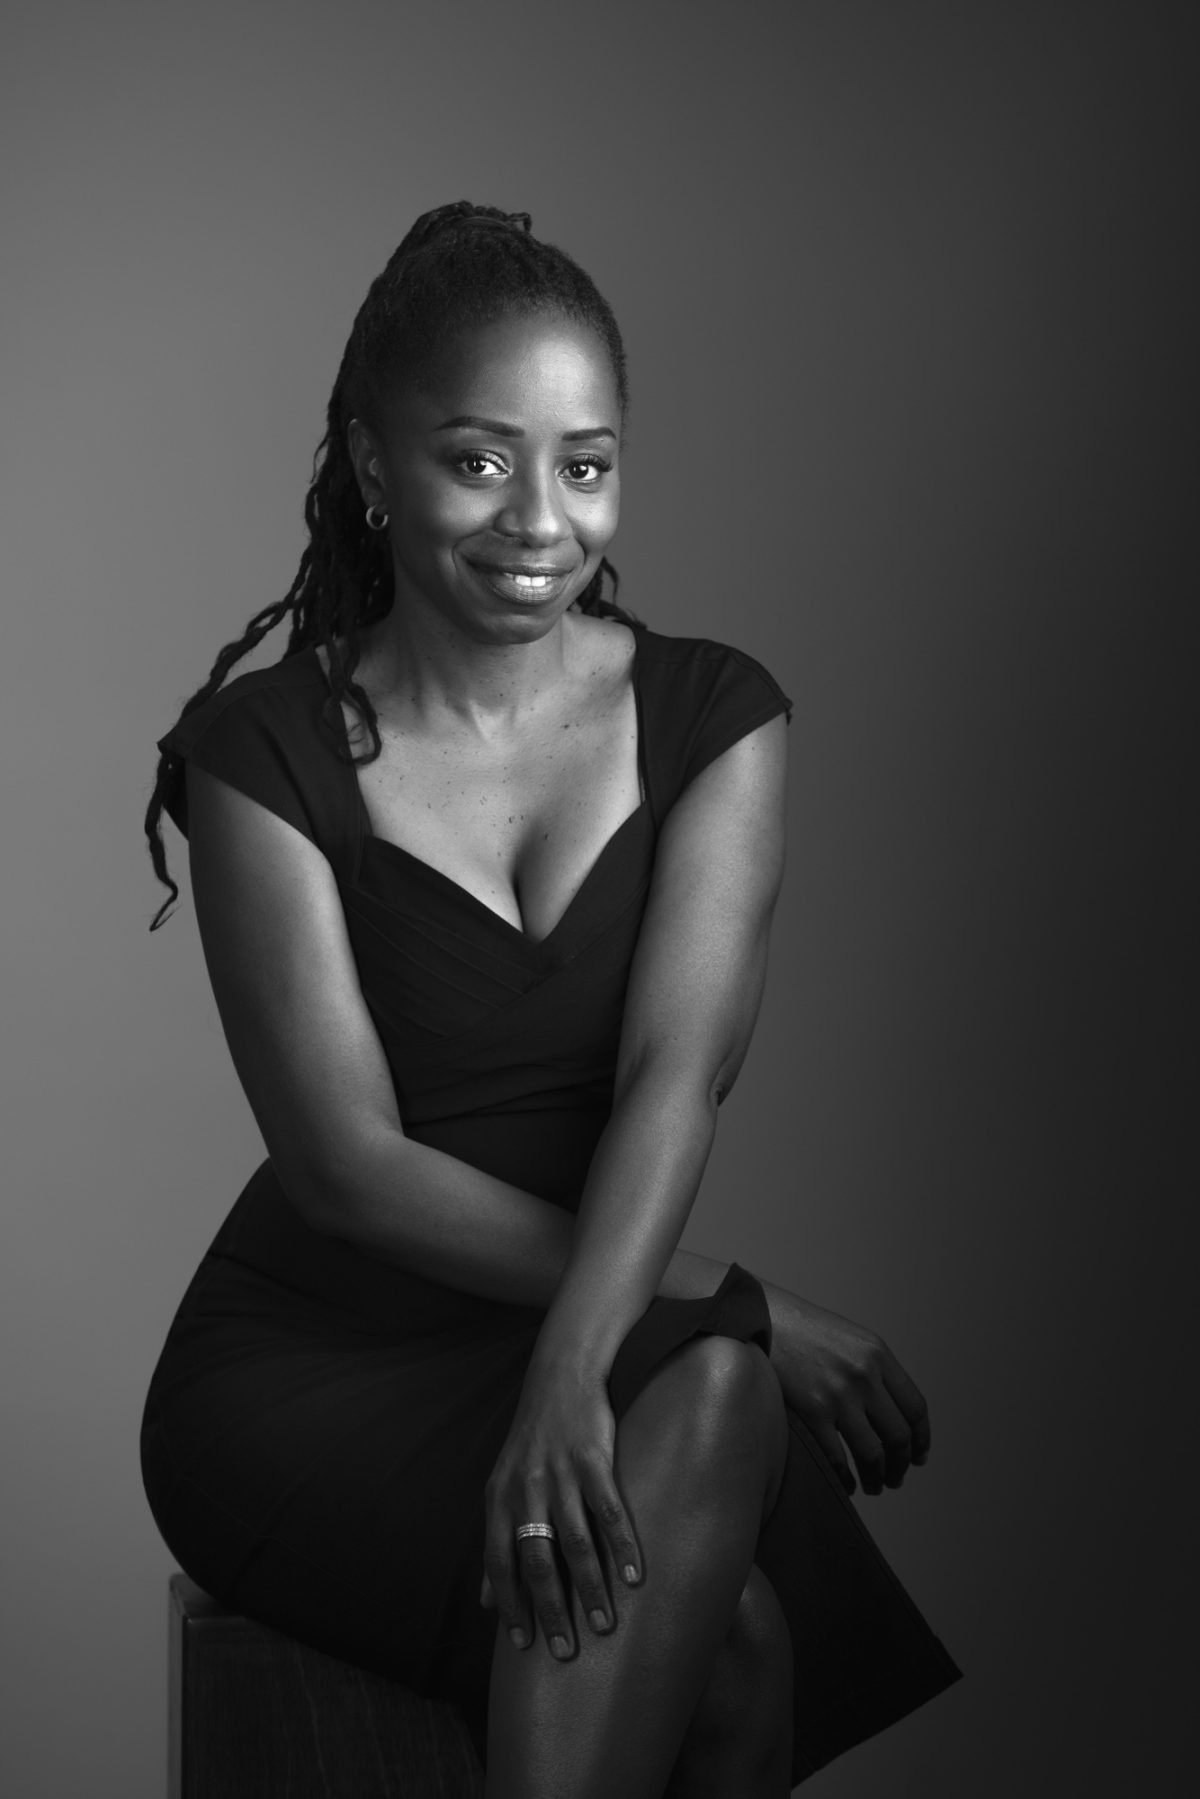
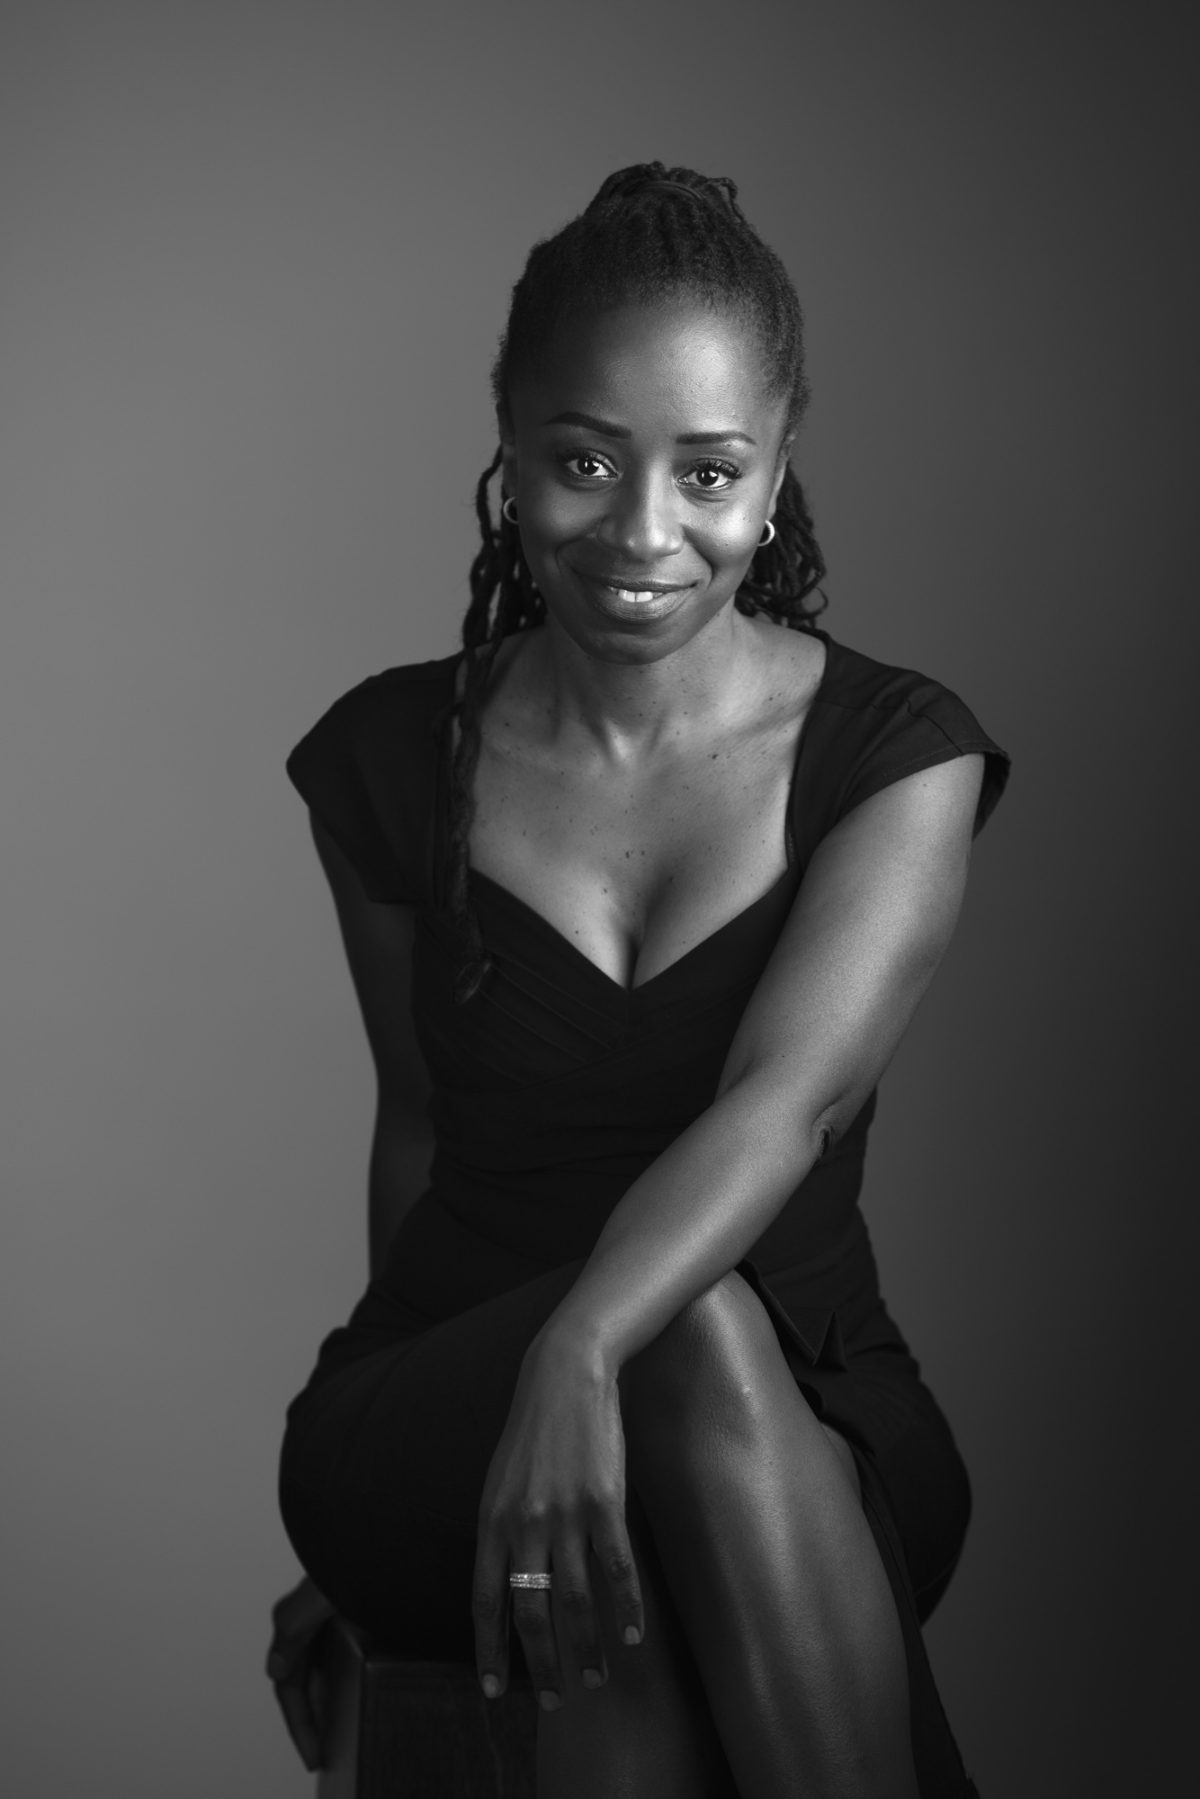
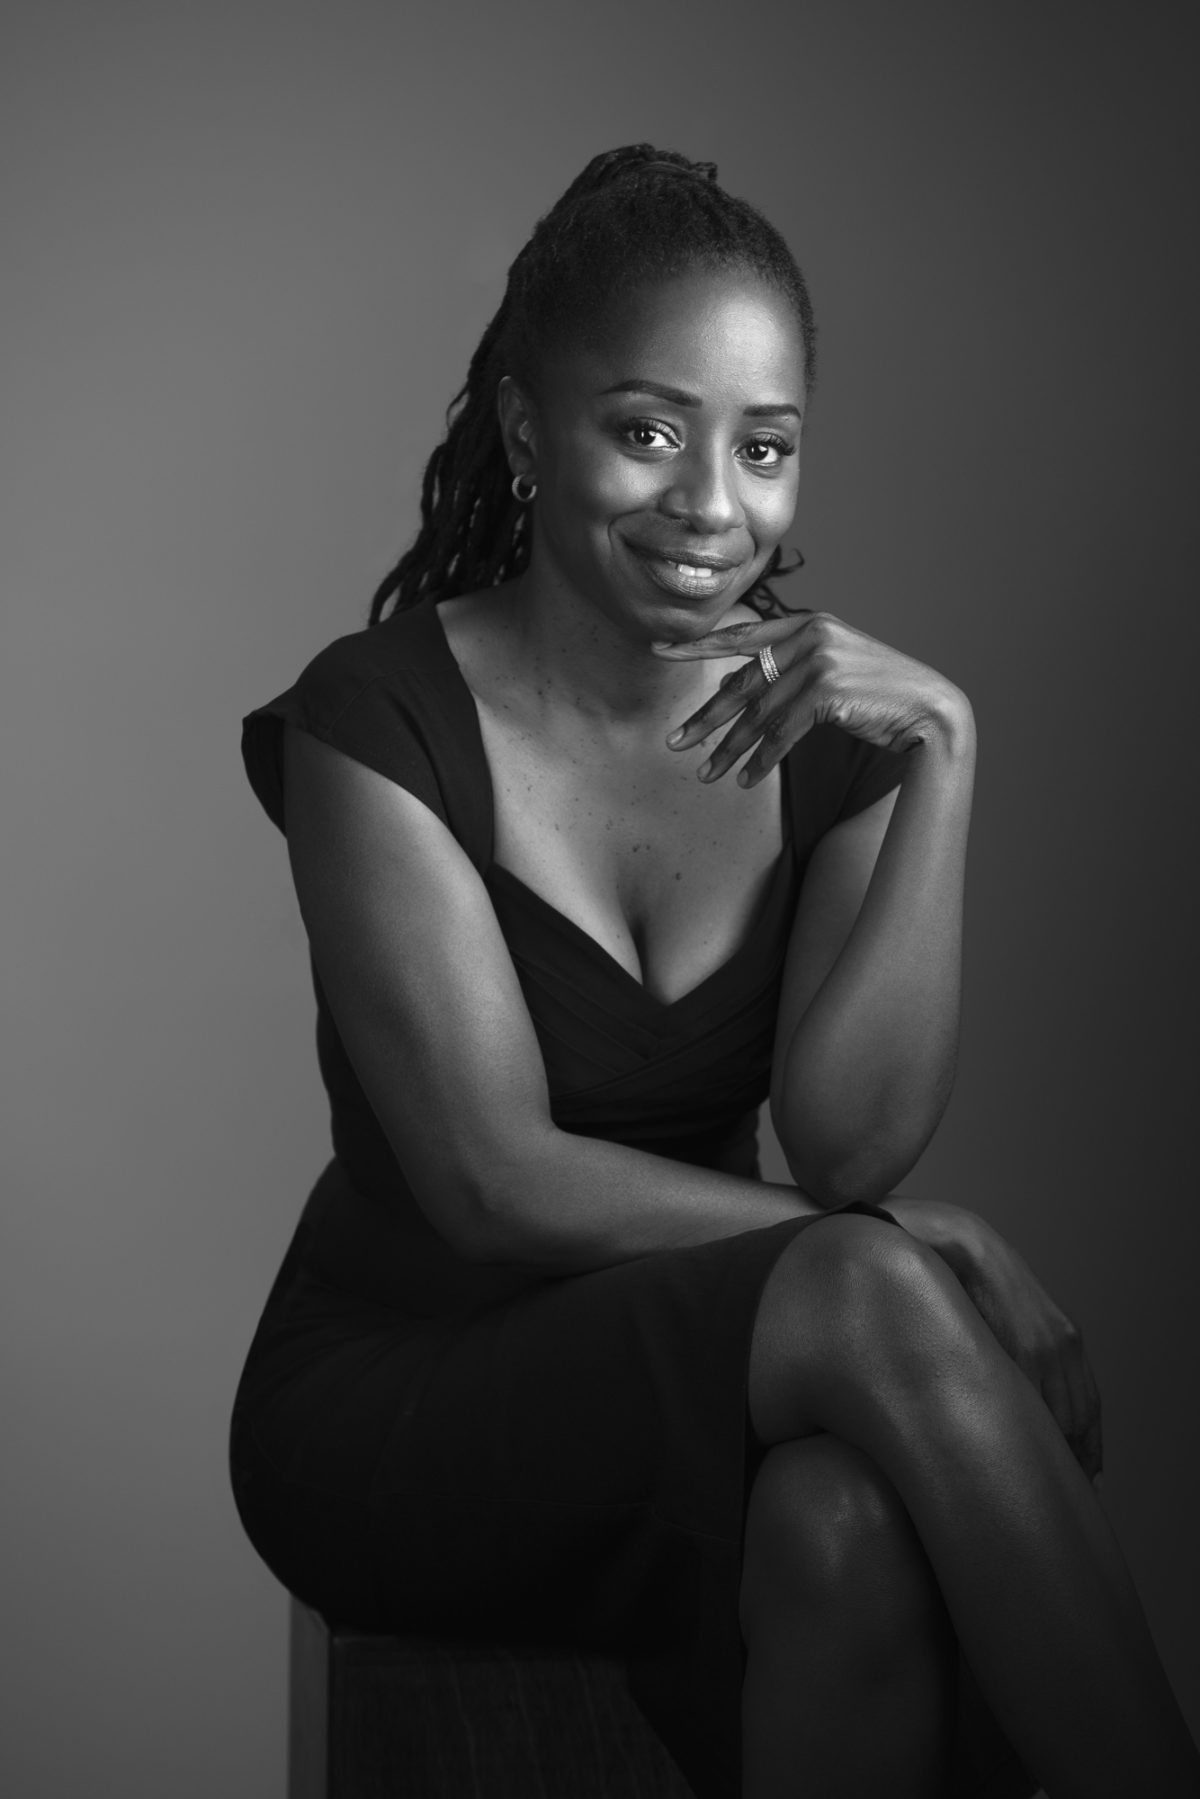
Since Benekar is working on developing authority in her industry, she also wanted some additional portraits she could add to her website and social channels.
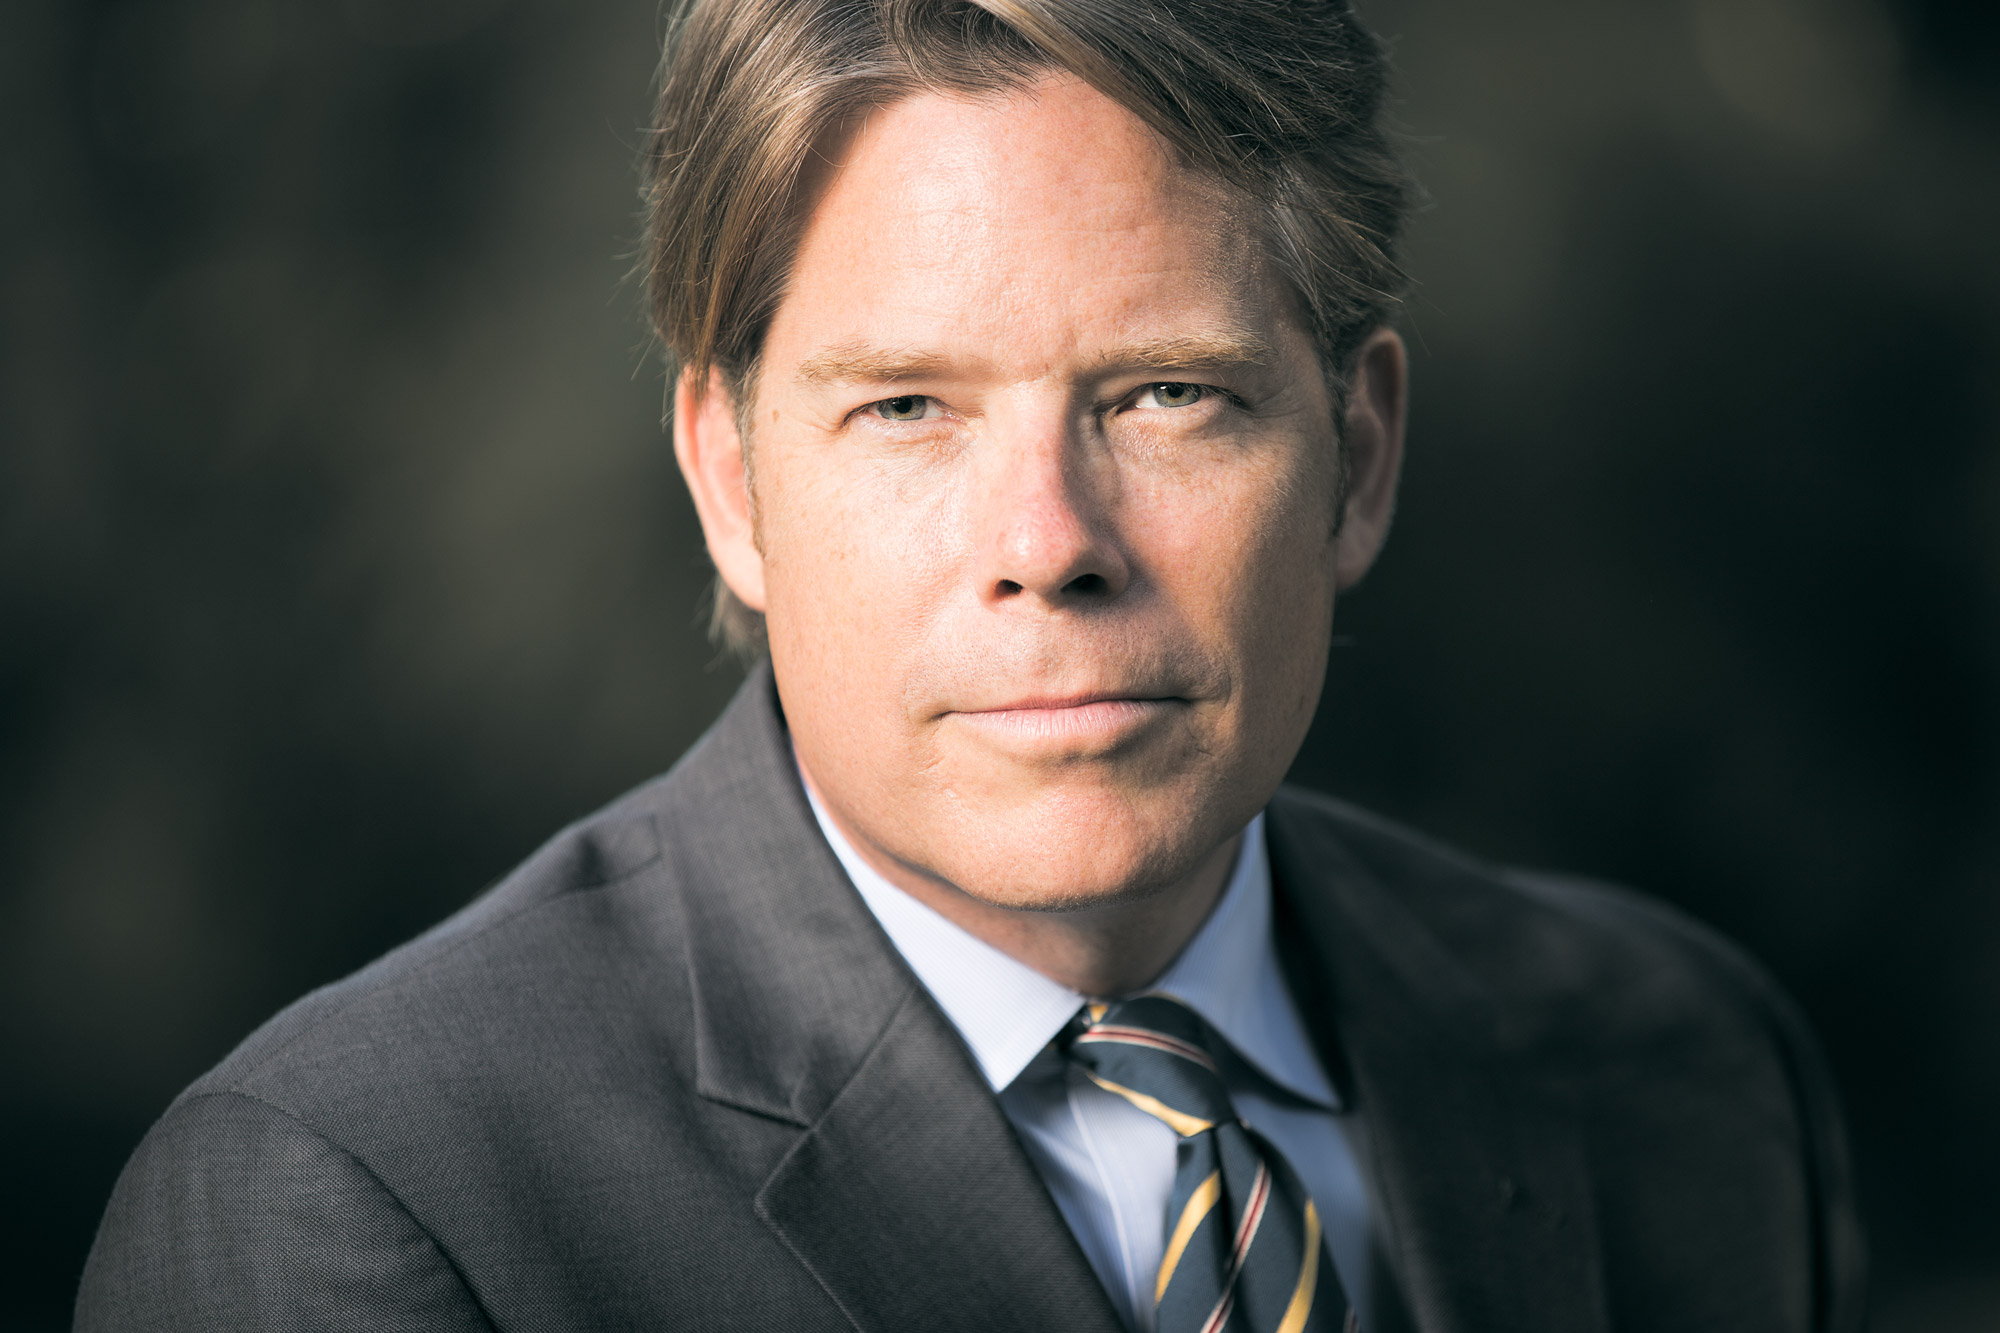
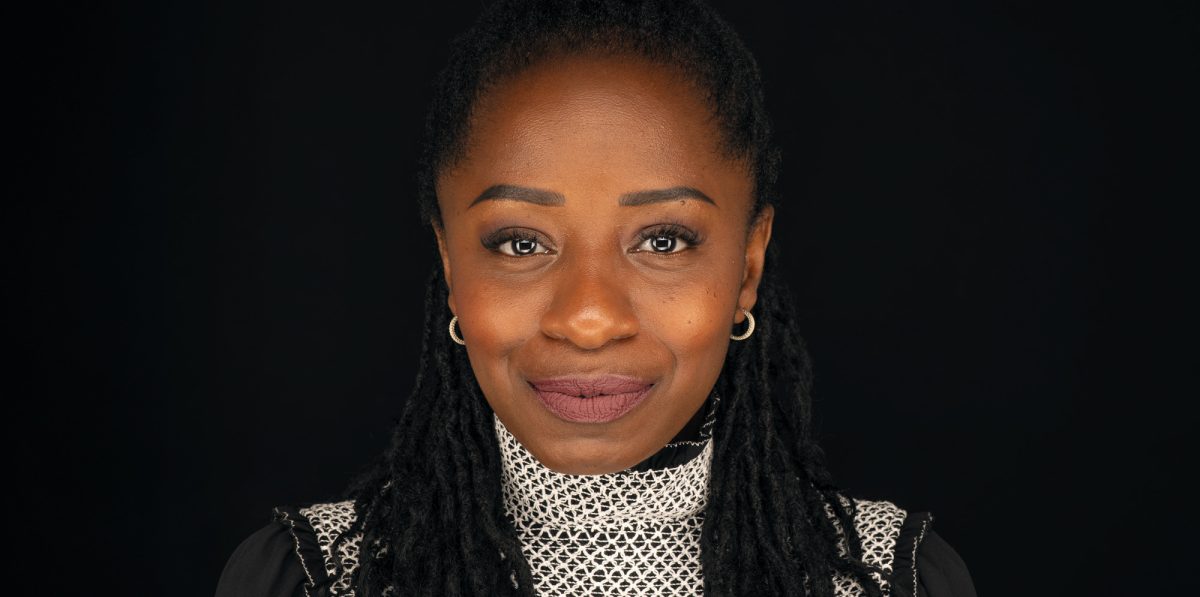
We captured these on grey with classic but deep shadows for that editorial look you might see in Vogue or Time magazine. The classic light keeps the images grounded for a professional audience while the deep shadows makes them a stylized which is great for capturing attention with ads, press releases and other marketing.
Stylized Branding Portraits
When selling a book, it’s important to have a plan for press releases and other advertising so you can get your book into as many hands as possible. Stylized branding portraits are great for press releases or other marketing where attention is the goal. These images should grab attention and be edgier then something you’d use as a bio.
These are the fun portraits to capture in my opinion because you get to be as creative as you want. It’s also where you can let loose a little bit and show more of who you are in your photos.
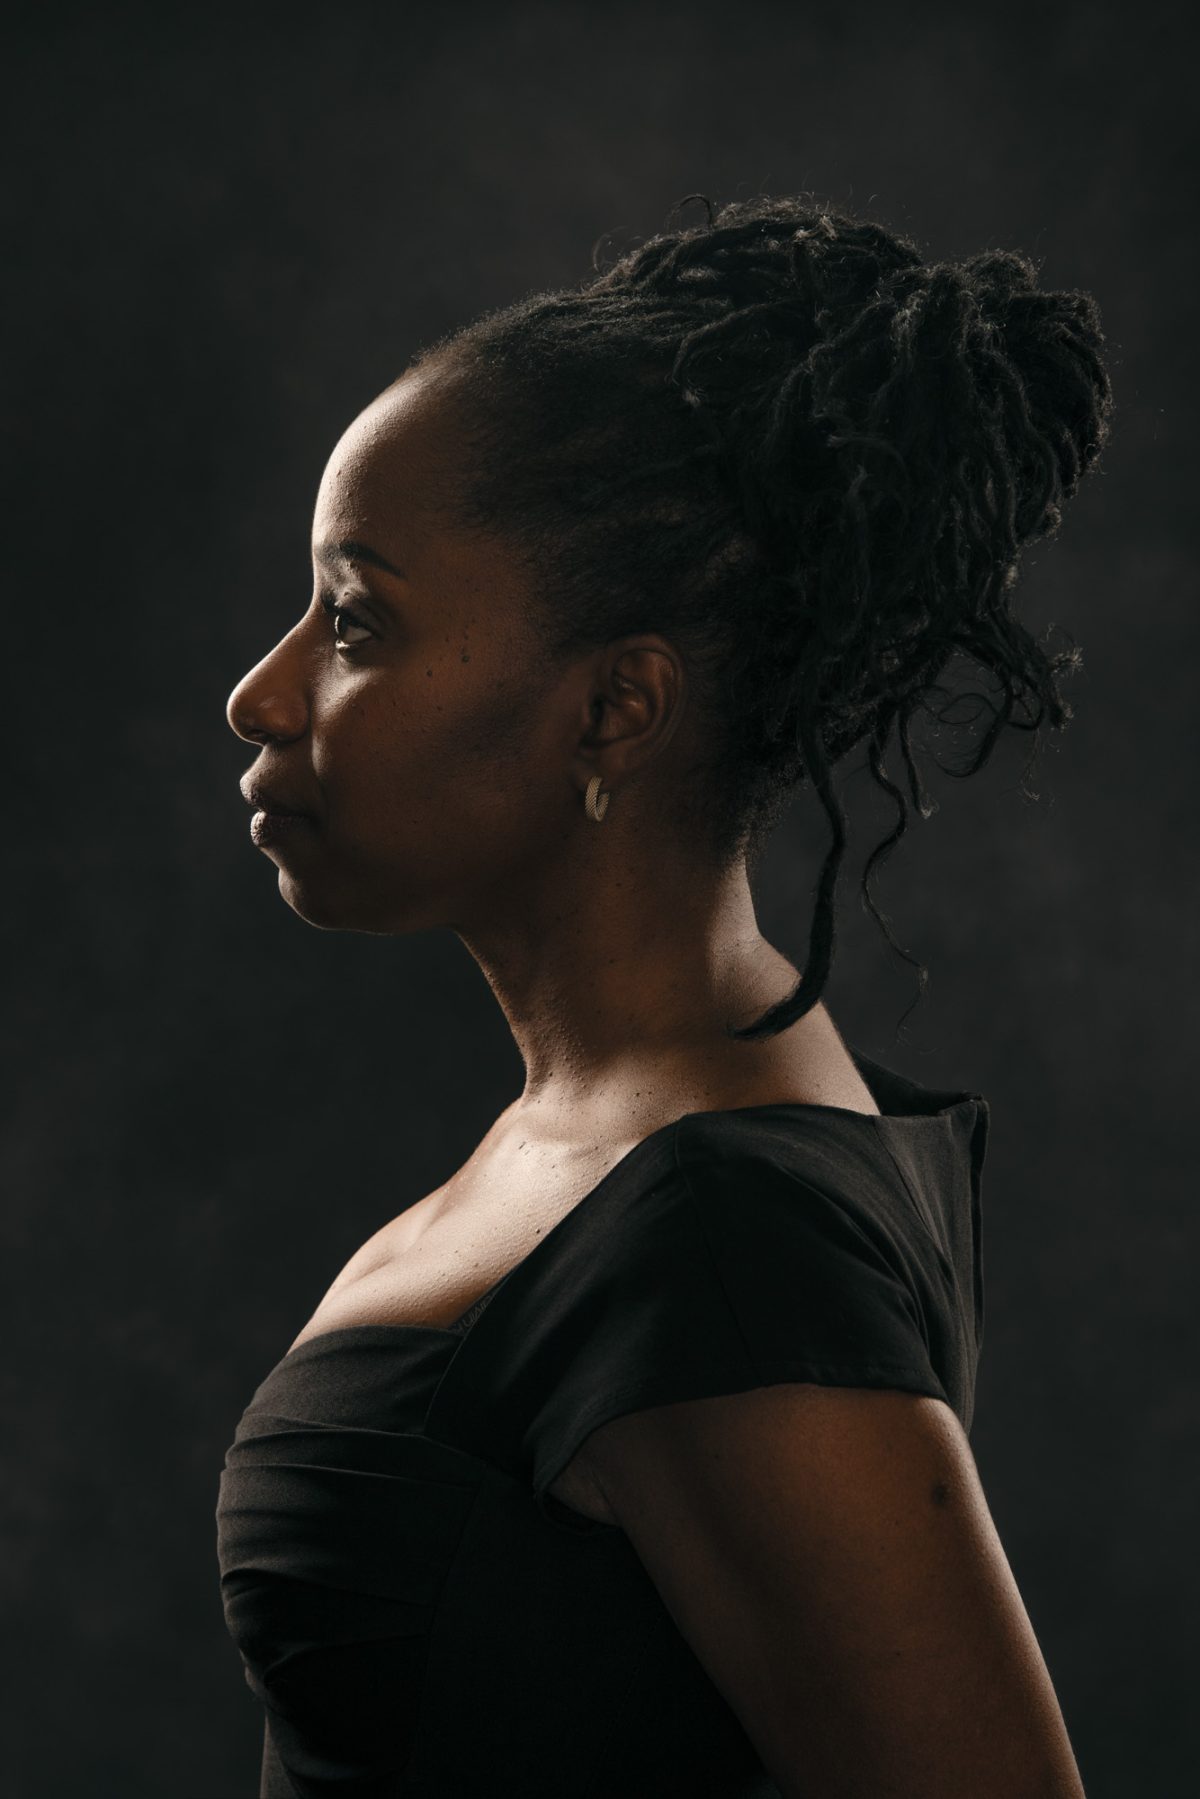
For Benekar’s stylized portrait I chose to capture a profile bust in a rim light. This is a very classic look which I thought would connect with her professional audience, but it’s also non-traditional at the same time in that it’s a profile photo where she’s not looking at the camera. In my opinion this might be the best branding portrait from session and has huge potential to connect with people as she builds her brand.
How We Captured These Branding Portraits
When capturing portraits for branding, it’s important that the images look professional.
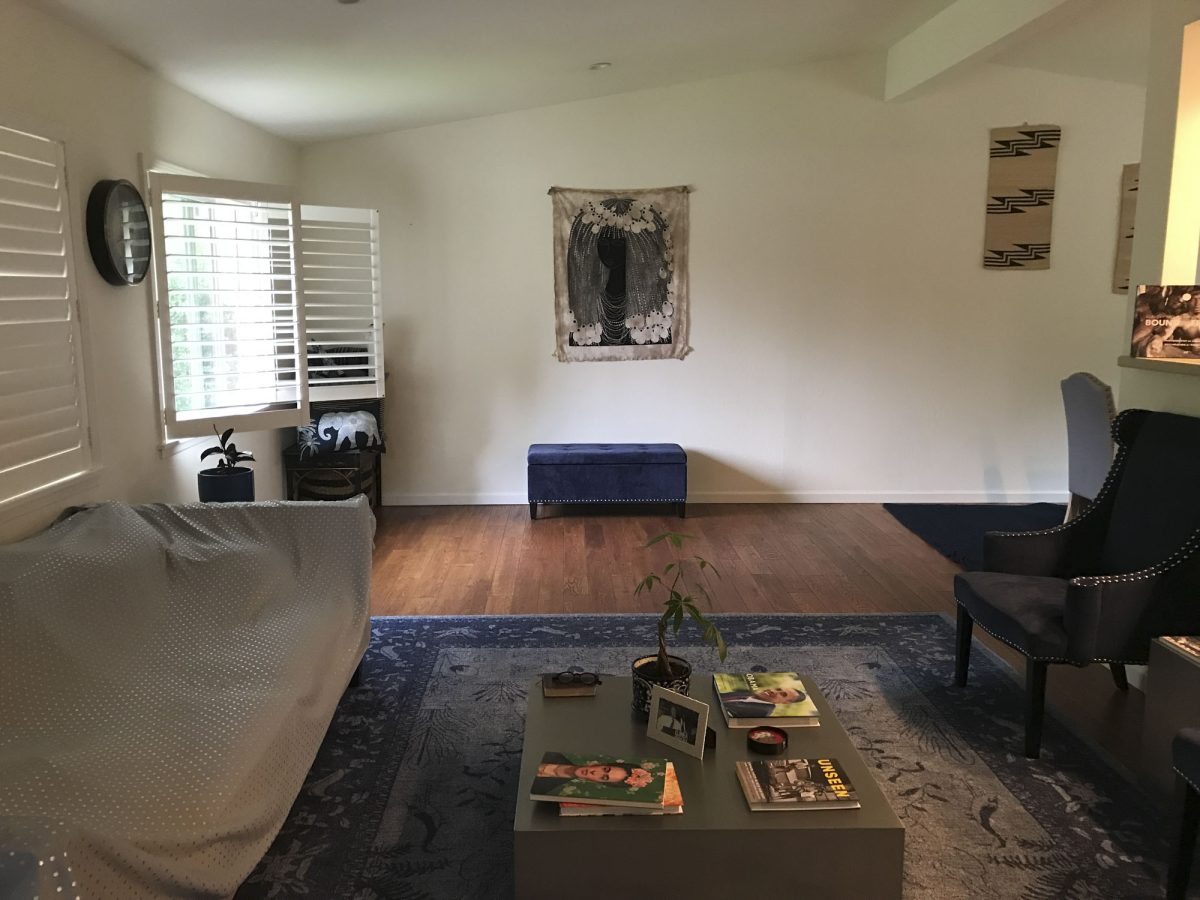
That said, although these branding portraits look like they were captured at a professional portrait studio, they weren’t. In fact, all of these photos were captured in her living room.
All of my branding portraits take place on location in Sonoma County where I bring everything needed to create studio quality portraits at your location.
Makeover Included
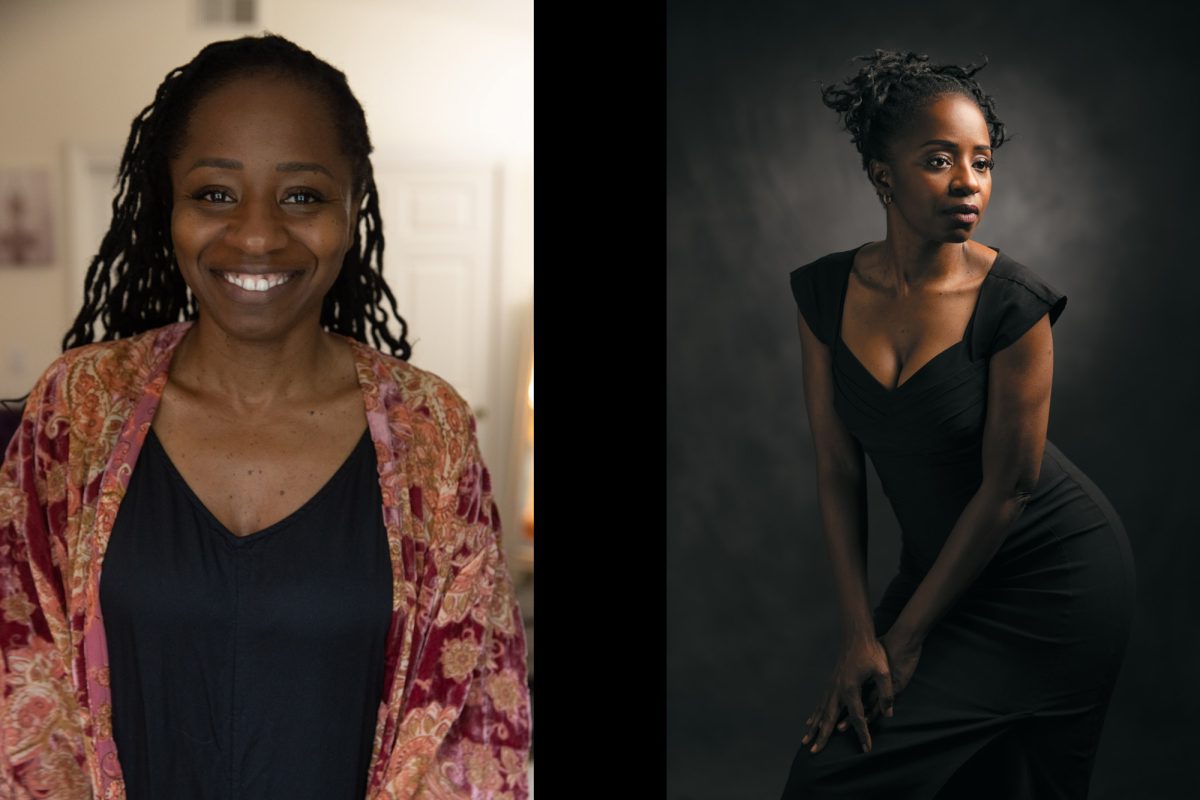
Benekar’s session started with a professional makeover from my hair and makeup artist.
For female branding sessions I highly recommend having me arrange for professional makeup as it not only makes your photos look better without Photoshop, it also helps nervous women feel beautiful before they ever step in front of my camera.
When we arrived, Benekar was nervous about capturing her branding portraits. She told me that she felt uncomfortable and unphotogenic in photos.
Most people that randomly find me through a google search (like she did), don’t realize that my portraits for branding are a guided experience. In fact, most people think of posed portraits as cringe, but when done well, they’re actually the only way to get precise lighting like you see in Benekar’s branding portraits.
Tips for Better Branding Portraits
If you want to learn how to get better portraits for branding, check out these posts to help increase your engagement rate.