
This wedding day schedule guide will show you how to get better photos with less stress. The process is simple: identify your ceremony time and build your schedule around it as the anchor point. In this guide, I’ll break down how to structure each segment of your wedding day so I have enough time to create beautiful photos—and so you get more uninterrupted time with your guests at the reception.


Key Takeaways
- Plan Early: Start building your wedding day schedule early and give it to everyone involved a week before your wedding.
- Ceremony First: Anchor your timeline around the ceremony time—ideally one hour before sunset for the best lighting.
- Hair & Makeup Timing Is Crucial: Have your makeup done second to last—never last—to stay on track.
- Use the Template: Download and customize my Excel timeline to keep everyone aligned and on schedule.
- Getting Ready Shots Matter: Allocate 2 hours for the bride and 1.5 hours for the groom for detailed prep coverage and family formals before guests arrive.
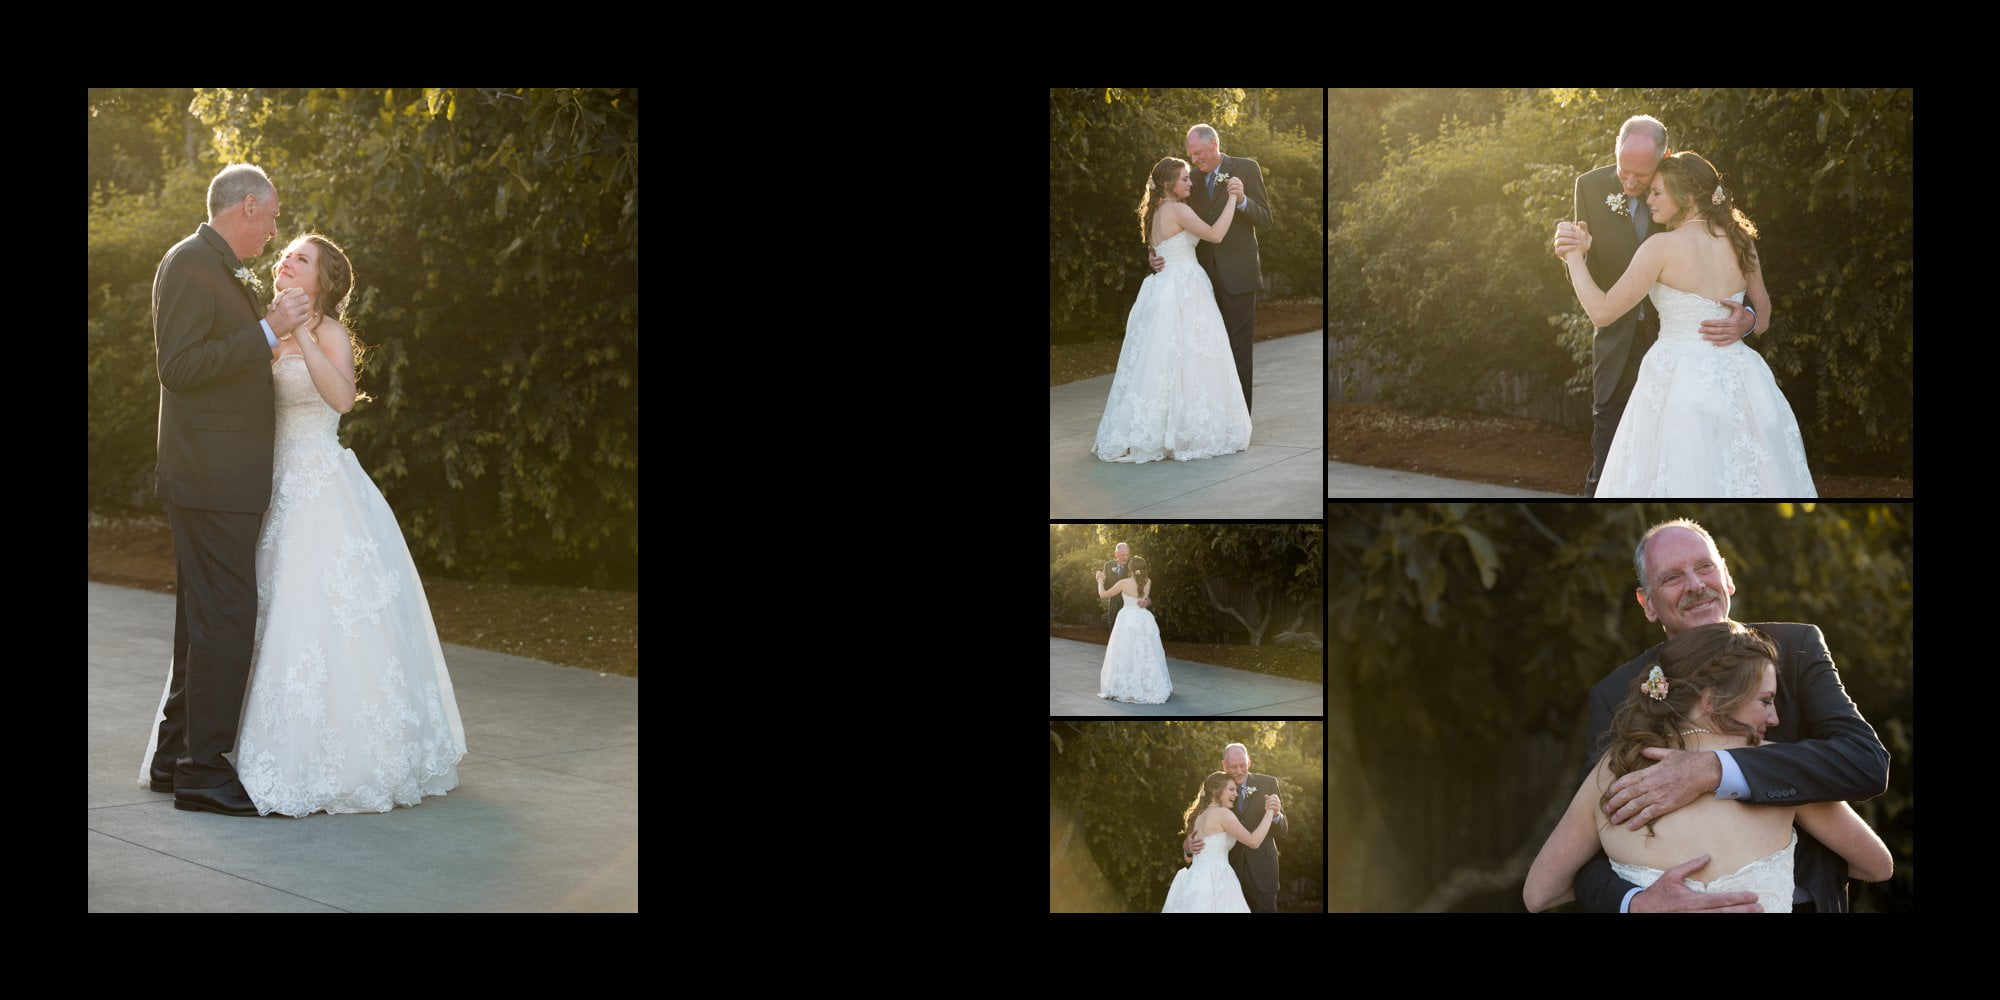
- First Look Benefits: Doing a first look means less pressure and more guest time with guests later in the day.
- Golden Hour = Magic Light: Whether before or after the ceremony, aim for couple’s portraits during golden hour for the best light.
- Be Group Photo Smart: Schedule group formals right after the ceremony—before cocktail hour kicks off—to keep things efficient.
- Reception is Candid Photos: After portraits are done, I shift to photojournalistic coverage so you can just enjoy your night.
- Share the Schedule: Download, customize and share your timeline with everyone in your bridal party and all vendors so everyone knows what’s happening when.
The Easy Way To Build Your Wedding Day Schedule
Before we talk about building your wedding day schedule, it’s important to understand the four main segments of a typical wedding. Then arrange these around the start and end times of your ceremony as needed to build a smooth, photo-friendly wedding day schedule. These events include:
- Getting Ready Photos
- Wedding Ceremony
- Formal Wedding Portraits
- Reception Coverage
Anchor Your Timeline To Your Ceremony
When designing a wedding day schedule for a couple, I begin by determining the ceremony’s time and then build the day’s schedule around it. If you want a golden hour ceremony, it’s advisable to schedule your ceremony to start one hour before sunset.
Knowing the time and location of the ceremony simplifies the process of scheduling the other segments of your wedding. Note the ‘recommended coverage times’ for each segment listed in this post, then arrange these around the start and end times of your ceremony as needed.
Bride & Groom Formal Portraits
The bride and groom getting ready segment is the perfect time to capture portraits of both of you as individuals, it’s also the the ideal time to capture portraits with family and attendants before the day becomes busy. Capturing all of these portraits before everyone arrives will make your wedding considerably less stressful. It will also naturally lead to higher quality photos and will allow you to spend more time with your guests later.
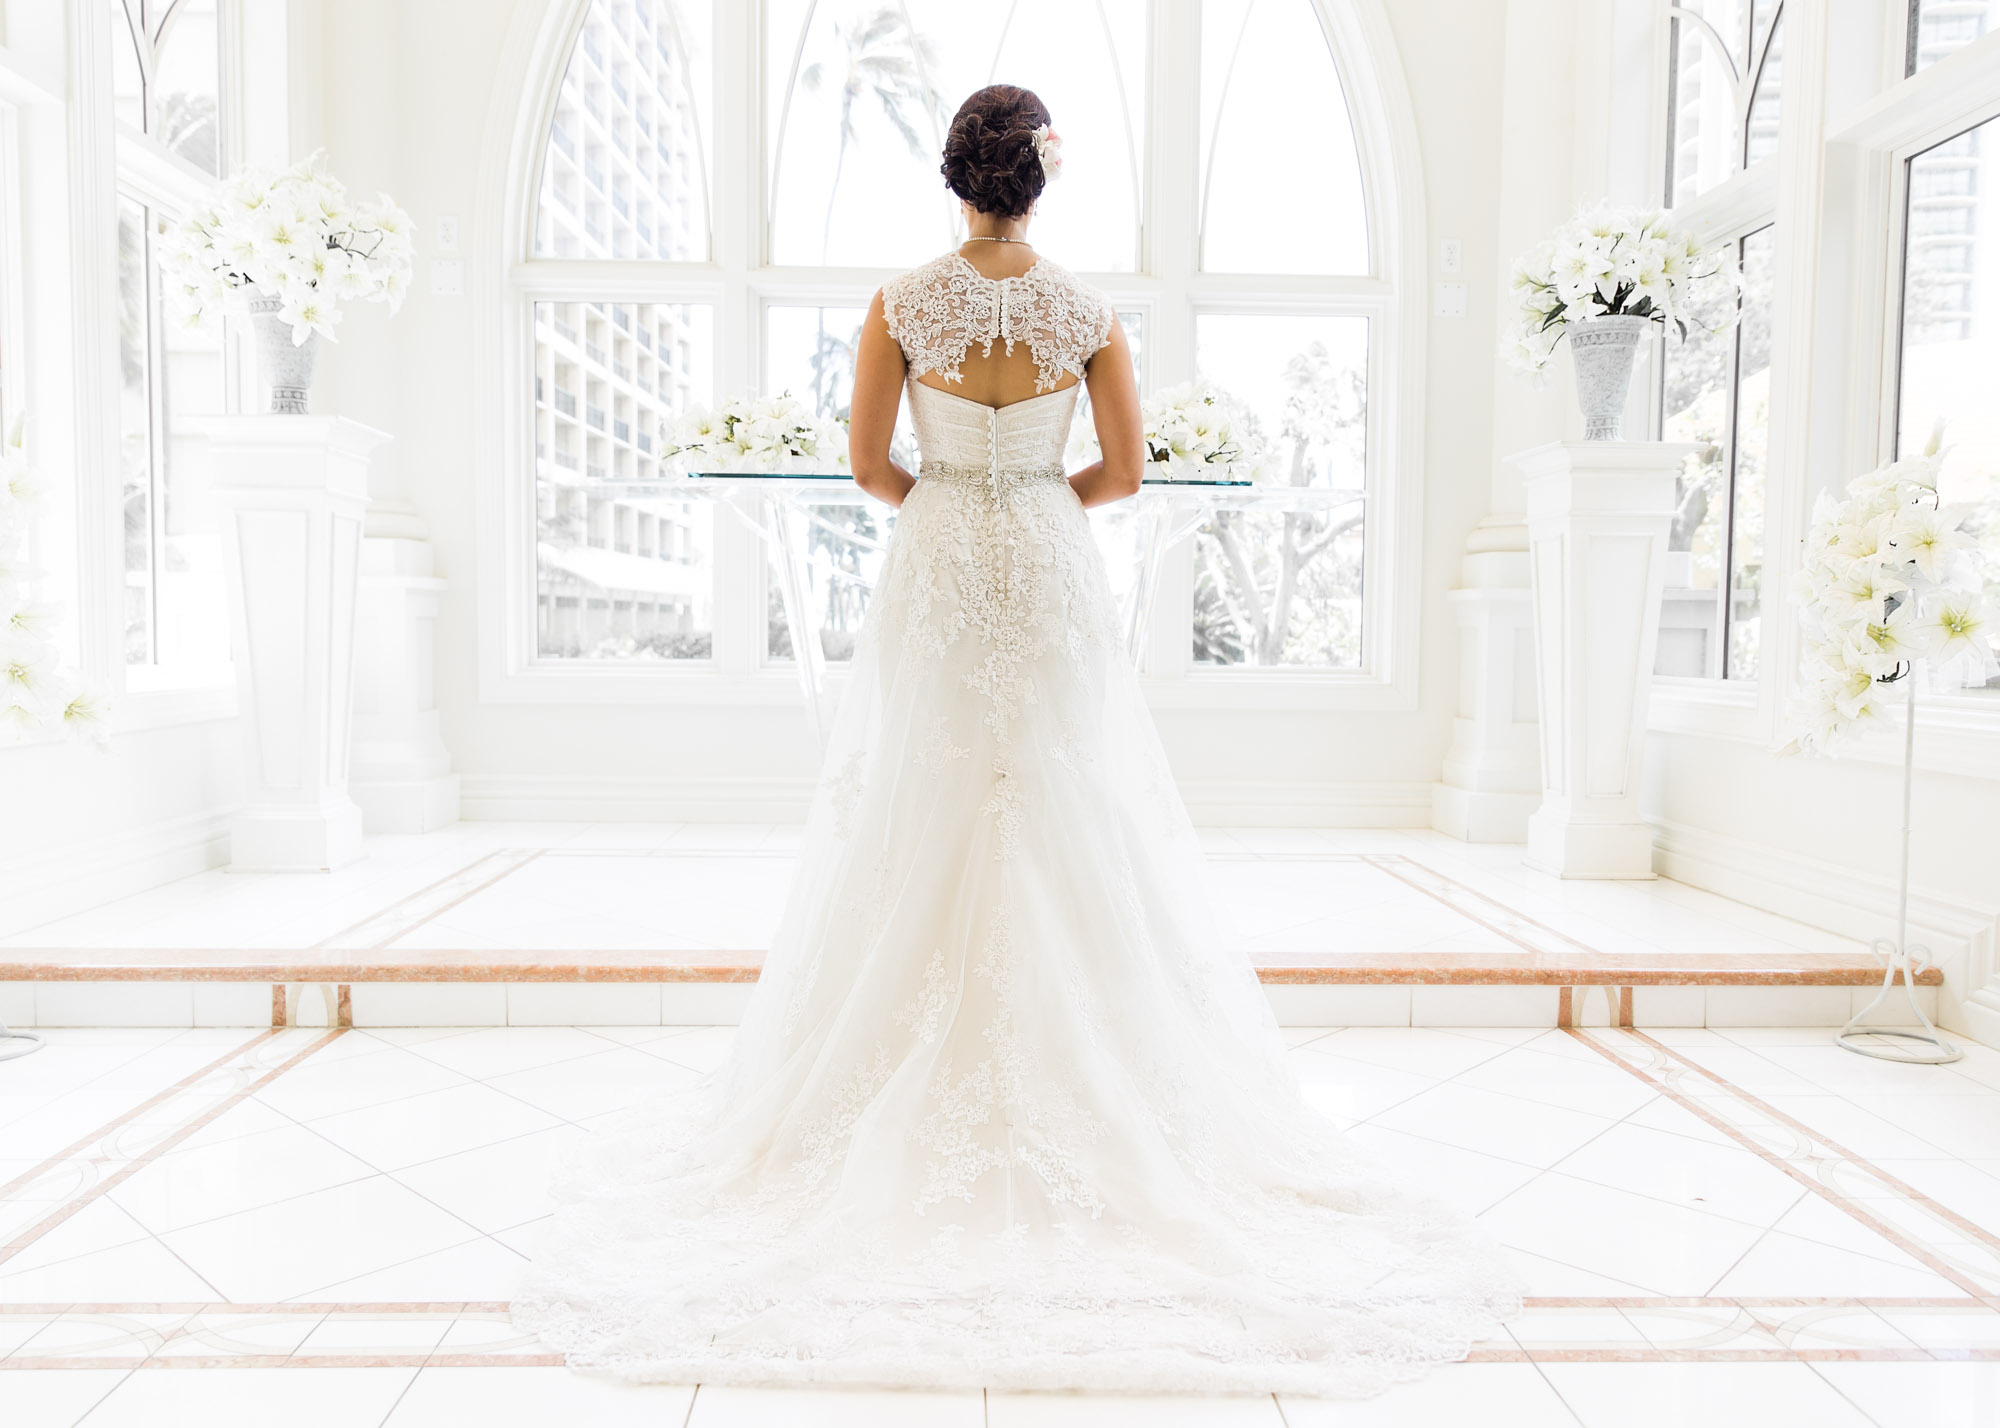
Bride Getting Ready Photos & Solo Portraits
Recommended coverage time: 2 Hours

Brides are typically photographed while getting ready, surrounded by their family and bridesmaids. Formal wedding portraits with each individual and group are also captured during this time. Portraits of the bride alone are taken with the remaining time in a variety of poses to document details such as hair, jewelry, dress, bouquet, etc. After capturing the essential shots, I dedicate the remaining time to creating a few unique and creative portraits of the bride.
If desired, I can photograph the bride getting into her dress. However, for optimal results, I highly recommend scheduling bridal boudoir photos on a day separate from the wedding.
My basic shot list for the bride’s getting ready coverage includes:
- Detail shots of accessories and getting-ready shots with bridesmaids, e.g. headpiece, earrings, ring, front and back of dress, necklace, bracelet, bag, bouquet, etc.
- Bride by herself (full length or 3/4 and close-up).
- Bride with all the bridesmaids (including flower girls).
- Bride with each bridesmaid and flower girl.
- Bride with mom and dad.
- Bride with mom only and bride with dad only.
- Mom and dad by themselves.
- Bride with immediate family.
- Bride with brothers and sisters only.
- Bride with each brother and sister.
- Bride with each brother and sister and their respective families.
- Any other requests.
- Veil placed over bride’s face.
- A few more shots of the bride and bridesmaids (more creative).
- Bride leaving home.
- Bride entering car on the way to the ceremony.

It is crucial that all individuals mentioned above are present and prepared for photography within 30 minutes of this segment’s scheduled start. To ensure images consistent with my portfolio, I recommend allocating at least two hours to your wedding day schedule for the bride’s ‘getting ready’ coverage to capture all the elements listed.
Groom Getting Ready & Solo Portraits
Recommended Coverage Time: 1.5 Hrs
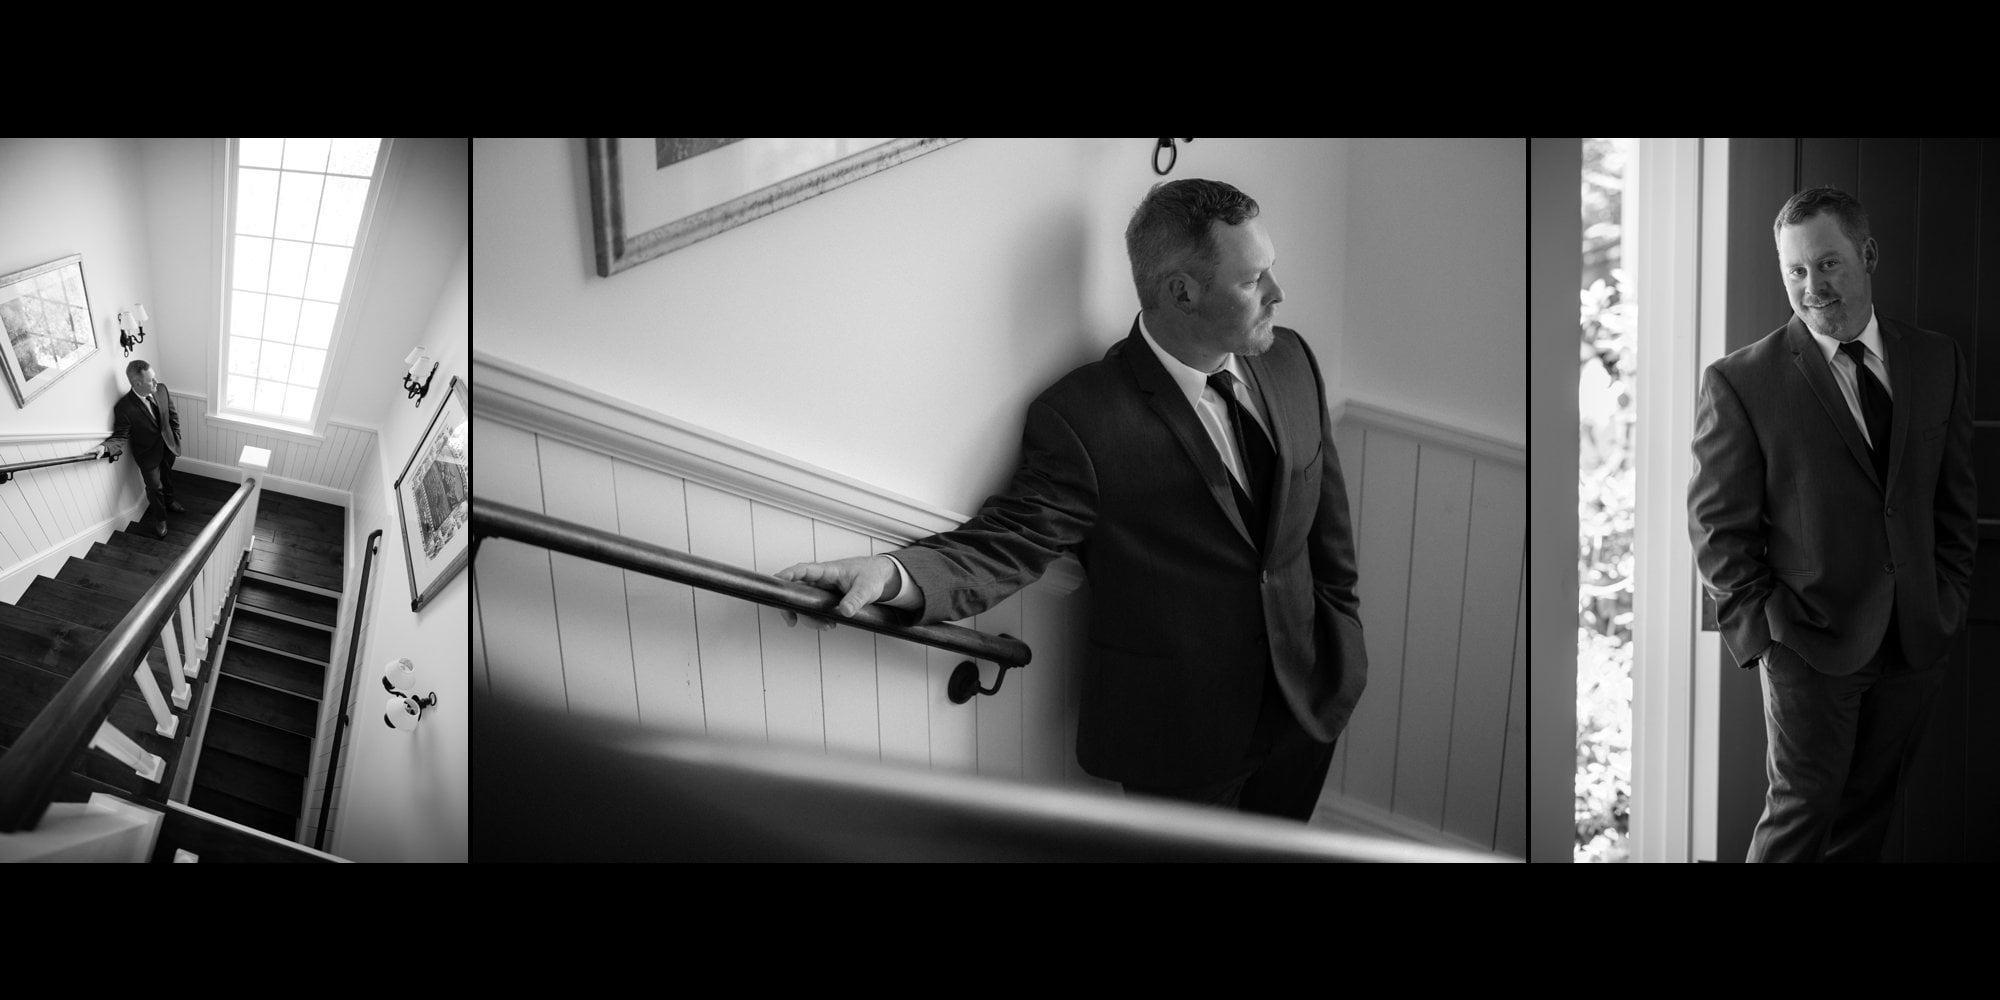
Like the bride, grooms are also photographed with their family and groomsmen individually and in groups. The groomsmen and family should be photo ready at the designated start time. The groom should be ready wearing his pants and shirt. Putting on his shoes, jacket, tie, cuff links, etc. will be captured on camera.
My basic shot list for the groom’s getting ready coverage includes:
- Detail shots of accessories and getting-ready shots with the groomsmen, e.g. putting on shirt, cuff, cuff links, belt, tie, vest, jacket, cologne, shoes, watch etc.
- Groom by himself (full length or 3/4 and close-up).
- Groom with all groomsmen (including ring bearers/pageboys).
- Groom with each groomsman and ring bearer/pageboy.
- Groom with mom and dad.
- Groom with mom only and groom with dad only.
- Mom and dad by themselves.
- Groom with immediate family.
- Groom with brothers and sisters only.
- Groom with each brother and each sister.
- Groom with each brother and each sister and their respective families.
- Any other requests.
- A few more shots of the groom and groomsmen (more creative).

Groom getting ready photos are almost always captured before the bride since grooms don’t need hair and makeup. This makes the most sense timing wise so I can work with the groom while the bride is getting ready. For images consistent with my portfolio I recommend 1.5 hours of groom getting ready coverage to capture everything mentioned above.
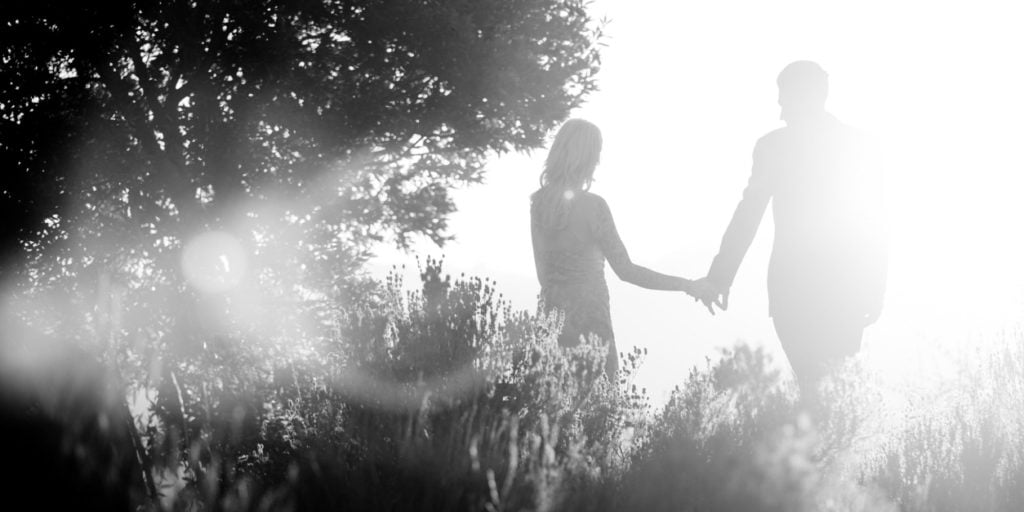
First Look Photos
Recommended Coverage Time: 1 Hour
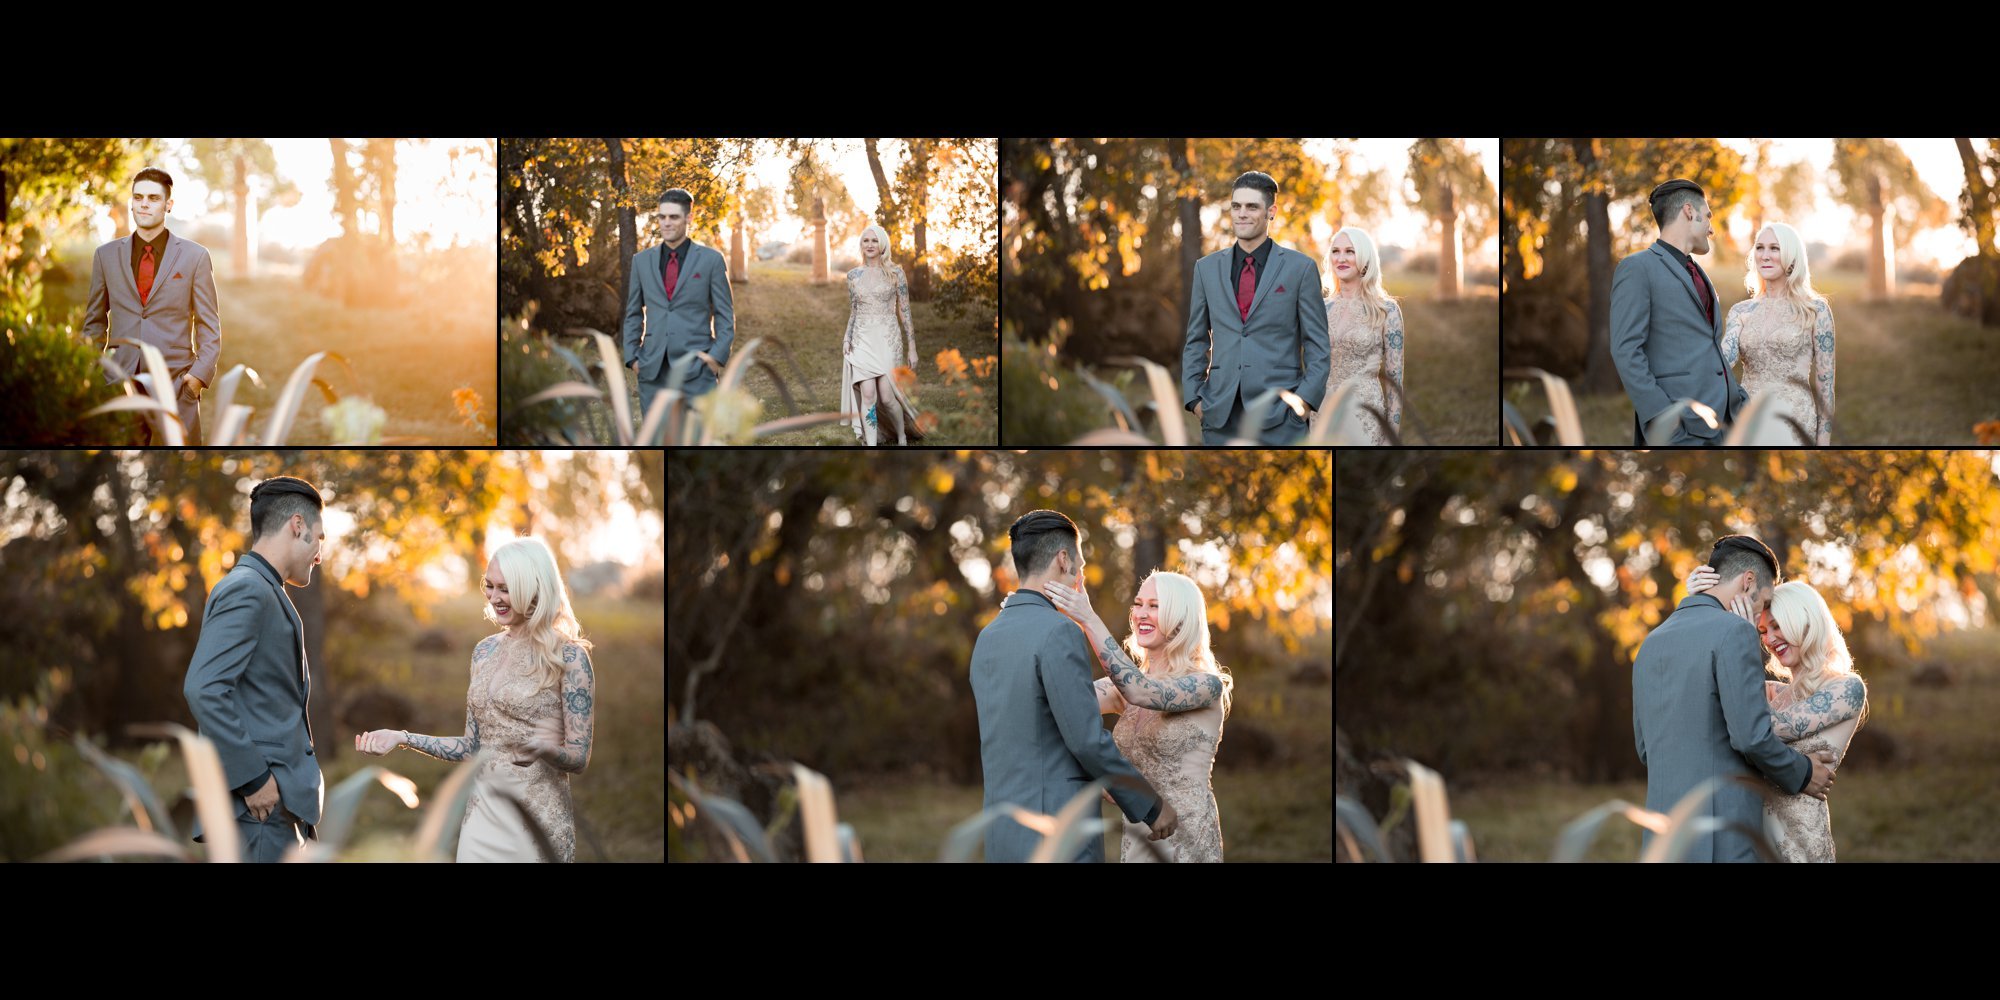
Doing first look photos lets us capture your couple’s portraits early in a calm, private moment. It also frees up time later, so you can enjoy more of cocktail hour with your guests.
If you’d rather keep things traditional and wait until the ceremony to see each other, that’s totally fine. Just keep in mind, we’ll need to set aside time during cocktail hour for those portraits instead. That choice affects your entire wedding day schedule, so it’s smart to decide early.
The good news? Cocktail hour often overlaps with golden hour—perfect lighting for photos. The tradeoff? You’ll need about an hour away from guests to get the shots you want.
Both options work well. If you’re torn, reach out and I’d be happy to help you figure out what fits your style and schedule best.
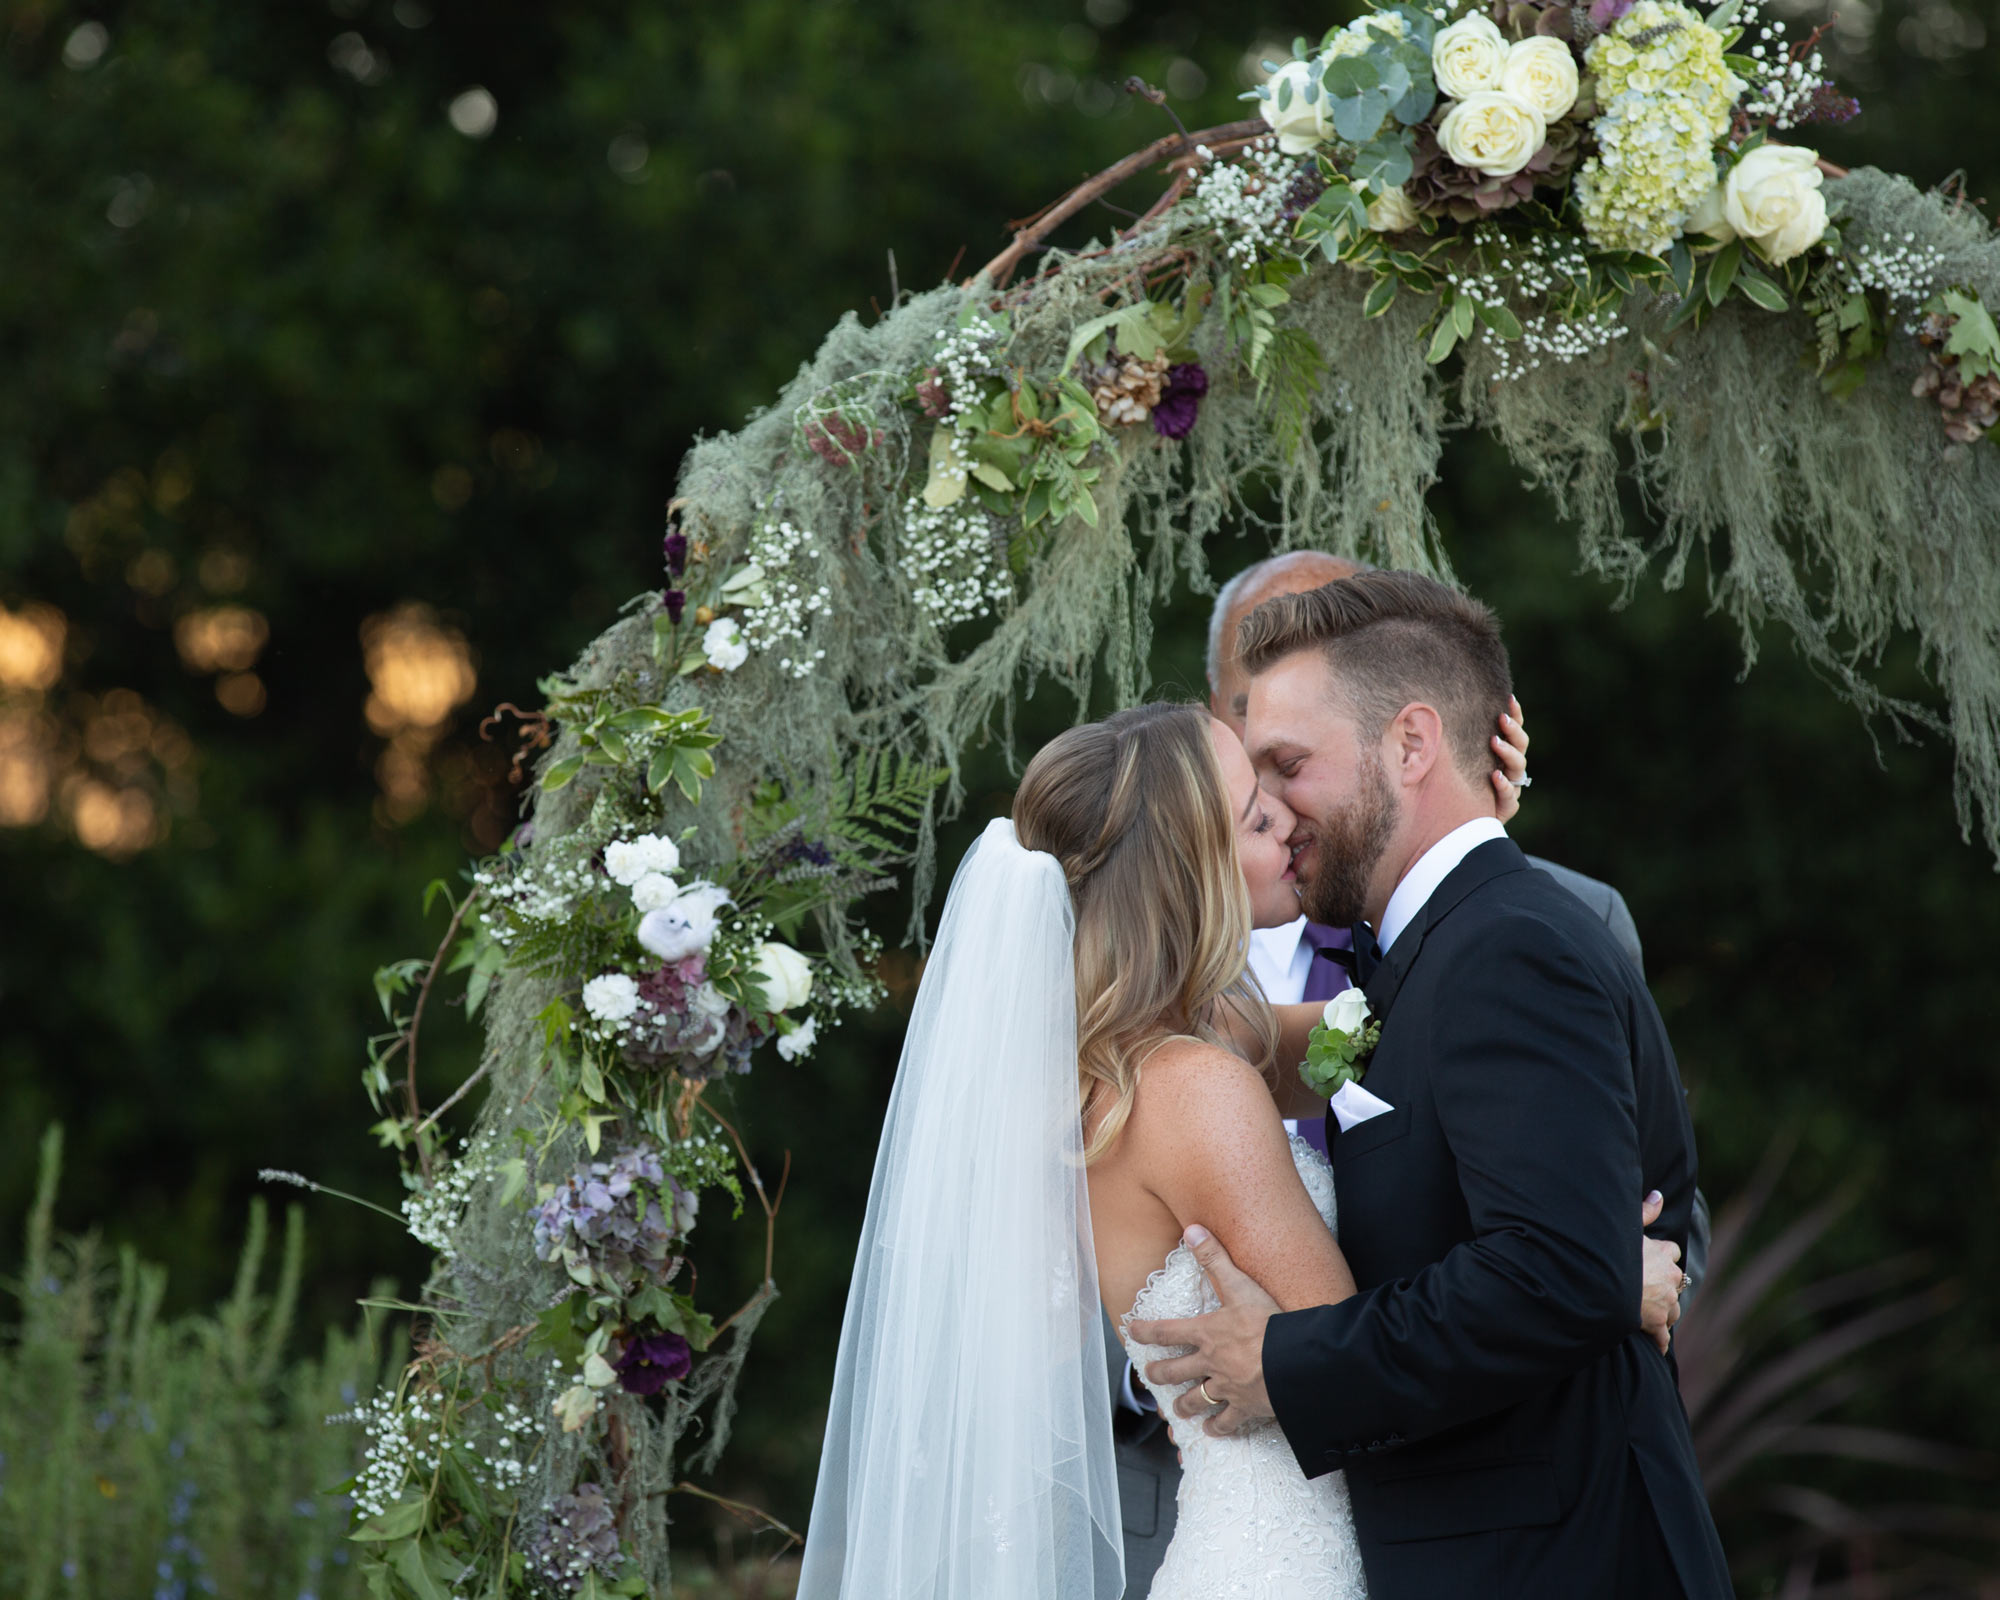
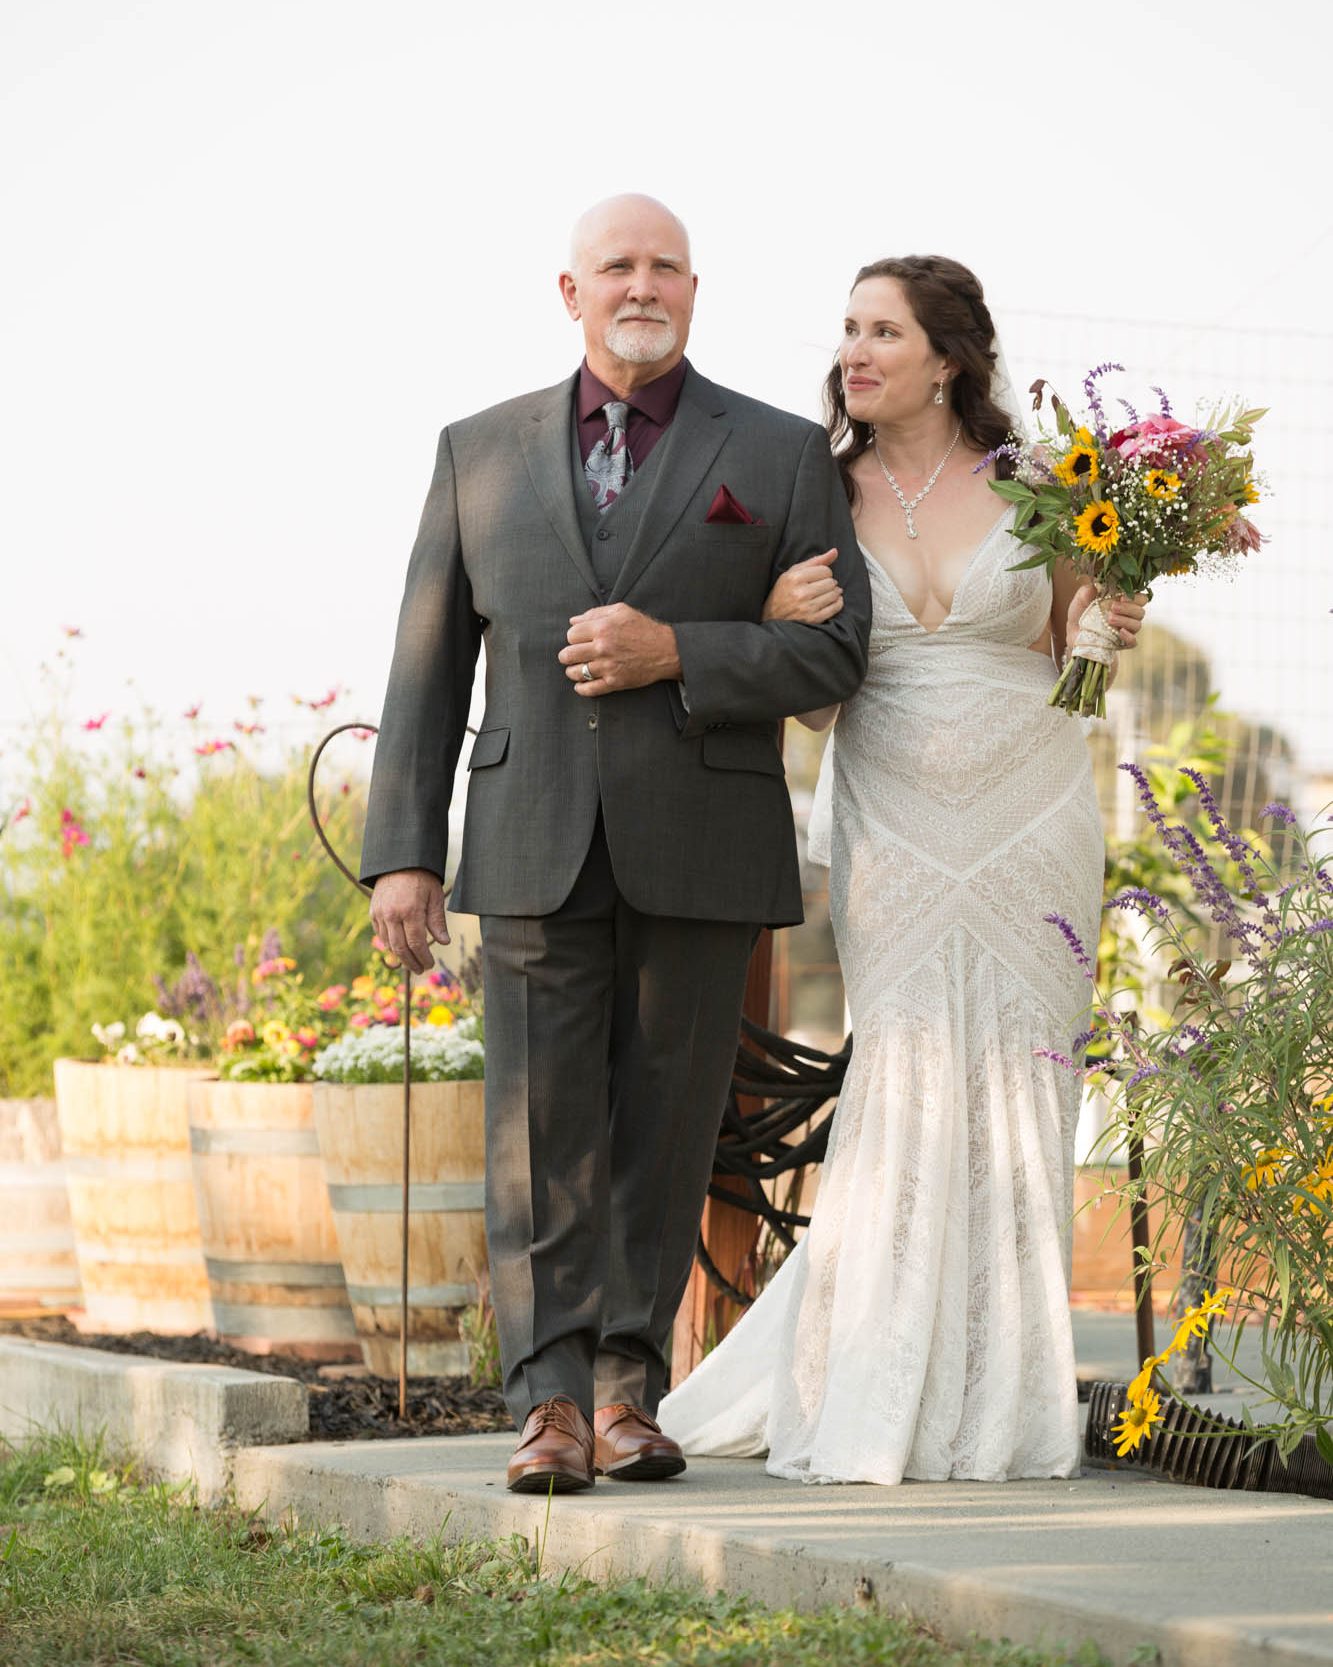
Wedding Ceremony
Recommended Coverage Time: 30 Minutes

Ceremonies can vary in length from 10 minutes to over an hour, depending on personal preferences or religious customs. However, most ceremonies last about 20-30 minutes. This duration typically suffices to cover essentials like the assembly of the wedding party, the officiant’s speech, the exchange of vows and rings, and the first kiss. To best visually tell the story in the album, I try to capture as much of the following during the ceremony as possible:
- The bride in the car doorway.
- Dad escorting the bride out of the car.
- Bridesmaids adjusting the dress outside the church.
- The bride walking up to the church.
- Groom and groomsmen waiting at the front of the church.
- Groomsmen walking up to the church, down the aisle, and waiting at the front for the bride.
- The bride, dad, and bridesmaids in the doorway of the church entrance.
- Children and bridesmaids walking down the aisle.
- The bride and dad walking down the aisle.
- Groom’s reaction to seeing the bride walk down the aisle.
- The bride and groom at the front of the altar.
- Wide church shots from the front and behind.

- Detail shots.
- Formalities including the ring exchange, kiss, etc.
- The bride and groom signing the register, possibly with the officiant if customary.
- The bride and groom walking down the aisle, congratulating, etc.
- Group shot from the balcony or at the front of the church.
- The bride and groom in the doorway of the entrance.
- Confetti shots, mingling, and other celebratory moments.
- Wide shot of the couple with the church spire.
Formal Group Photos
Recommended Coverage Time: 2-3 Minutes Per Group
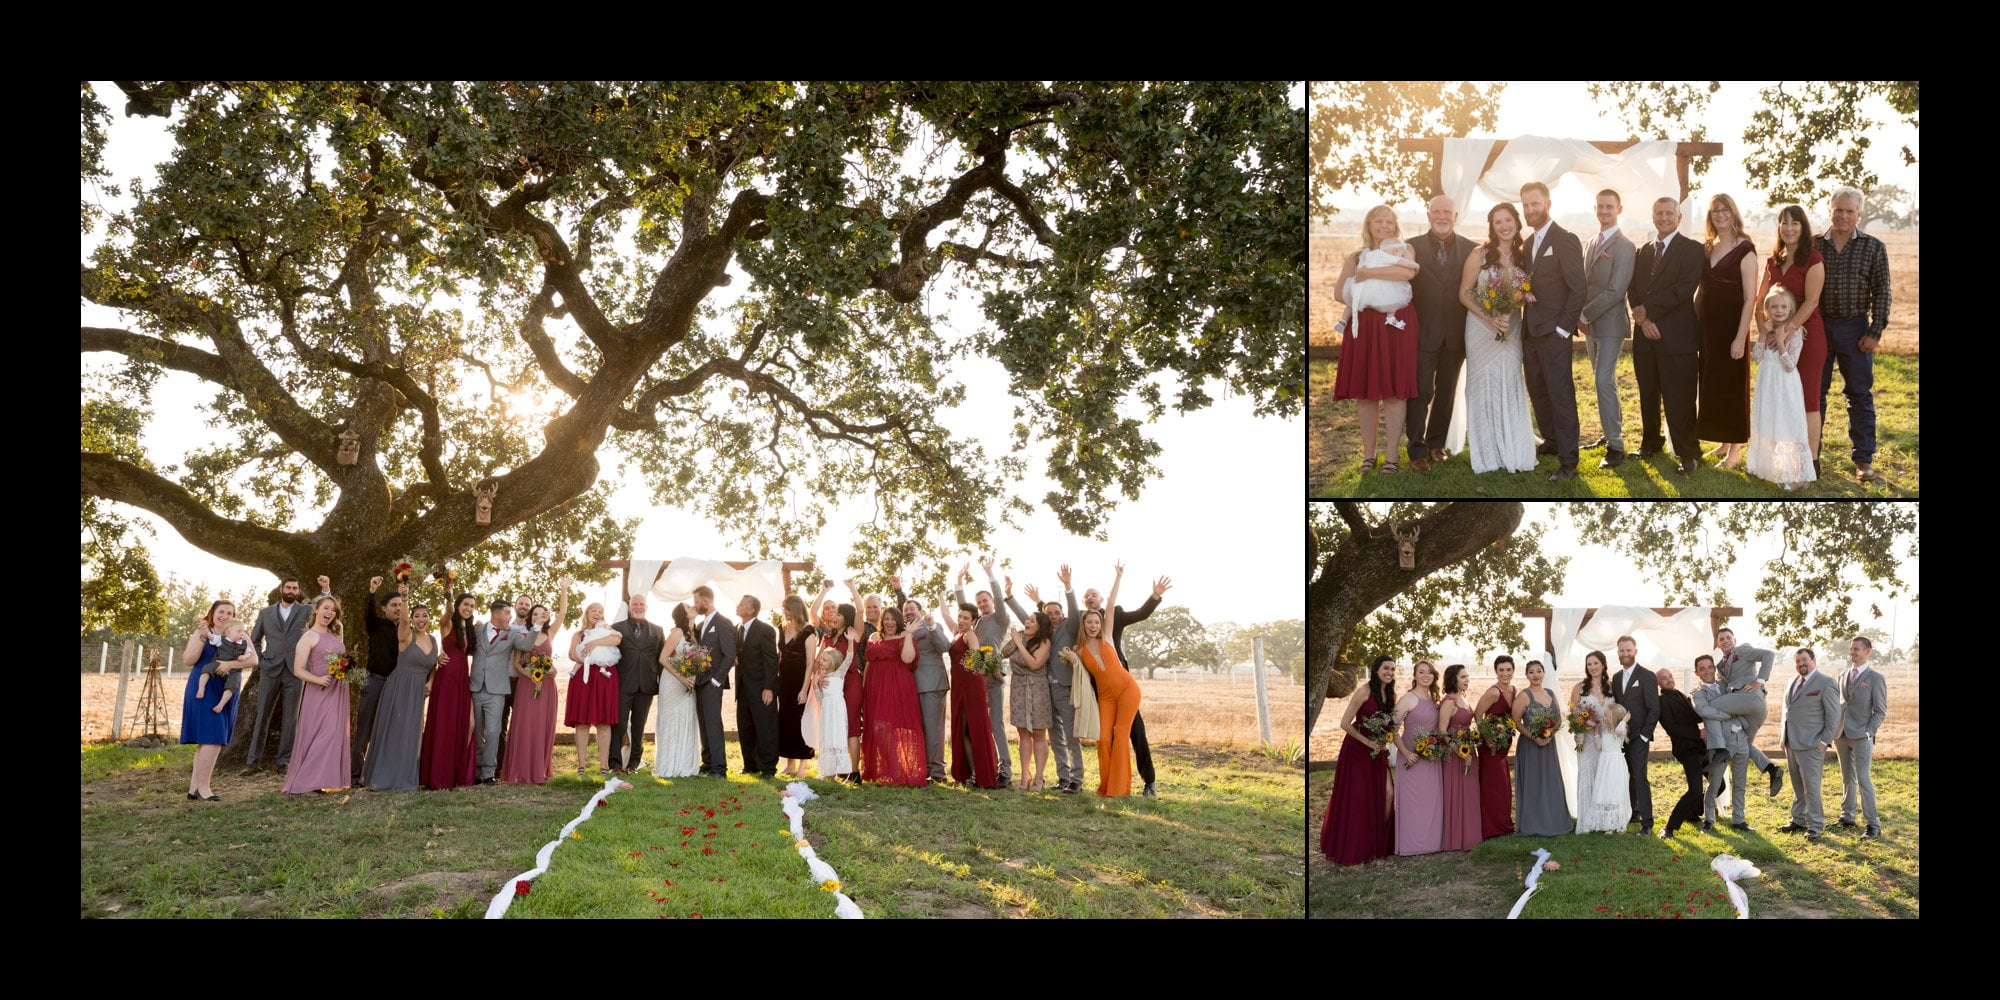
The Must Have Wedding Group Photos
Formal group photos involve capturing pictures of the entire wedding party, along with any additional combinations specified on your shot list. The basic shot list that I typically begin with includes:
- A large group shot including all guests.
- Bride and groom with the bride’s parents.
- Bride and groom with the bride’s parents, siblings (along with their spouses and children), and optionally with grandparents.
- Bride and groom with both sets of parents.
- Bride and groom with the groom’s parents.
- Bride and groom with the groom’s parents, siblings (along with their spouses and children), and optionally with grandparents.
- Bride and groom with siblings only, from both sides.
- Bride and groom with each brother and sister’s family (if requested or appropriate).
- Bride and groom with each set of grandparents.
- Additional requests, including photos with uncles, aunts, friends, etc.
- Separate photos of the groom’s parents, if these weren’t already captured at home.
Group Formals Tips
The ideal time to capture group formals is immediately following the ceremony, before the cocktail hour. It’s advisable to complete these portraits before any drinks are served, as doing so afterward can be akin to herding cats.
Pro tip: Prioritize capturing photos of elderly family members, pregnant women, and families with young children first. Organizing your shot list in the order of who should be photographed first streamlines the process, making it faster and easier for everyone on the wedding day. A smart wedding day schedule will help keep these group portraits efficient so everyone can move on to the celebration faster.
In most cases, formal group photos usually only take about 30 minutes or less with the above workflow. Couples with large families or extensive shot lists should allocate more time, ideally 2-3 minutes per photo, is a good starting point.
Couple Photos
Recommended Coverage Time: At Least 30 Minutes
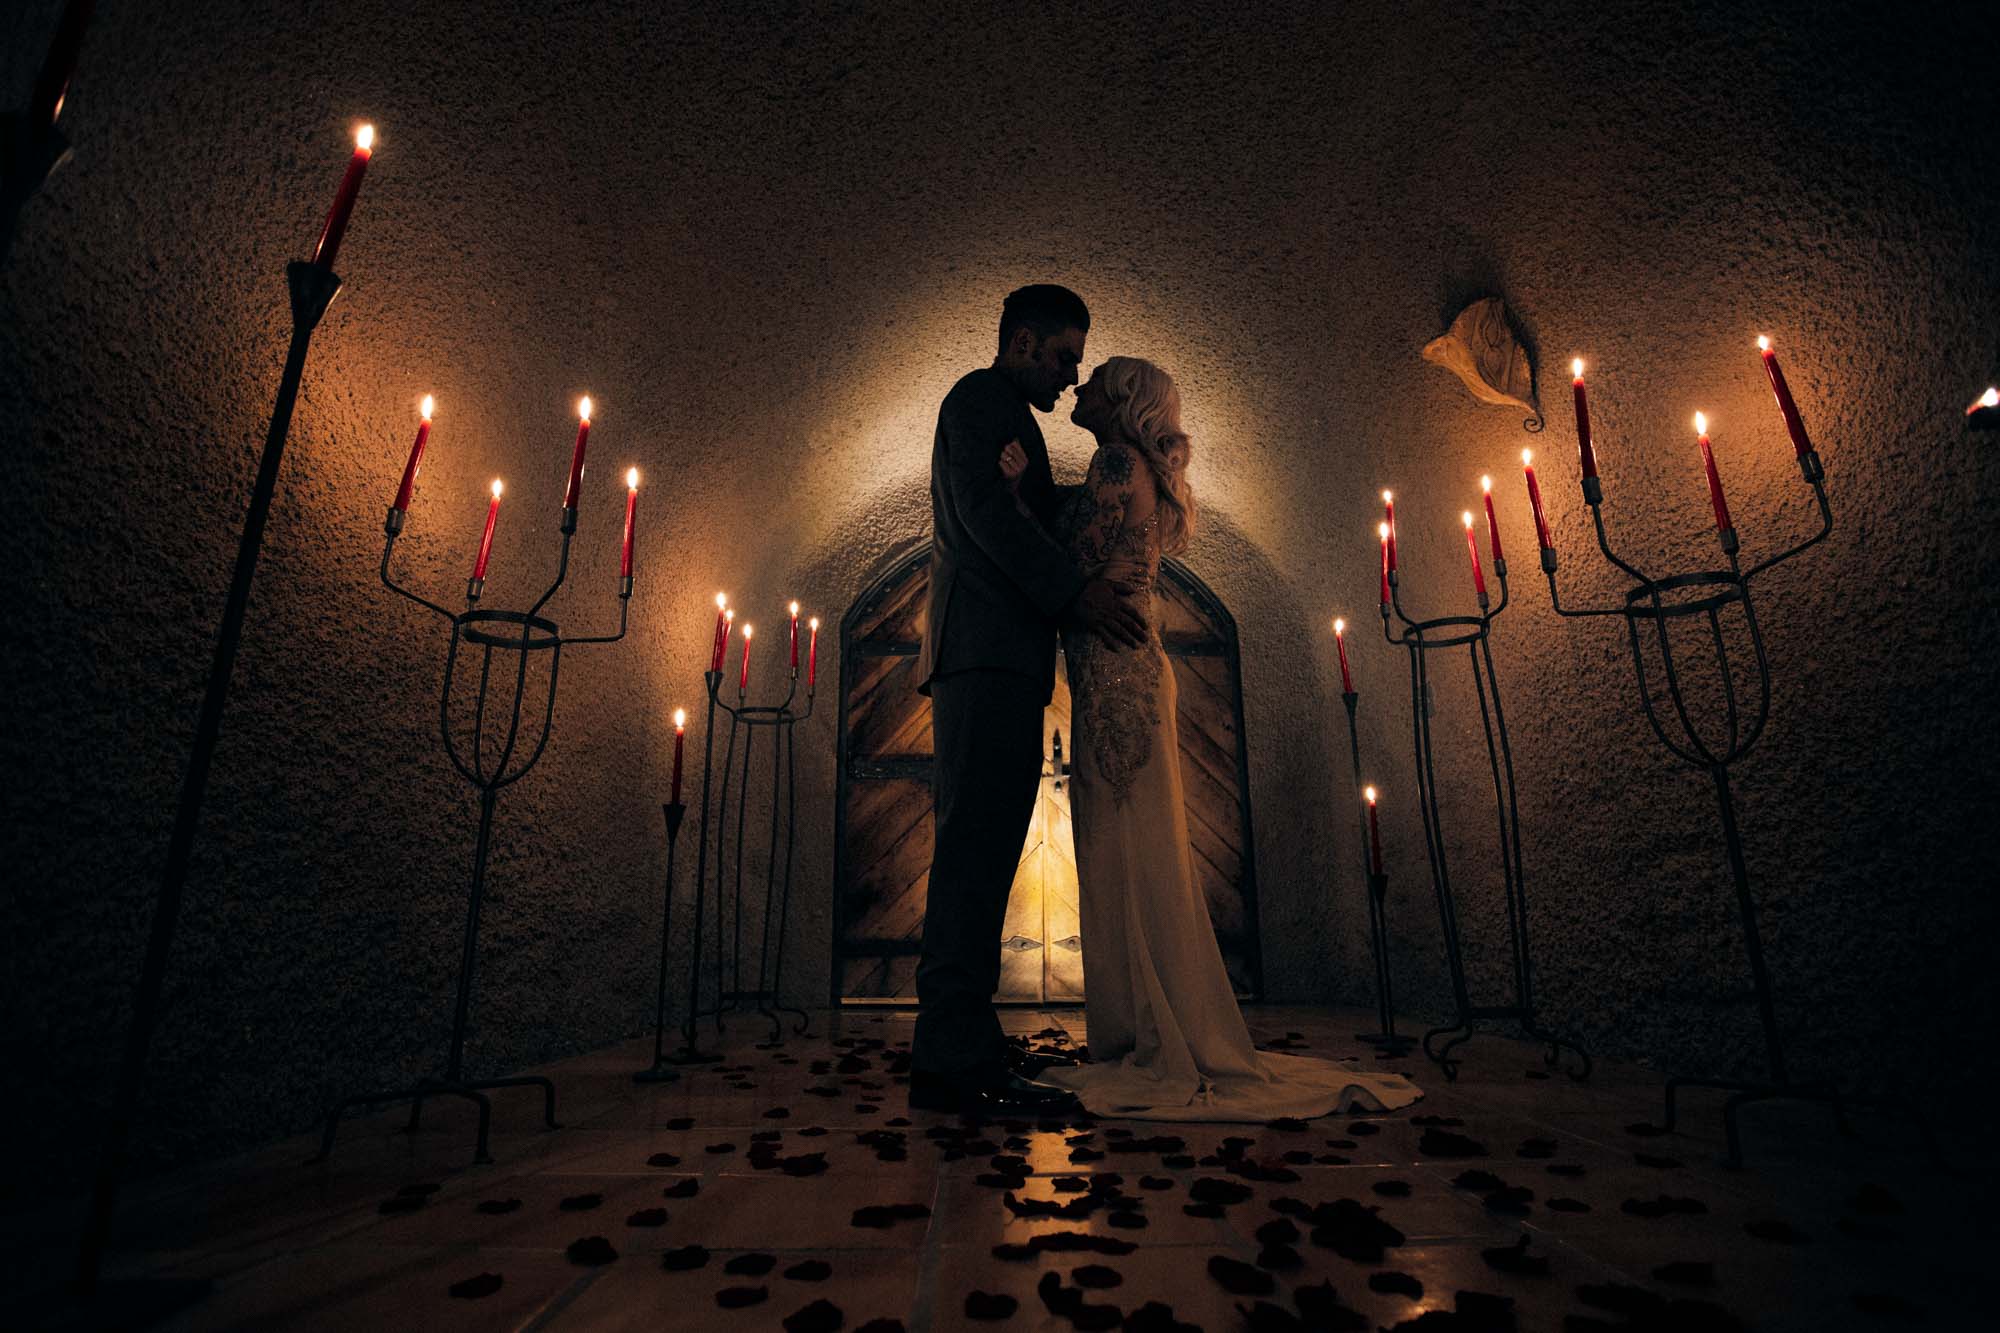
If you opt not to have a first look, the ideal time for your couple’s portraits is during cocktail hour. Capturing your couple’s portraits during this period has its perks, as it often coincides perfectly with sunset. The hour before sunset, known as the golden hour, typically offers the best outdoor lighting of the day.
However, if you prefer to spend cocktail hour with your guests, you might want to consider having your couple’s photos taken earlier in the day, following a first look. Allocating approximately one hour for this photo session is ideal. It allows enough time to capture a mix of formal portraits and a few creative shots, making the most of the surroundings. This approach ensures you have beautiful memories captured without missing out on celebrating with your guests.


The Reception
Recommended Coverage Time: 3-4 Hours
Cocktail hour is the first part of the reception and is the best time to excuse yourself for couple’s formal portraits if you decided not to have a first look. If you did have a first look and have already completed your couple’s portraits, this time is excellent for capturing candid interactions with guests after your grand entrance.
Like your ceremony, your reception is captured photojournalistically and usually includes: cocktail hour, the grand entrance, speeches, first dance, mother and son dance, father and daughter dance, cake cut and the garter / bouquet toss.
The rest of the reception events can happen in any order you’d like, as it shouldn’t have any affect on your final photos. Including all your events in your wedding day schedule ensures I can anticipate moments and be in the right place at the right time.
For complete reception coverage, budget roughly 4 hrs for everything mentioned above. This will include about an hour of you and your guests dancing. If you’re looking to save a bit of money and are willing to part with some dancing pictures, 3 hrs of reception coverage should be sufficient to capture your: grand entrance, speeches, cake cut, garter toss, and first dance.


Download And Customize Your Wedding Day Schedule
Now that you know how to build a stress-free wedding day schedule, it’s time to put that plan into action.
Below, you’ll find three editable timeline templates tailored to different types of weddings: a 4-hour intimate wedding ceremony, a 10-hour day with a first look, and a 12-hour schedule without a first look. Each template is designed with ideal photo timing in mind, so you don’t have to guess what goes where.
Pick the one that best fits your day. Then, customize it to reflect your ceremony time, location, and preferences. Once finalized, share it with your vendors, bridal party, and family to keep everyone on the same page.
Wedding Day Schedule FAQ
Still have questions about how to structure your wedding day schedule? You’re not alone. These are the most common questions couples ask me when planning their wedding day schedule.
When Should The Bride Have Hair and Makeup Done?
Note that if your hair and makeup artist runs late at this stage, it can push your entire wedding day timeline back or compromise your coverage. Both of these options suck a lot and it happens way more than you probably think.
To make sure everyone’s hair and makeup is done on time, hire a reliable artist with a reputation of punctuality. If you need referrals for a makeup artist I’m happy to provide some for you if need be.
Also make sure that your makeup artist has a copy of your itinerary so she can plan accordingly and knows when she needs to have everyone finished by. It’s good practice to have a confirmed timeline for all vendors no less than a week before the wedding.
What Is a First Look?
Traditionally, the term “first look” can also refer to the groom’s reaction as the bride walks down the aisle. In that case, it’s not a planned photo event but an essential moment that should always be captured.