
A good photographer should be able to direct you towards great pictures the day of your photo shoot. That said even a great photographer is only as good as the canvas he has to work with. The answer of how to look good in pictures largely comes down to preparation. Scheduling a hair cut and color a few days before your photo shoot for instance can have a massive impact on your photos.
This post covers everything you should consider doing before your photo shoot so you can get the best portraits possible. Note that there is no single thing that you can do to prepare that will make everything turn out amazing.
Successfully preparing for your portrait session is about doing lots of little things that build up to an amazing result. If you’ve ever wondered how to look good in pictures without relying solely on editing, this guide is for you. In this article, you’ll learn how and when to prepare the following before your photo shoot:

Key Takeaways
- Plan ahead. Small details add up—none are magic alone, but together they enhance your portraits.
- You don’t need to do everything on this list. All of these things are suggestions with recommendations to help you get the most out of them.
- Hair prep matters. A fresh cut or color 3–5 days before your shoot boosts both your look and your confidence.
- Go easy on lashes. Whether you choose extensions or strip lashes, subtlety will always photograph better.
- Makeup is included. Arrive with a clean, moisturized face (no SPF or glitter) for best results.
- Smile confidently. If you’re self-conscious about your teeth, consider teeth whitening before your shoot.
- Mind your nails. Get a manicure the day before if your hands will show in your intended photos—chipped polish is tough to fix later.
- Outfits count. Dress in colors and styles that feel like you—and those that work well with your background.
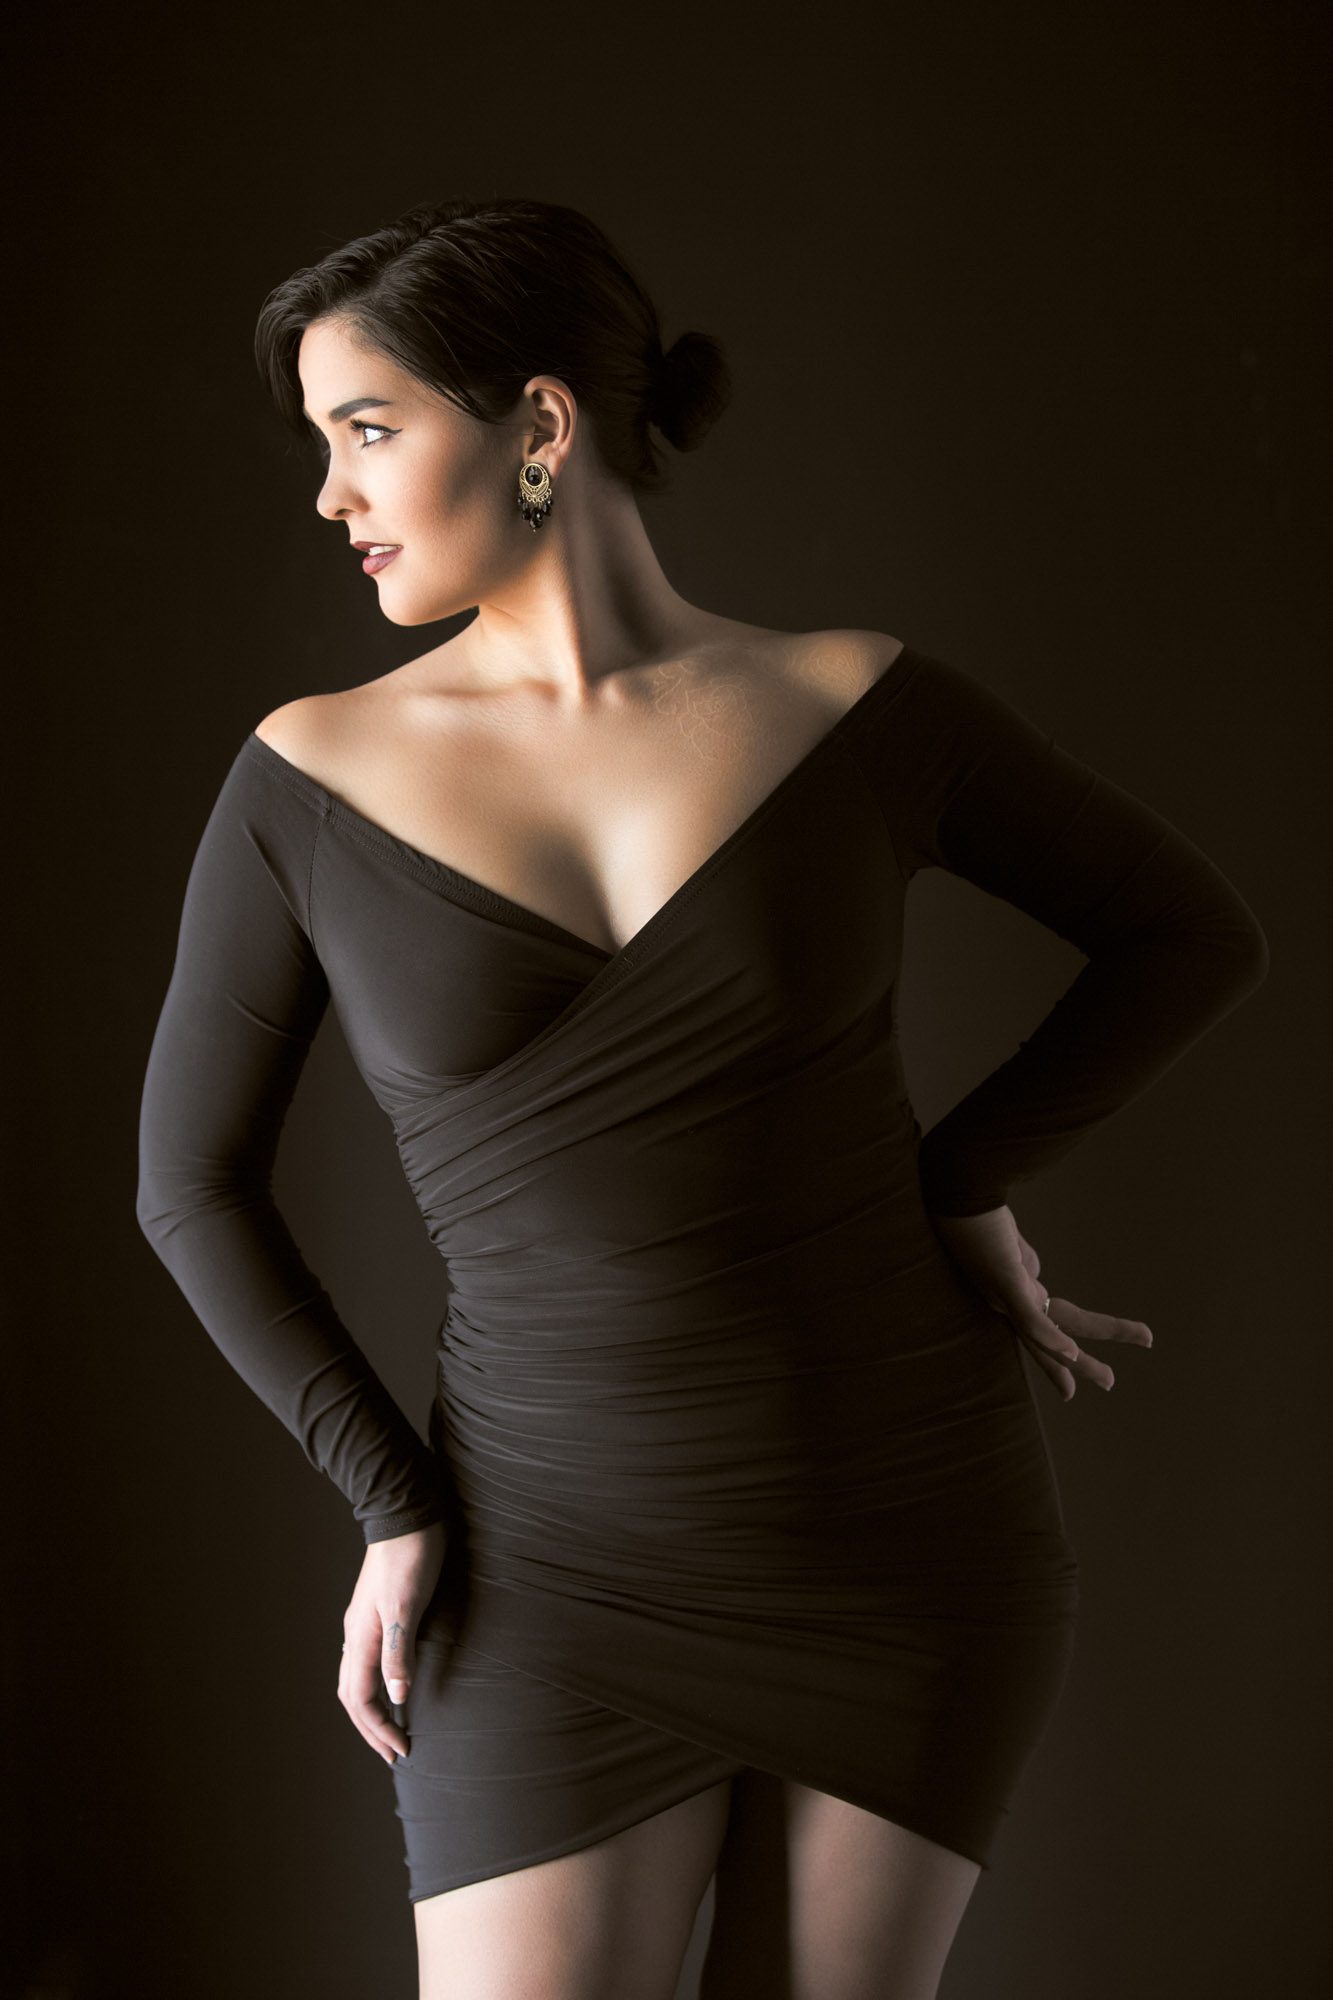
Hair Cut & Color
Getting your hair cut and colored before a shoot can boost your confidence and elevate your final images. If you’re coloring, aim to do it 3–5 days before your session. That gives dye stains time to fade and lets the color settle in. It’s also the perfect window to shape your brows or wax your face—especially if we’re doing close-up shots like headshots.
Even without color, a fresh trim goes a long way. Feeling good about how you look often translates directly into the energy you bring to the camera.
Want a little extra polish? Book a blowout at your go-to salon the morning of the shoot. It gives my makeup artist a clean, styled base to work with when finishing your look.

Blowouts are optional, but clean, dry hair is a must. Skip any leave-in products—my artist may need to use heat tools to style it. Whether you want it straightened, curled, or done up, just let me know in advance if someone else is handling your hair.
One word of advice: don’t try a brand-new hairstyle right before your shoot. Stick with what you know looks good. That way, you’re not stuck with photos of a look you regret.
Makeup
Good makeup is invaluable for enhancing your portraits. The aim is to optimize your photos before editing. Part of how to look good in pictures is setting a strong foundation—literally—with your skin. By perfecting your appearance in-camera, I can then refine your photos to achieve a high-end, polished look. That’s why every photo shoot with me includes hair and makeup; it truly makes a significant difference in your final images.
For the best makeup results, exfoliate and moisturize your face the night before your photoshoot. On the morning of your session, it’s preferable to arrive with a clean face, free of any products.

If you choose to apply moisturizer, do so a few hours before your makeover, ensuring it contains no SPF, glitter, or other reflective elements.
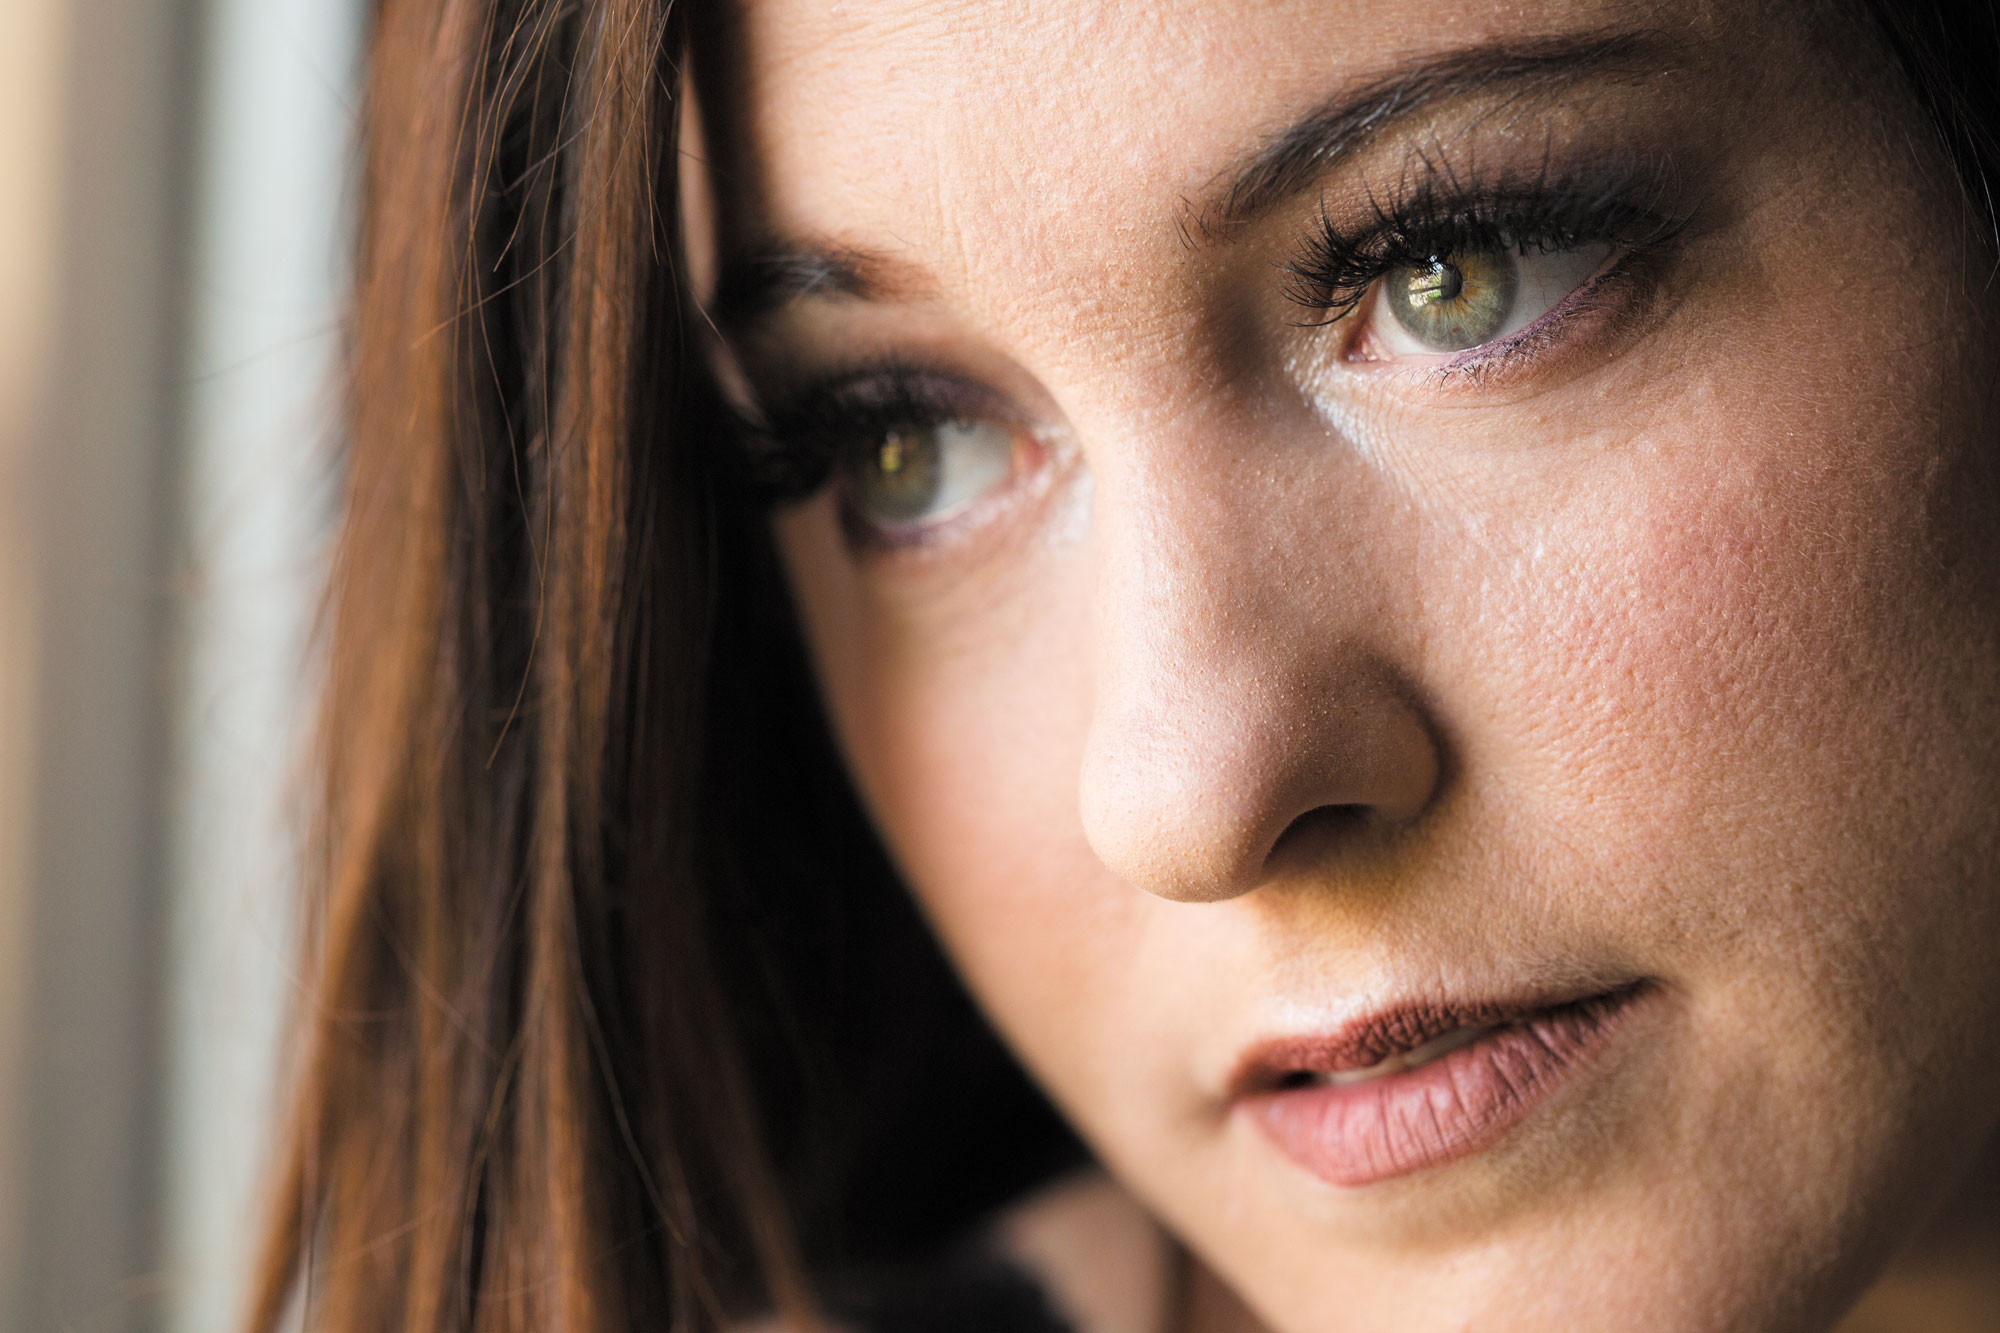
Eyelash Enhancement Options
Makeup does a lot to bring out your eyes, but lash extensions—or even strip lashes—can take them to the next level. Both work well, but they come with different pros and cons.
Here’s the key: don’t overdo it. Super thick or long lashes can look like you’ve installed caterpillars above your eyes. Knowing how to look good in pictures often means choosing subtle enhancements that highlight your best features without over doing it. Less really is more here.
Lash Extensions
With extensions, a lash artist glues lightweight lashes to your natural ones. You can choose the length, curl, and thickness to match your style. The most natural-looking option is a single lash extension per lash. For more volume, they can fan out multiple tiny lashes from a single point—called 2D to 4D lashes.
Just be careful with high-volume lashes. If they’re not applied well, they can look clumpy and overdone. That’s why it’s so important to go to someone who knows what they’re doing.

If you’re local, I highly recommend Ducky Rickman at Wildflower Salon in Cotati. She’s fantastic and knows exactly how to enhance your eyes without going too far. You’ll walk out feeling confident and photo-ready.
Strip Lashes
Strip lashes are applied along your lash line during your makeover.
If lash extensions aren’t in your budget, strip lashes are a solid alternative. They’re included at no extra charge and look great—especially when you’re facing the camera. Even in close-up headshots, most people can’t tell the difference.
The only time they might fall short is in beauty portraits where your eyes are closed or looking down. In those cases, the band of the strip can be more noticeable. But for nearly every other photo style, strip lashes hold up beautifully.

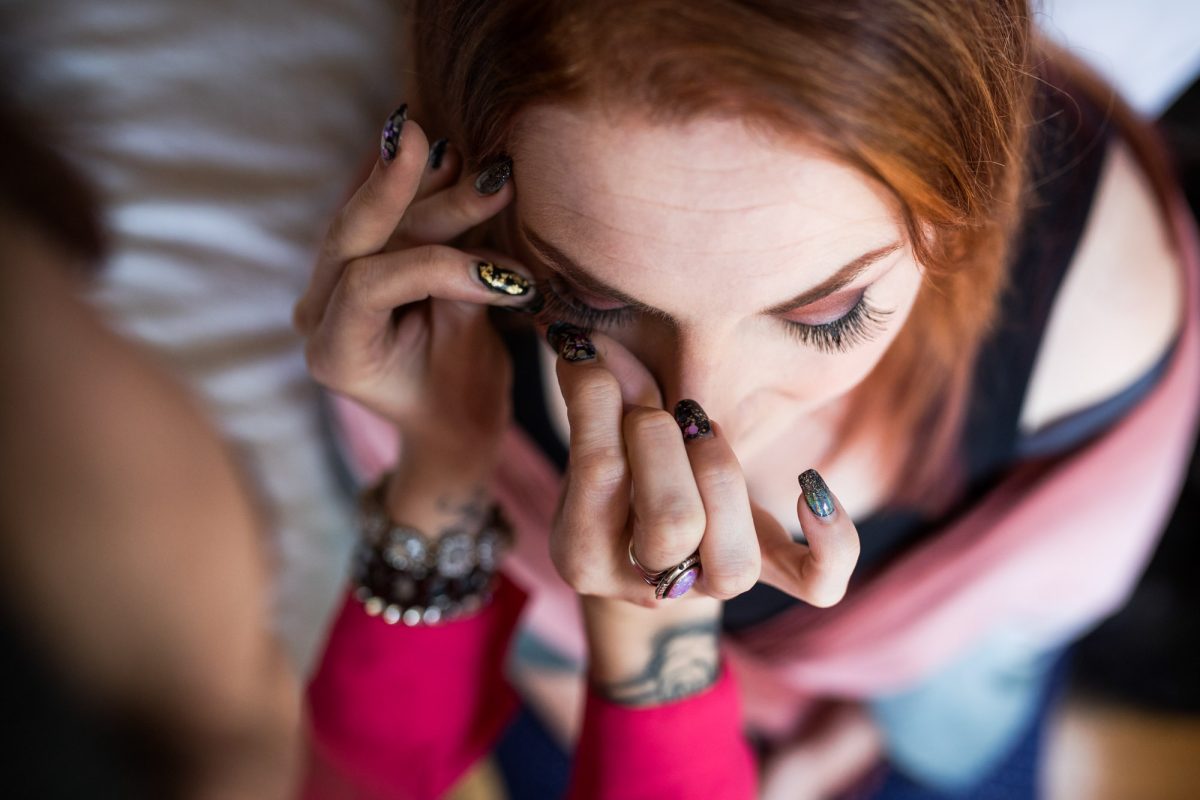
They’re quick, affordable, and make a big impact without the long-term commitment of extensions. This is another easy win if you’re focused on how to look good in pictures without the maintenance investment that comes with filling your lash extensions every 2-3 weeks.
Your Smile
The next aspect to consider for your photo shoot is teeth whitening. While not necessary for everyone, particularly younger individuals, it can be beneficial if you’re older or consume substantial amounts of coffee, red wine, etc.
I’ve encountered clients who, self-conscious about their teeth’s color, hesitate to smile openly. Instead of resorting to closed-mouth smiles due to insecurities, it’s preferable to whiten your teeth before your photo shoot.
Eliminating insecurities prior to your photo shoot contributes to better photos, as it lets you concentrate on your photographer’s guidance rather than worrying about any perceived flaws, like the shade of your teeth.
If you’re trying to figure out how to look good in pictures, a confident, natural smile goes further than almost anything else. Teeth whitening can be professionally done by a dentist or at home using various over-the-counter products. Regardless of your choice, it’s wise to consult your dentist before proceeding for two reasons:
- Your dentist has access to superior, prescription-grade products that you can’t purchase online.
- Seeking advice from a dentist is more reliable than taking recommendations from a photographer’s blog (like this one).
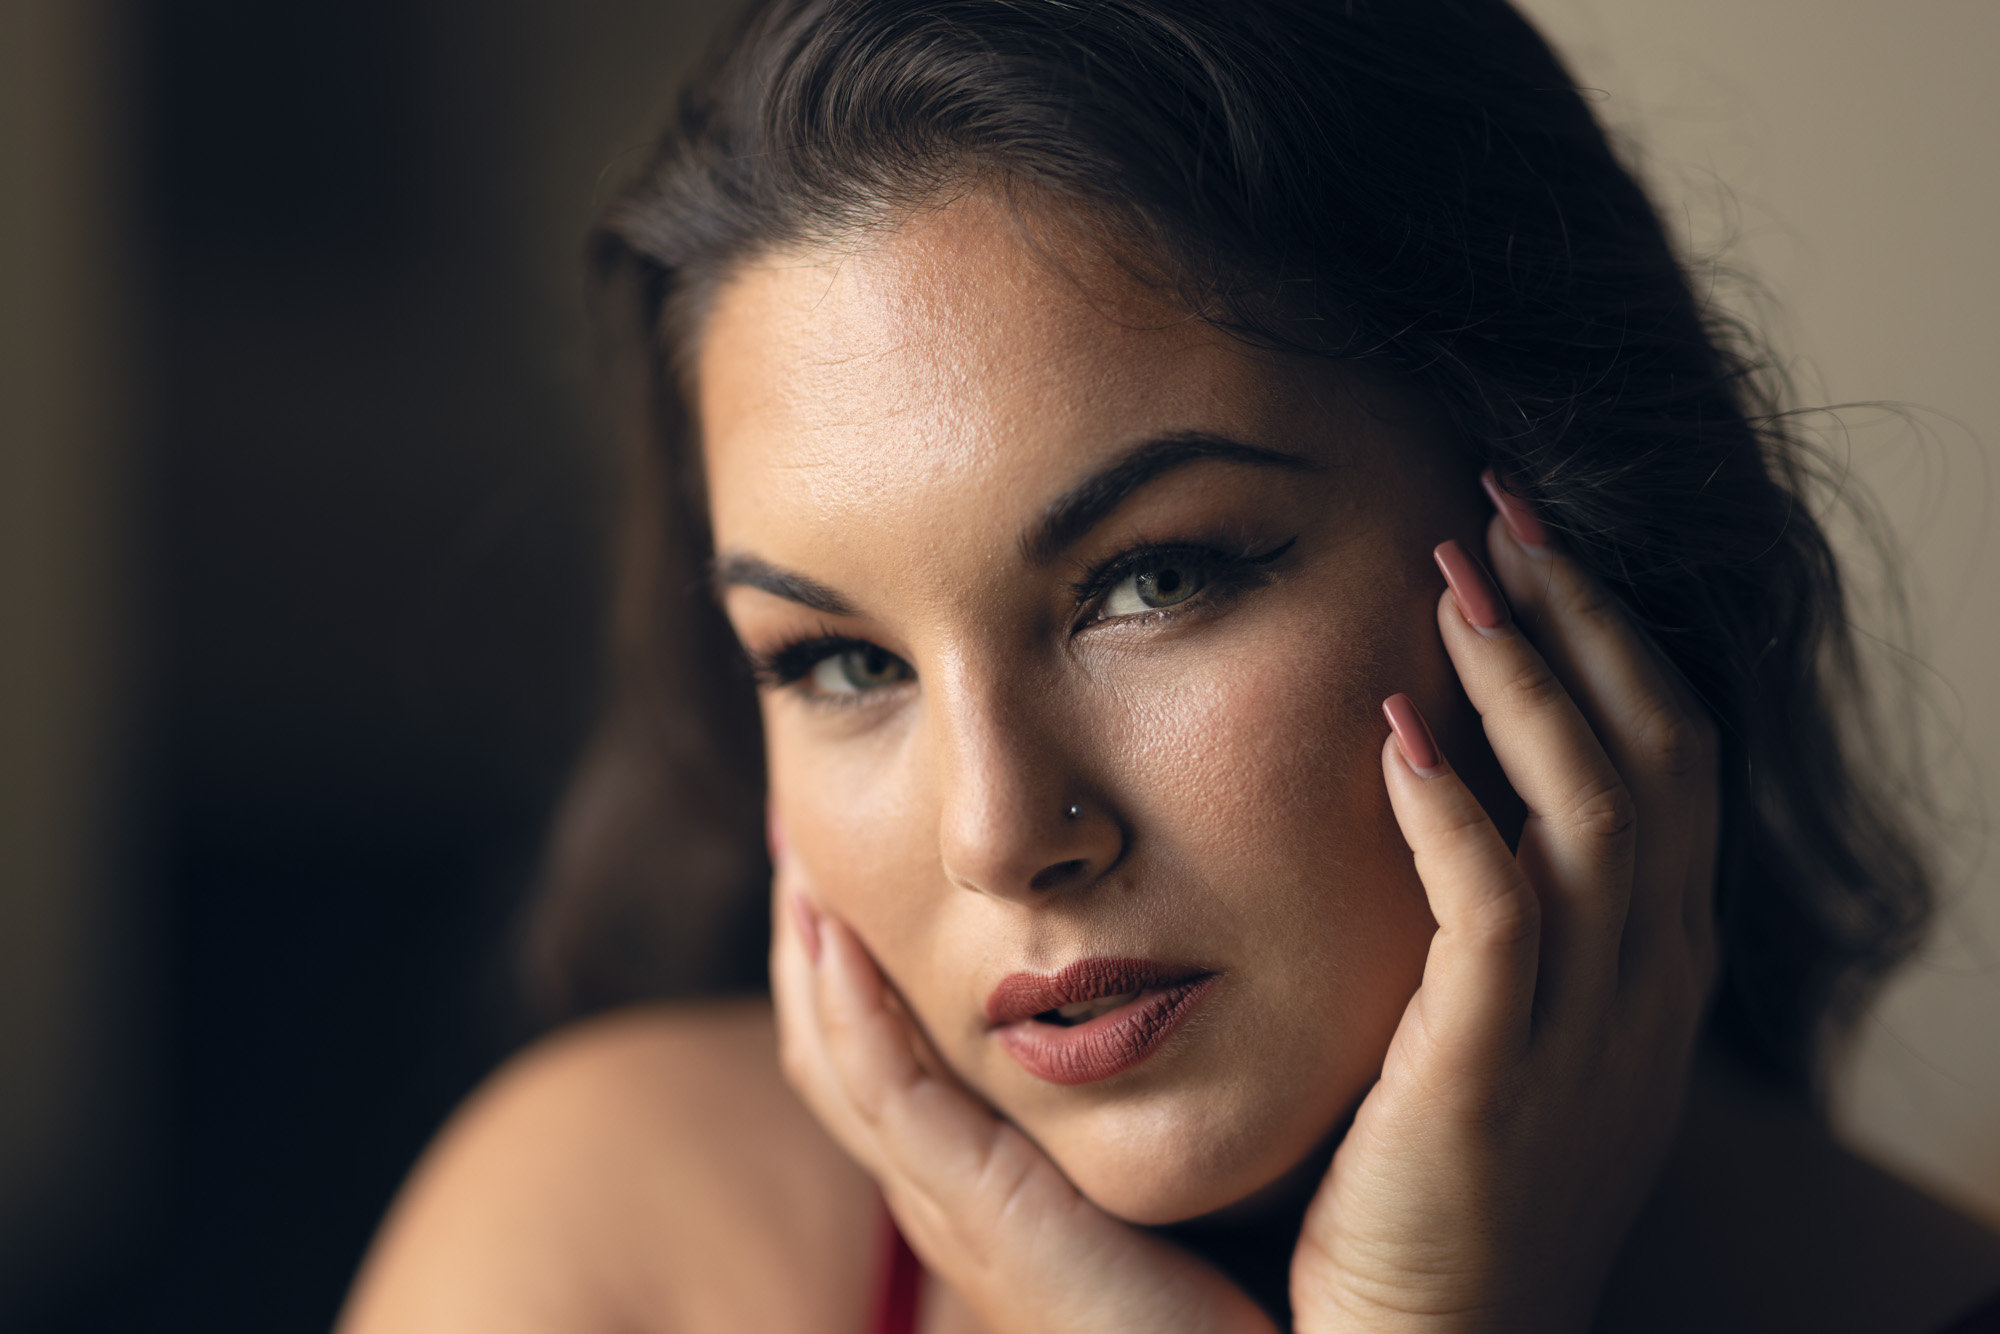
Nails
The last personal care detail to consider for your portraits is your nails. If you’re only taking headshots, manicuring your nails isn’t necessary since your hands won’t be featured in the photos. However, for 3/4 or full-length portraits where your hands are visible, you might want to think about getting your nails done.
Personally, painted nails don’t sway me either way. For your photos, what’s crucial is that nail polish is either entirely present or completely absent.
If you opt to manicure your nails, the optimal time to schedule your appointment is the day before your photo shoot.
It may seem minor, but even clean, cared-for nails play into the overall picture of how to look good in pictures. This timing ensures your nails are in the freshest state for your final images. Repairing chipped nails in Photoshop is time-consuming, and you’ll always achieve better results by capturing things as perfectly as possible in-camera. It’s also wise to avoid booking your appointment too far in advance, as nails that have grown out can detract from your photos.
Outfits
Now that you’re versed in preparing your body for a photo shoot, it’s time to discuss the outfits you’ll don for your portraits. While everyone has unique stylistic preferences, it’s important to choose ensembles that reflect your true self. One universal consideration is how your outfit’s color will harmonize with your photo shoot location. This post about color-coordinating outfits should assist you in selecting colors and prints that enhance your photos, preventing any jarring color discrepancies.
If you’re budget-conscious or simply seeking new attire for your photo shoot, consider renting you outfits. Several online services offer outfit rentals, providing a cost-effective way to access fashionable pieces without purchasing them. Moreover, many of these clothing rental platforms offer discounts for your initial subscription, making it an exceptionally affordable approach to styling yourself in designer outfits.
Knowing how to look good in pictures also means understanding what outfits work best for your body and setting. A well-chosen outfit can tie your whole look together and elevate the tone of your photos.
How To Look Good In Pictures FAQ
If you’ve made it this far, you probably want to get every detail right—and that’s exactly what this section is for. Below are answers to the most common questions I hear from clients who want to know how to look good in pictures. Whether it’s your first photoshoot or your tenth, these tips will help you show up prepared, confident, and ready to look your best.
Where Are Some Good Places To Rent Clothes For Pictures?
–Rent the Runway Unlimited – Rent Designer Fashion for Women.
–Tulerie – Peer to Peer Clothing Rental Community.
–Rainey’s Closet – Rent Stylish Children’s Clothing & Maternity.
–Infinite Style by Ann Taylor – Rent Stylish Clothes With Professional Options.
–Express Style Trial – Rent the Latest Styles for Men & Women.
Do I Need To Do Everything On This List?
Nope. The list is a guide of what you should consider, not a checklist. Pick what’s most important for your goals and budget.
Will Professional Makeup Really Make That Much of a Difference?
Absolutely. It’s one of the biggest factors in how polished your photos look—and how confident you’ll feel during the shoot. Studio lighting is intense. Good makeup smooths, sculpts, and enhances your features so you shine under those lights. The wrong products, though, can leave you with shiny hotspots or a washed-out face.
When women do their own makeup, they often use products that look fine in person but fall apart on camera. Foundations with SPF, for example, can bounce light and give your skin a ghostly cast. Glitter, shimmer-heavy highlighters, or the wrong foundation undertone can all ruin a shot before we even press the shutter.
But great makeup isn’t just about the products—it’s about the artist. That’s why I work exclusively with Ducky Rickman. She very good at color matching, and knows exactly how to style your look for your intended portraits. She understands how different skin types and tones respond under studio lighting. She’s not just applying makeup—she’s sculpting your face to work with my lighting, lens, and vision. If you’re serious about learning how to look good in pictures, having the skilled people makes all the difference.