As a professional headshot photographer it’s the simple lighting setups that I use over and over when photographing my clients. This is because basic headshot lighting is not only easy to set up, but it’s also very effective for helping your clients connect with their clients online.
In this post I’m going to show you a few simple headshot lighting setups so you can learn how to take better headshots for your clients. In this post we’ll cover:
- Natural Light Setup for Headshots
- One Light Setup for Headshots
- 2 Light Setup For Headshots
This post may contain affiliate links, meaning I get a commission if you decide to make a purchase through my links at no cost to you. Please read my disclosure for more info.
Natural Light: Simple Headshot Lighting Setups

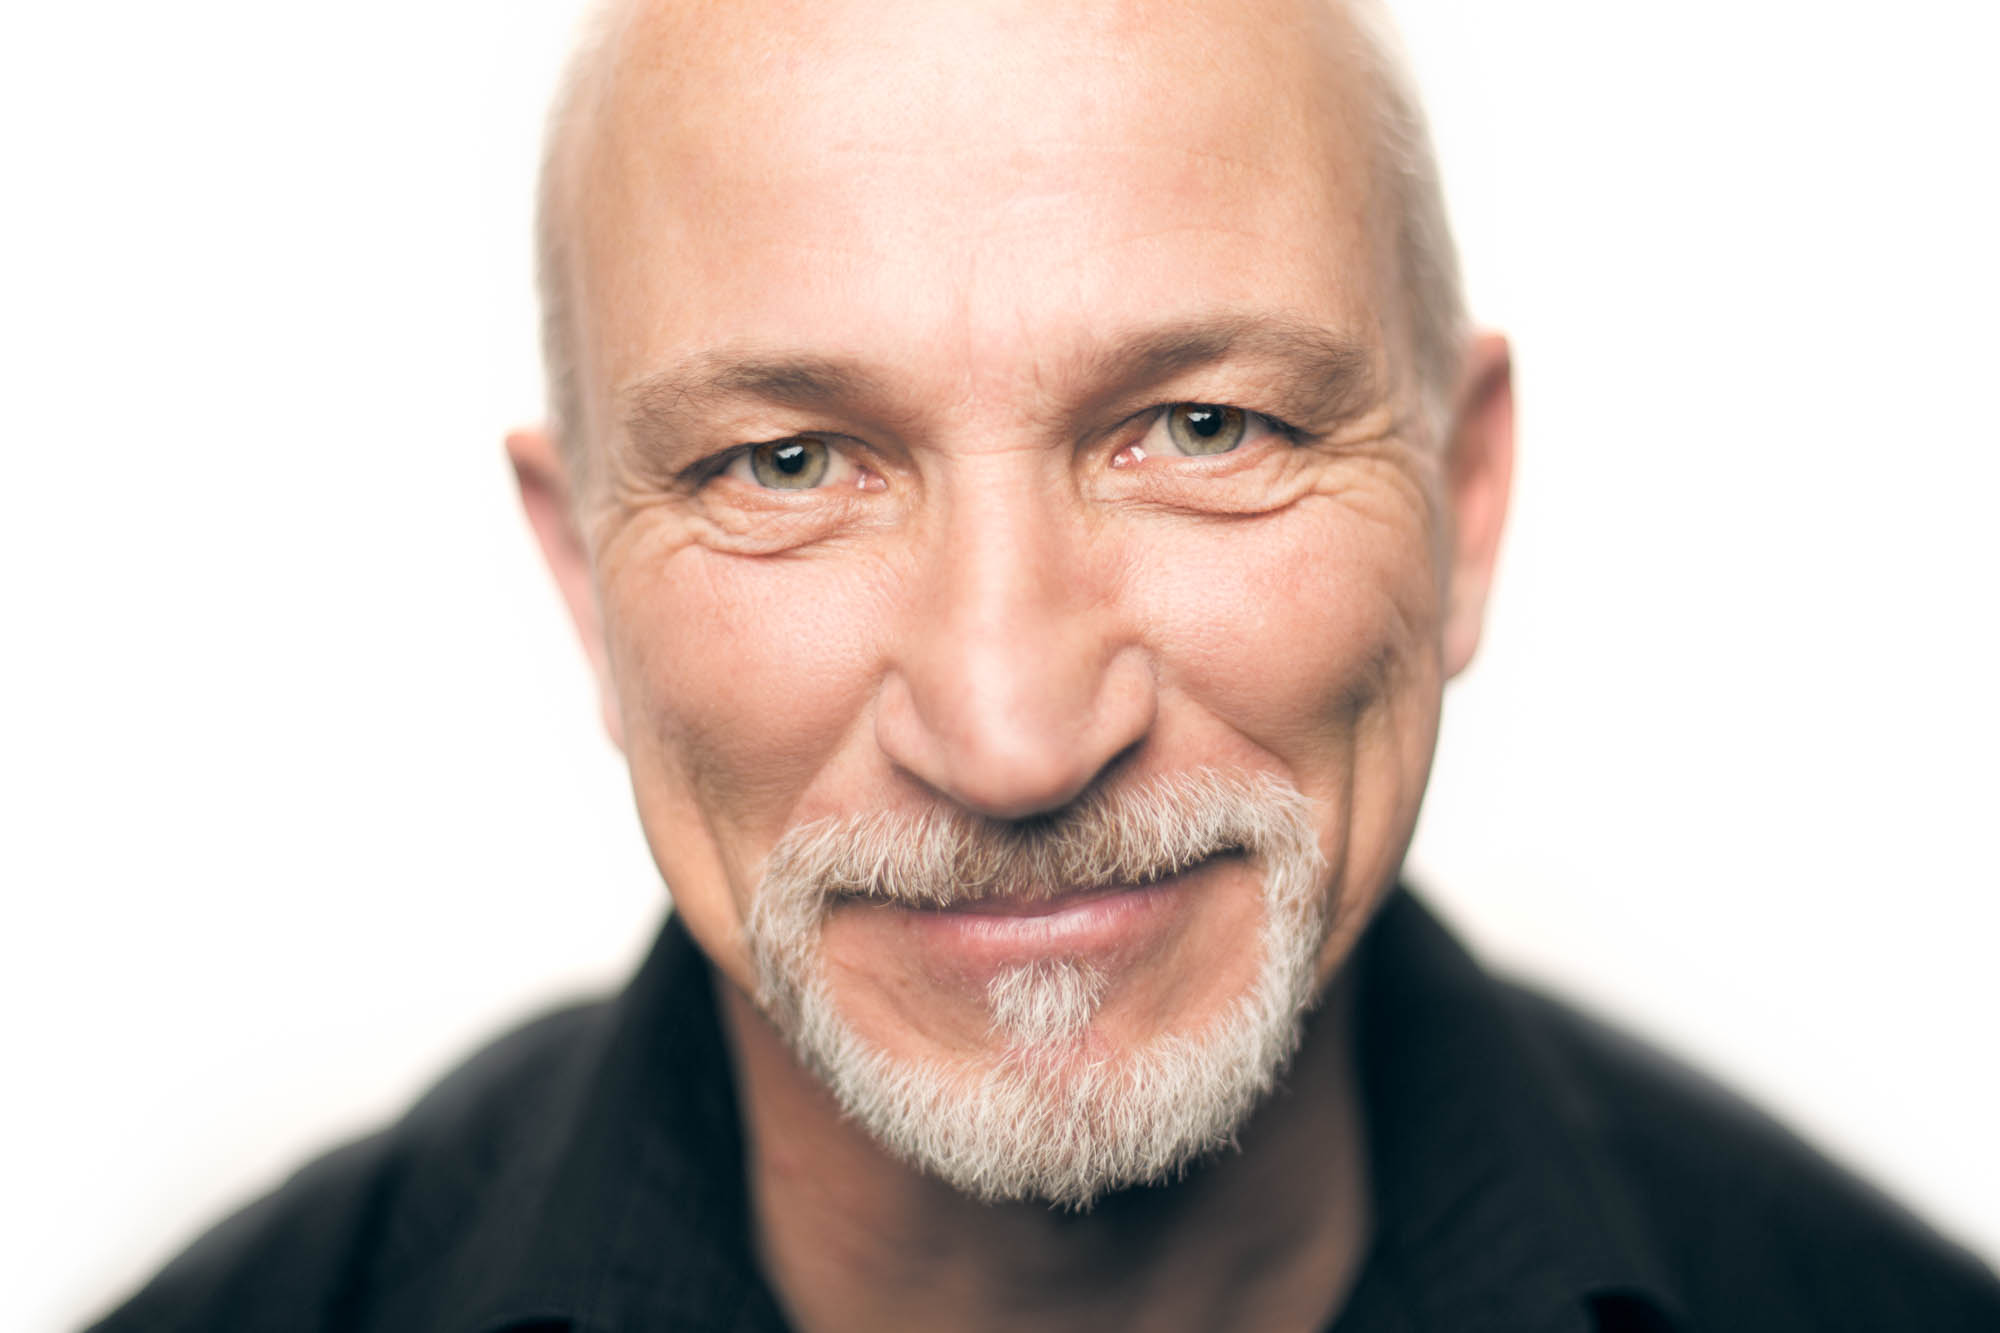
One of the easiest and least expensive ways to make your clients look great is by utilizing a window or door for natural light. This straightforward approach doesn’t necessitate special gear, making it ideal for beginners.
To use this method, stand in front of a window, and then ask your client to face you so that the window light comes straight at them from behind you. This headshot lighting setup creates a flat light pattern, eliminating any undesirable shadows on your client’s face that can happen with bad positioning.
To further enhance the results, position your client as close to the window as possible. This action not only softens the light but also improves facial contouring. If you’re shooting indoors, consider using a seamless background to neaten the area behind your client.
Ring light: Simple Headshot Lighting Setups

If you’re open to investing in a light for headshots, a ring light is arguably one of the best for beginners because they’re cheap and super easy to use. Simply position the ring light around the camera lens, and get your client as close as you can to the light while maintaining a flattering crop. In this placement, ring lights produce a flattering, shadow-free beauty light.
Another reason ring lights are really good for beginners is because they effectively fill in shadows on the face, which helps reduce imperfections like wrinkles, blemishes, and rough skin texture your clients might have.
That said ring lights aren’t a one trick pony either. They’re a light you can repurpose as a fill light should you choose to add lights to your kit in the future.

Equipment for ring light headshots
Simple Headshot Lighting Setup Using 2 Lights

One of the most simple 2 light headshot setups you can do is called the key and fill light setup. For this type of lighting you’re basically going to light your subject with a key light and then fill in the shadows on the face with a second fill light. In this example I used a large octobox as the key light and a medium size softbox for the fill light.
For this 2 light headshot setup you’re going to want to make sure and place your key light anywhere between the 12 and 2 o’clock position in relation to your subject. Then you’ll want to raise the key light above them so it shines down on them from roughly a 45 degree angle. So long as you place the key light anywhere within this range you will create a flattering light pattern on your clients face.
Next you’ll want to add in a second light to fill in the shadows caused by the key light. How much you fill in these shadows is entirely up to you. Generally speaking, the more skin imperfections your client has, the more fill light you’ll want to use.

Equiptment for 2 Light Setup
Like, Share & Comment!
I hope you found these simple headshot lighting setups helpful for better understanding how to light your clients. If you have any questions about anything, please leave a comment below and I’d be happy to help you out. Otherwise, so long as you follow the directions outlined in this post, I have no doubt that you’ll be able to create better quality headshots for your clients so they can better represent themselves online!