Looking to create some DIY Boudoir photography for yourself or significant other? In this guide, I’ll show you all my best tricks I’ve learned after thousands of hours experience photographing hundreds of women.
As a professional boudoir photographer I’ve learned a lot about creating flattering photos for women of all body types. With the tips in this guide you’ll learn how to create the best photos from your DIY boudoir photoshoot with minimal equipment.
Tips for DIY Boudoir Photography
- Things You’ll Need for Boudoir Selfies
- DIY Boudoir Photos With Phone
- Easy DIY Boudoir Poses
- How To Take Boudoir Photos of Yourself
- Where to Print DIY Boudoir Photos
- DIY Boudoir Photos For Husband
This post may contain affiliate links, meaning I get a commission if you decide to make a purchase through my links at no cost to you. Please read my disclosure for more info.
Can I Take My Own Boudoir Photos?
Yes! It’s absolutely possible to take your own boudoir photos! That said boudoir selfies can be very tricky to capture on your own without the aid of at least a tripod and remote trigger. I’ll show you my favorite inexpensive options for both in the next section.
Alternatively if you have a friend or significant other that can help you capture your photos, this can be a better solution than trying to do everything yourself. The reason for this is because it’s pretty hard to frame the photo, pose yourself, make a cute expression and take the shot all while making sure everything’s correctly exposed and in focus.
With all of this in mind, it should go without saying that it’s always best hire a professional boudoir photographer if you have the money. Not only will a professional help you physically capture the photo on better hardware, but their experience will also help you better pose your body for the most flattering angles and light.
If you’re patient though, you can definitely do your own DIY boudoir photoshoot with great results. Before you start taking your own photos though, I strongly suggest you first check out this post about how to choose boudoir lingerie for your body type. This guide will help you enhance your best assets and diminish your insecurities for your own unique body type.
What Do I Need For A DIY Boudoir Shoot?
Although I created this guide to show you how to take boudoir photos of yourself with as little gear as possible, there are obviously a few items you’ll need to succeed. While it’s true that you won’t technically “need” some of these items, they will definitely make capturing your boudoir selfies much easier.
Making things easier will generally lead to better photos because taking boudoir selfies can be a challenge in and of itself! Trust me when I say you don’t need the added distraction of having to run back and forth to your phone propped up on a chair. Thus, I recommend acquiring the following items before attempting your own DIY boudoir photography.
Manual Camera App
Obviously you’ll need something to capture your photos with. You can totally use your phone so long as you have some sort of a manual camera app installed. The native iphone camera won’t work for instance as it will generally re-expose the image when you move around in the frame. You can find a list of the best manual camera apps here. Alternatively any dedicated late model digital camera will always capture better quality photos then your phone will.

Phone Tripod
Although you don’t technically need a tripod for your DIY boudoir photoshoot, getting a phone tripod selfie stick kit like this will get you much better photos then trying to lean your phone against something.
Additionally most tripods these days also convert into selfie sticks which can be another good way to take boudoir selfies from different angles and extend the phone further than your arm’s can reach. If that’s not enough, most phone tripod kits also come with their own Bluetooth remote triggers included.
For all of these reasons, I strongly recommend getting one of these tripod kits if you want to capture your boudoir photos on your own. It’s really a no brainer when you consider how much easier this inexpensive solution will make capturing your boudoir selfies.

Bluetooth Remote Trigger
While most tripods and selfie sticks these days come with remote triggers, you can also purchase a stand alone remote trigger if you have a tripod, but no way to take a photo remotely.
Although you can take a photo using your phones built in timer option, this is generally a less ideal way to capture your boudoir images as you’ll have to walk back and forth to your phone using it’s built in timer. This can really mess up the framing of your photo as you try to pose back in the same position before the timer goes off.
Tips To Get The SEXIEST DIY Boudoir Photos Possible
It’s important to note that getting the best boudoir photos is mostly about paying attention to a bunch of easy little details that will add up to create stunning images. By focusing on these simple things, you can ensure that you’ll look your best in your photos without editing. The following is the guide that I give to my clients to help them get the best boudoir photos possible when they book their boudoir photoshoot with me.
Inside The Boudoir Guide
Lingerie For Your Body Type: Learn the best styles that will enhance your body type, and draw attention away from your sensitive areas. Choosing the best lingerie for your body type will not only improve your images visually, but it will also help make you feel confident when snapping your photos.
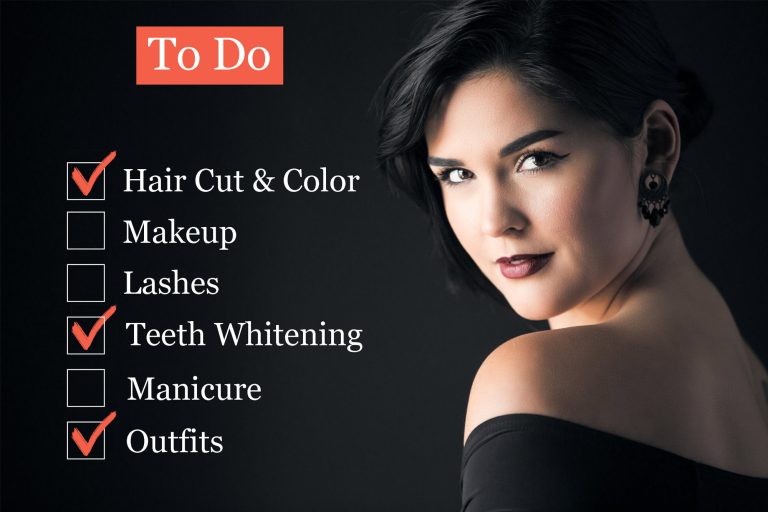
The Camera-Ready Checklist: Consider the personal care appointments listed in this section for well-groomed hair, nails, and skin, as they can significantly impact the quality of your photos. Remember that you don’t have to do everything in this section of the guide, but you should be aware of all of these things and do the ones that resonate with you most before you begin taking photos!
Efficient Workout Guide: Almost all of my clients say they want to loose weight before their photoshoot. If you want to lean out before you take your photos, this section will show you the healthiest, and most efficient way to tone up before you start taking pictures. With these tips, expect changes you’ll notice in 30 days and results other people will notice in 3 months.
DIY Boudoir Photos With Phone
Now that you know all the basic tools you’ll need and how to prepare your appearance, let’s talk specifically about how to take your own boudoir photos with your phone.
First, you’re going to want to install your manual camera app of choice on your phone (mentioned earlier). This is important especially in the case of iPhone users as the native camera app will annoyingly adjust the exposure automatically to try to “help” you. This is very annoying when you get everything framed right, rock your pose and then the camera exposure shifts to over or under expose you. There’s really no sense in making this harder than it needs to be.
Using a manual camera app will allow you to set your exposure with the drag of your finger and lock it in place so you can just focus on posing yourself and making seductive expressions.
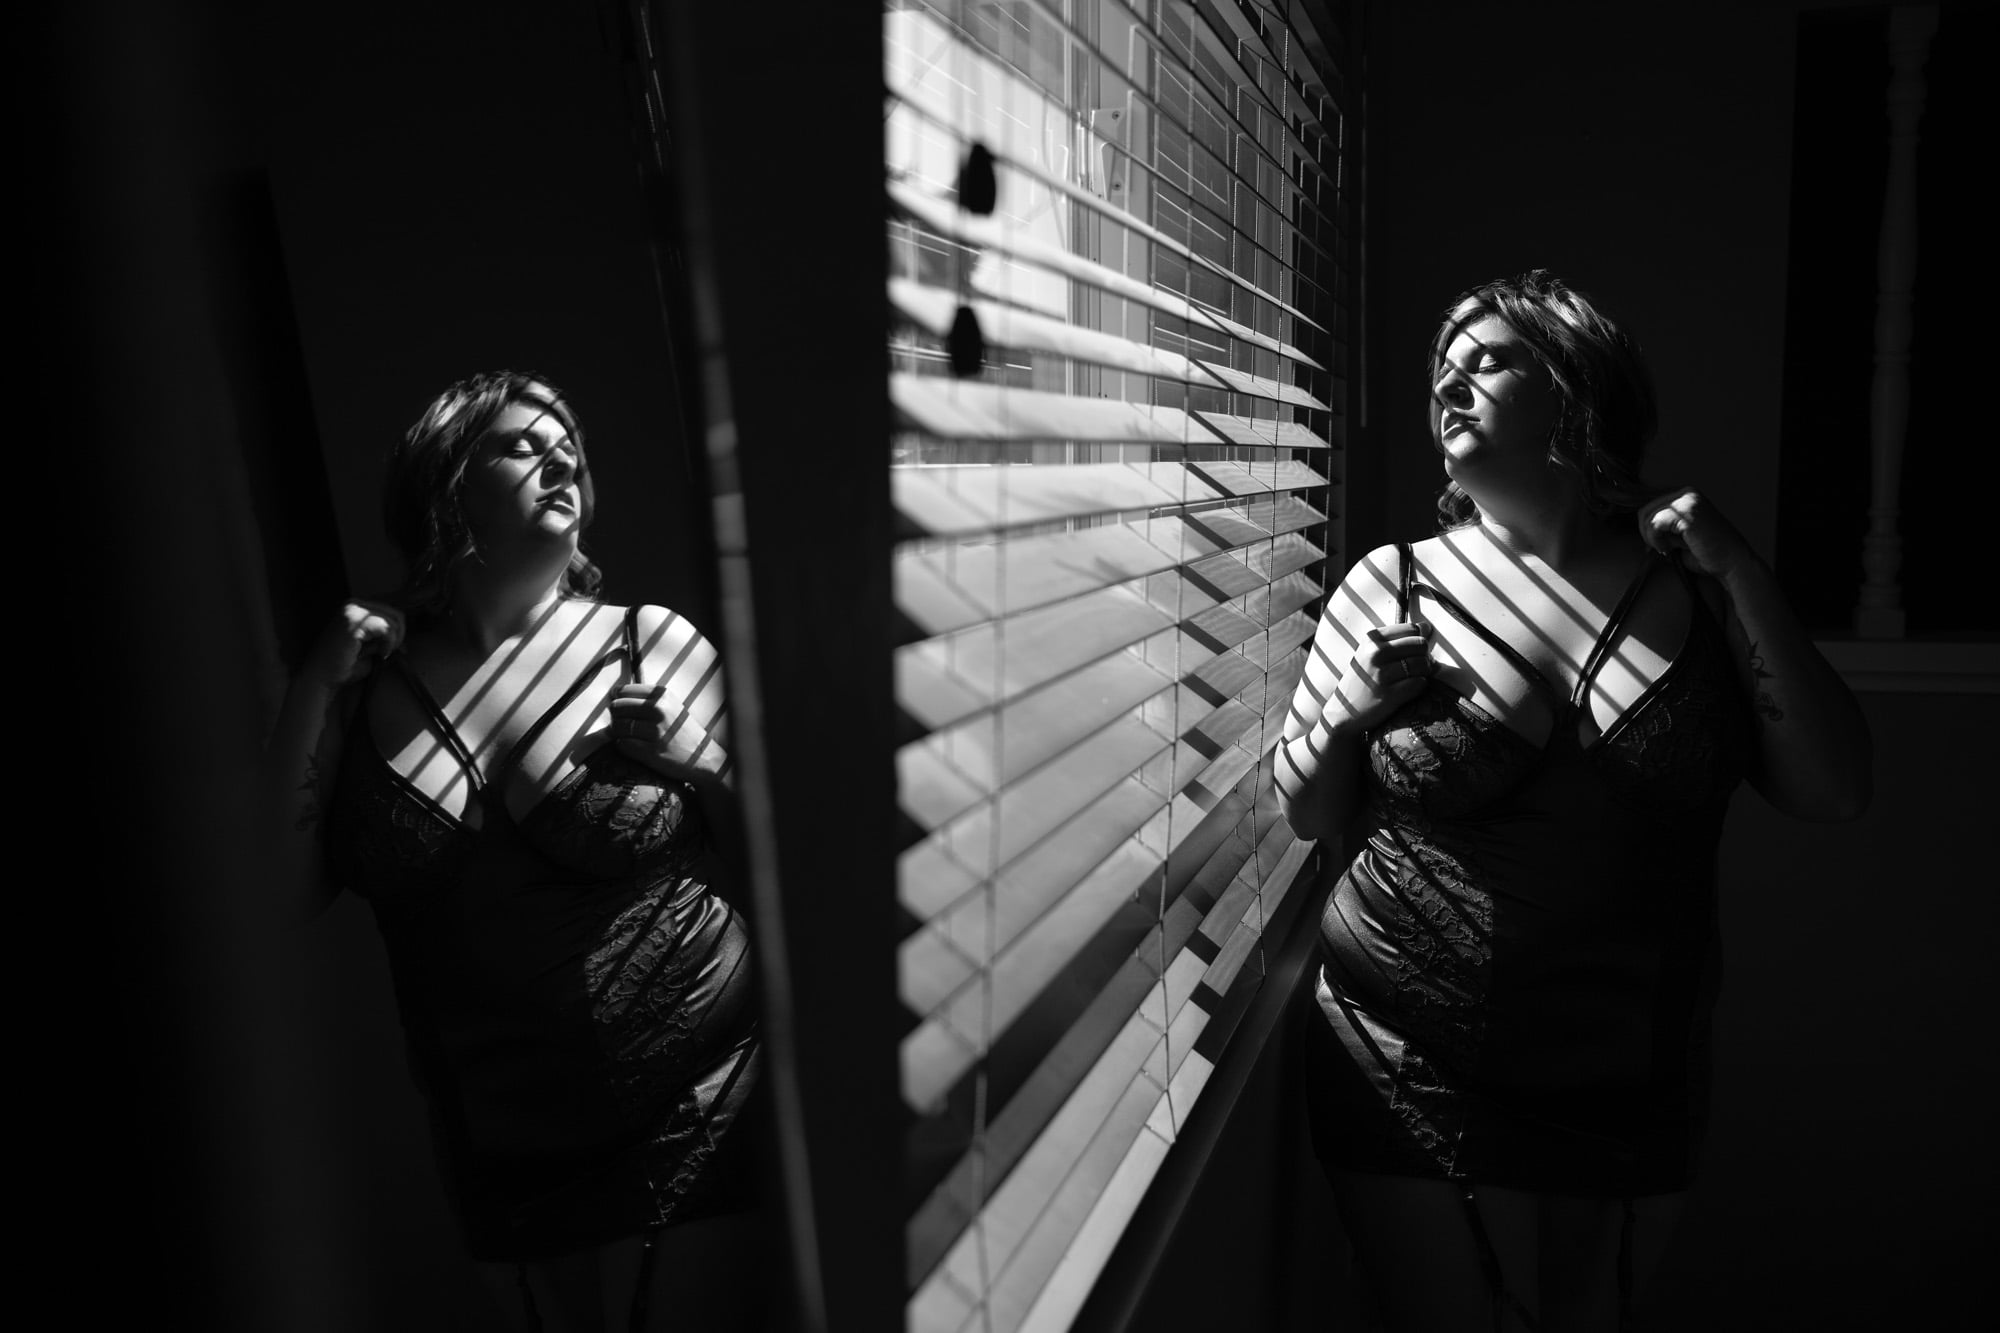
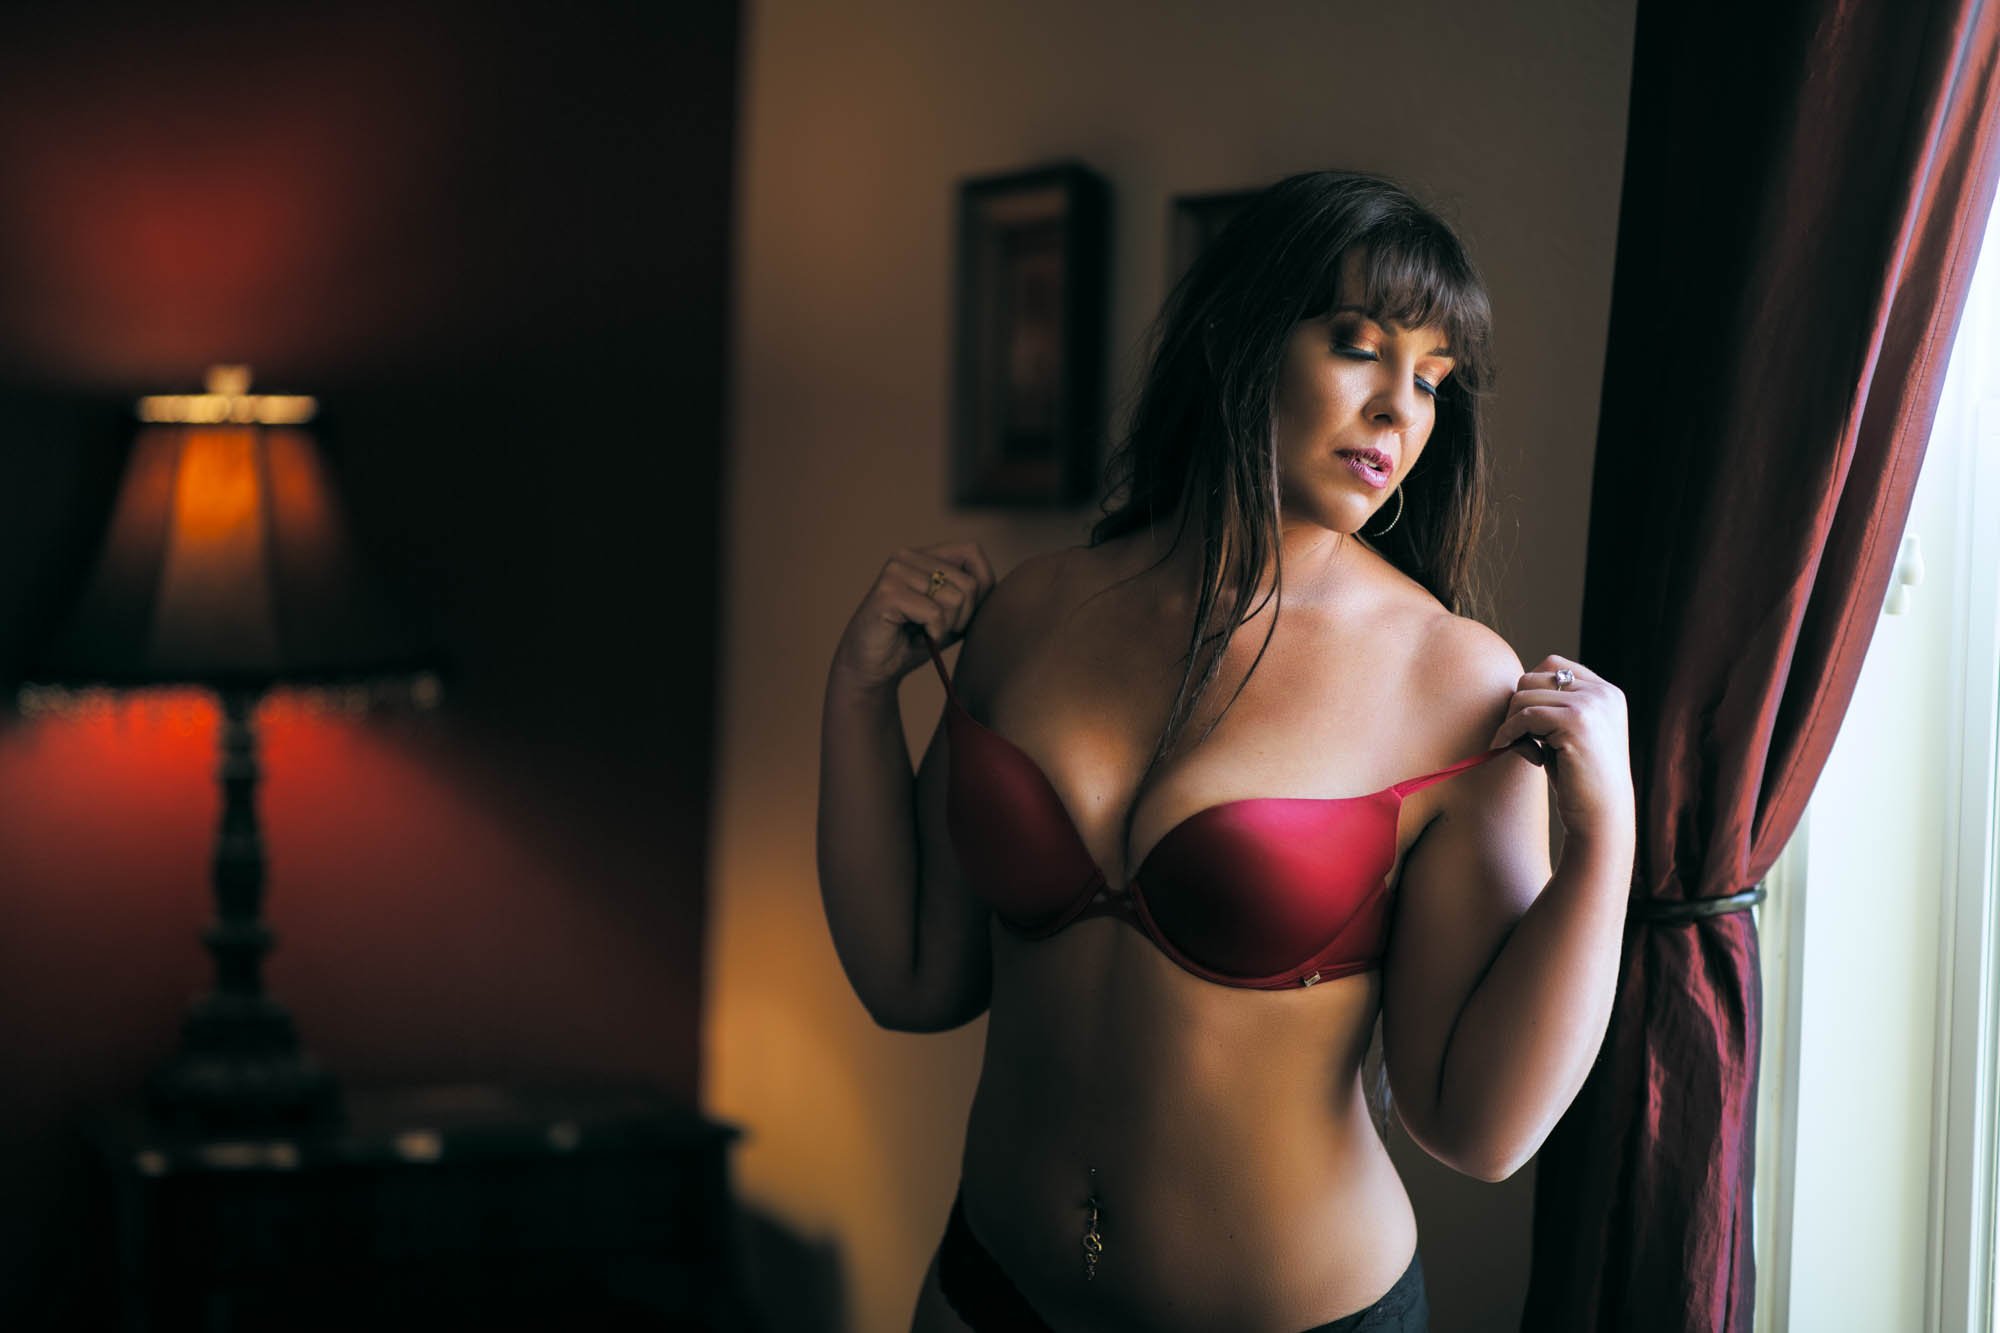
Second, you’re going to want to set yourself up with your phone and tripod in an area with good light. The easiest place for this that everyone should be able to find is a window. For the most forgiving soft light, you’ll want to choose a window that doesn’t have direct sunlight shining though it. This will produce soft, forgiving light across your body that will not only look great but will also be more resistent to posing mistakes.
Then once everything is set up all you need to do is pose yourself into the window light (more on this in a moment) and take some pictures. Using your remote trigger you’ll be able to capture a whole set of photos at one time. This will allow you to focus on finessing your pose rather than running back and forth to your phone to set a timer.
How to take your own boudoir photos with your phone
For the best quality you’ll want to use the rear facing camera on your phone, that said, it will be way easier to frame your photo using the front facing camera at the cost of image quality.
While each method has it’s own advantages, I generally recommend you use the front facing camera so you can see how your shot will be framed before you take the shot. Using the higher quality rear facing camera will force you to compose your shot blind. This is doable but much harder to pull off. You can learn more about how to take your own boudoir photos with your phone in this guide if you’d like.
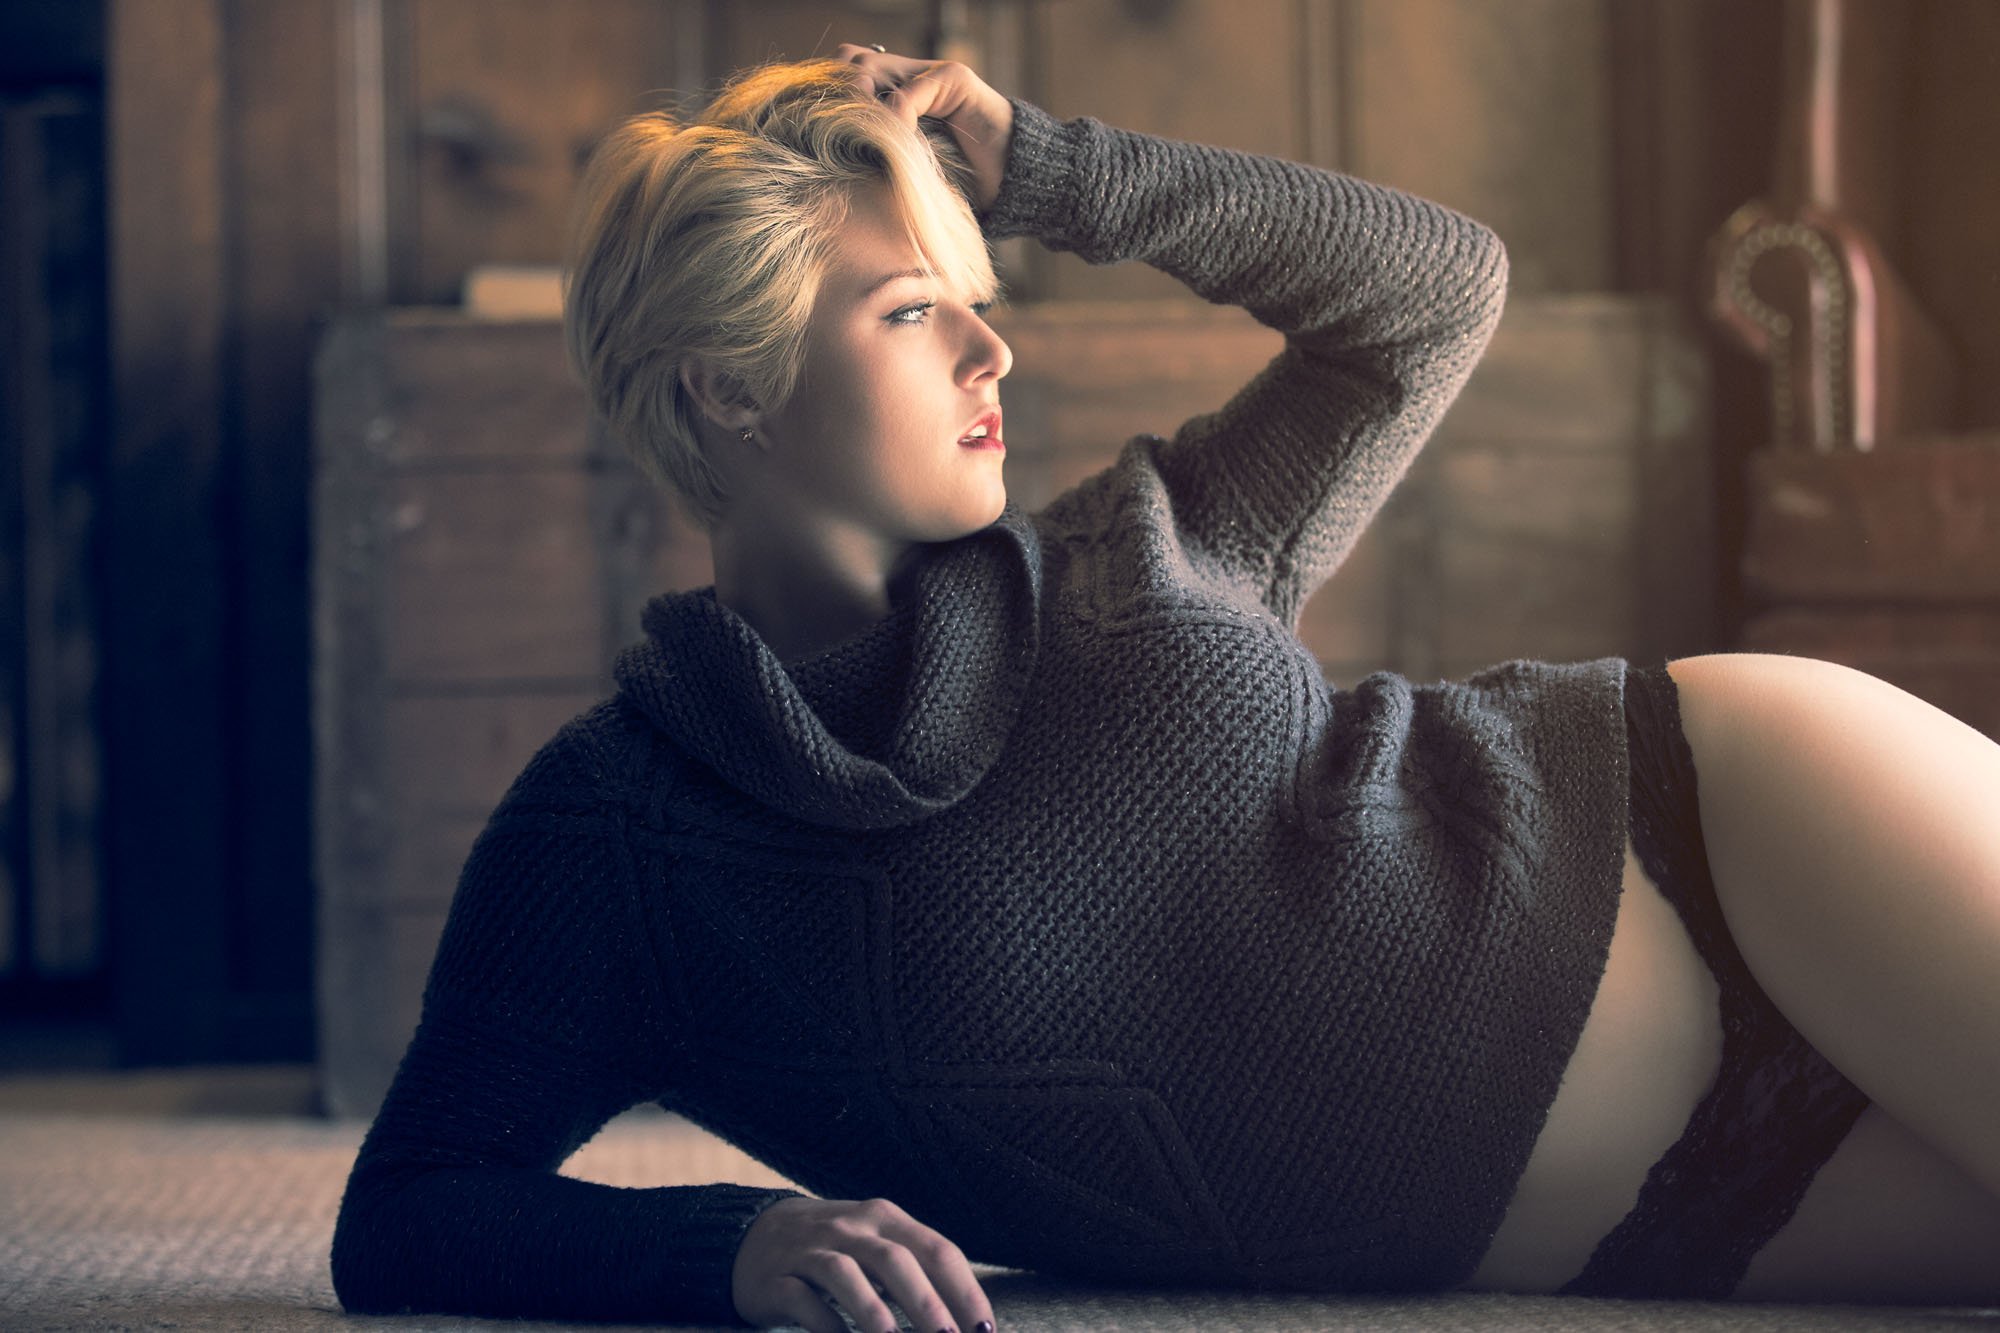
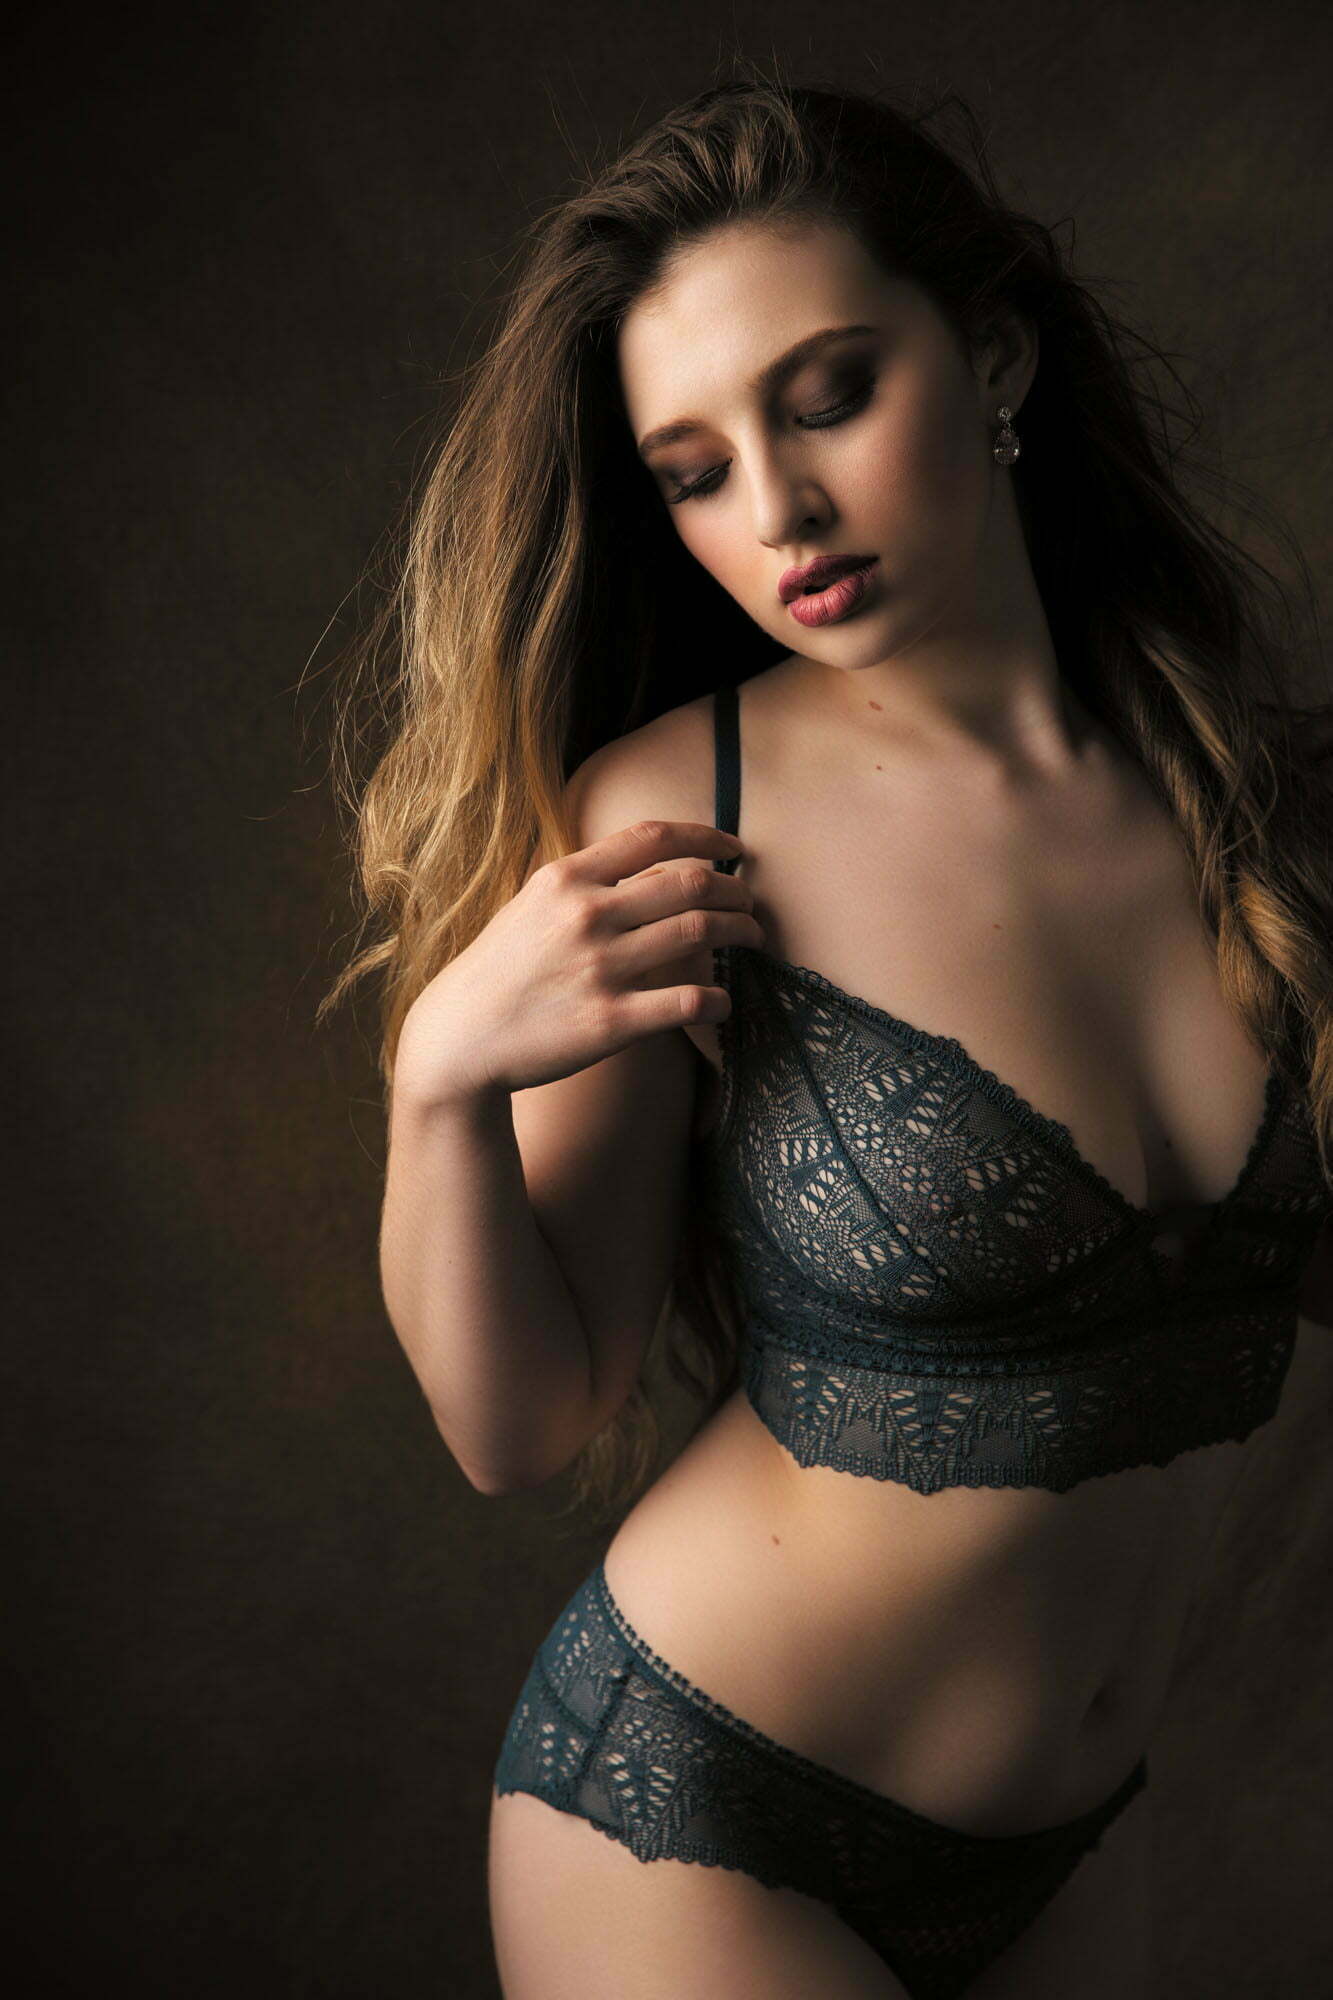
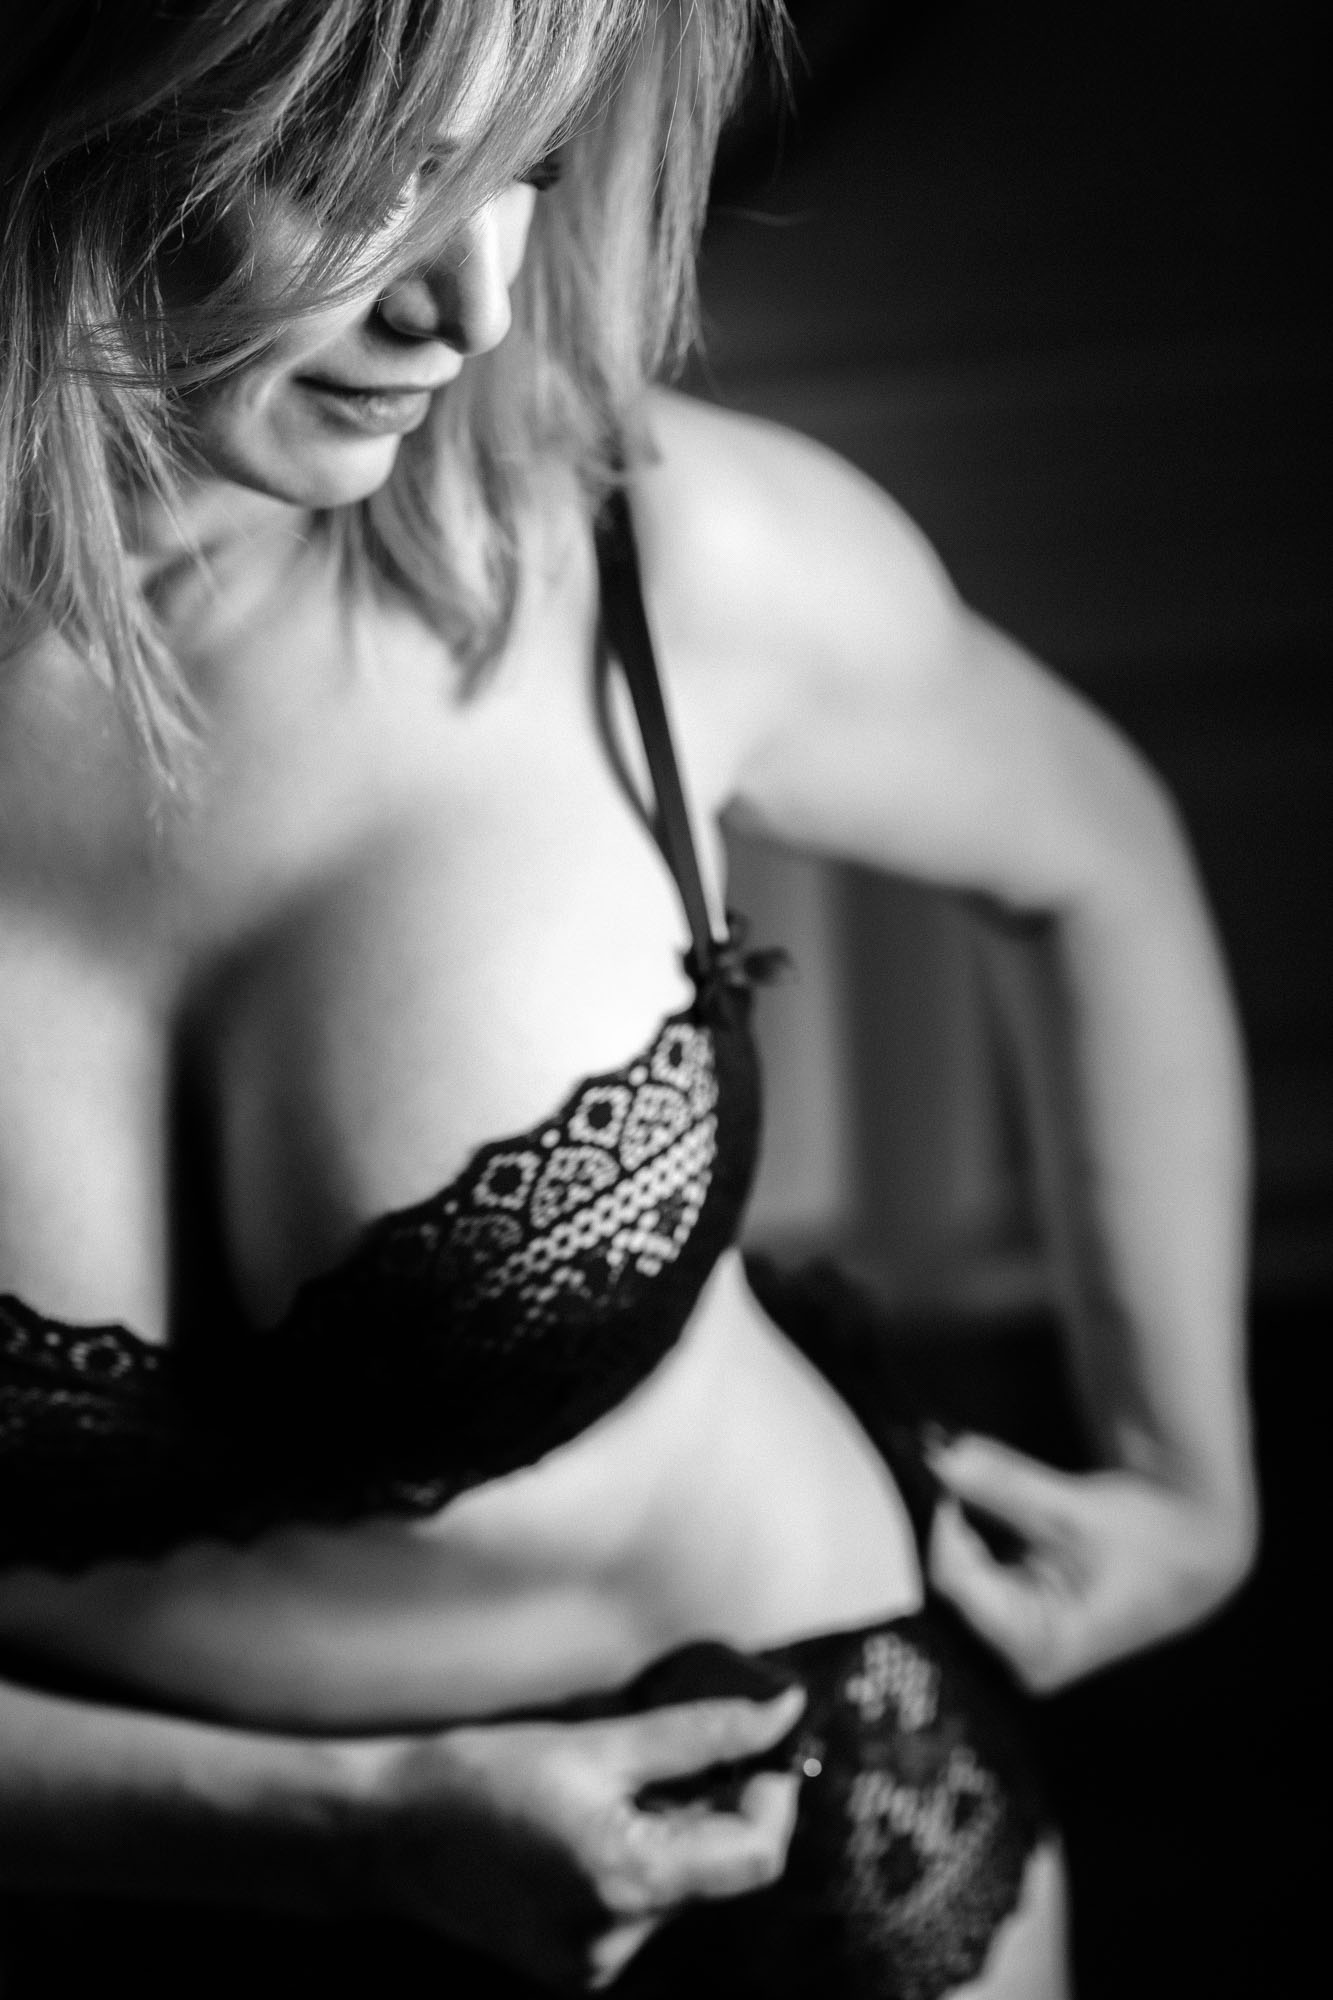
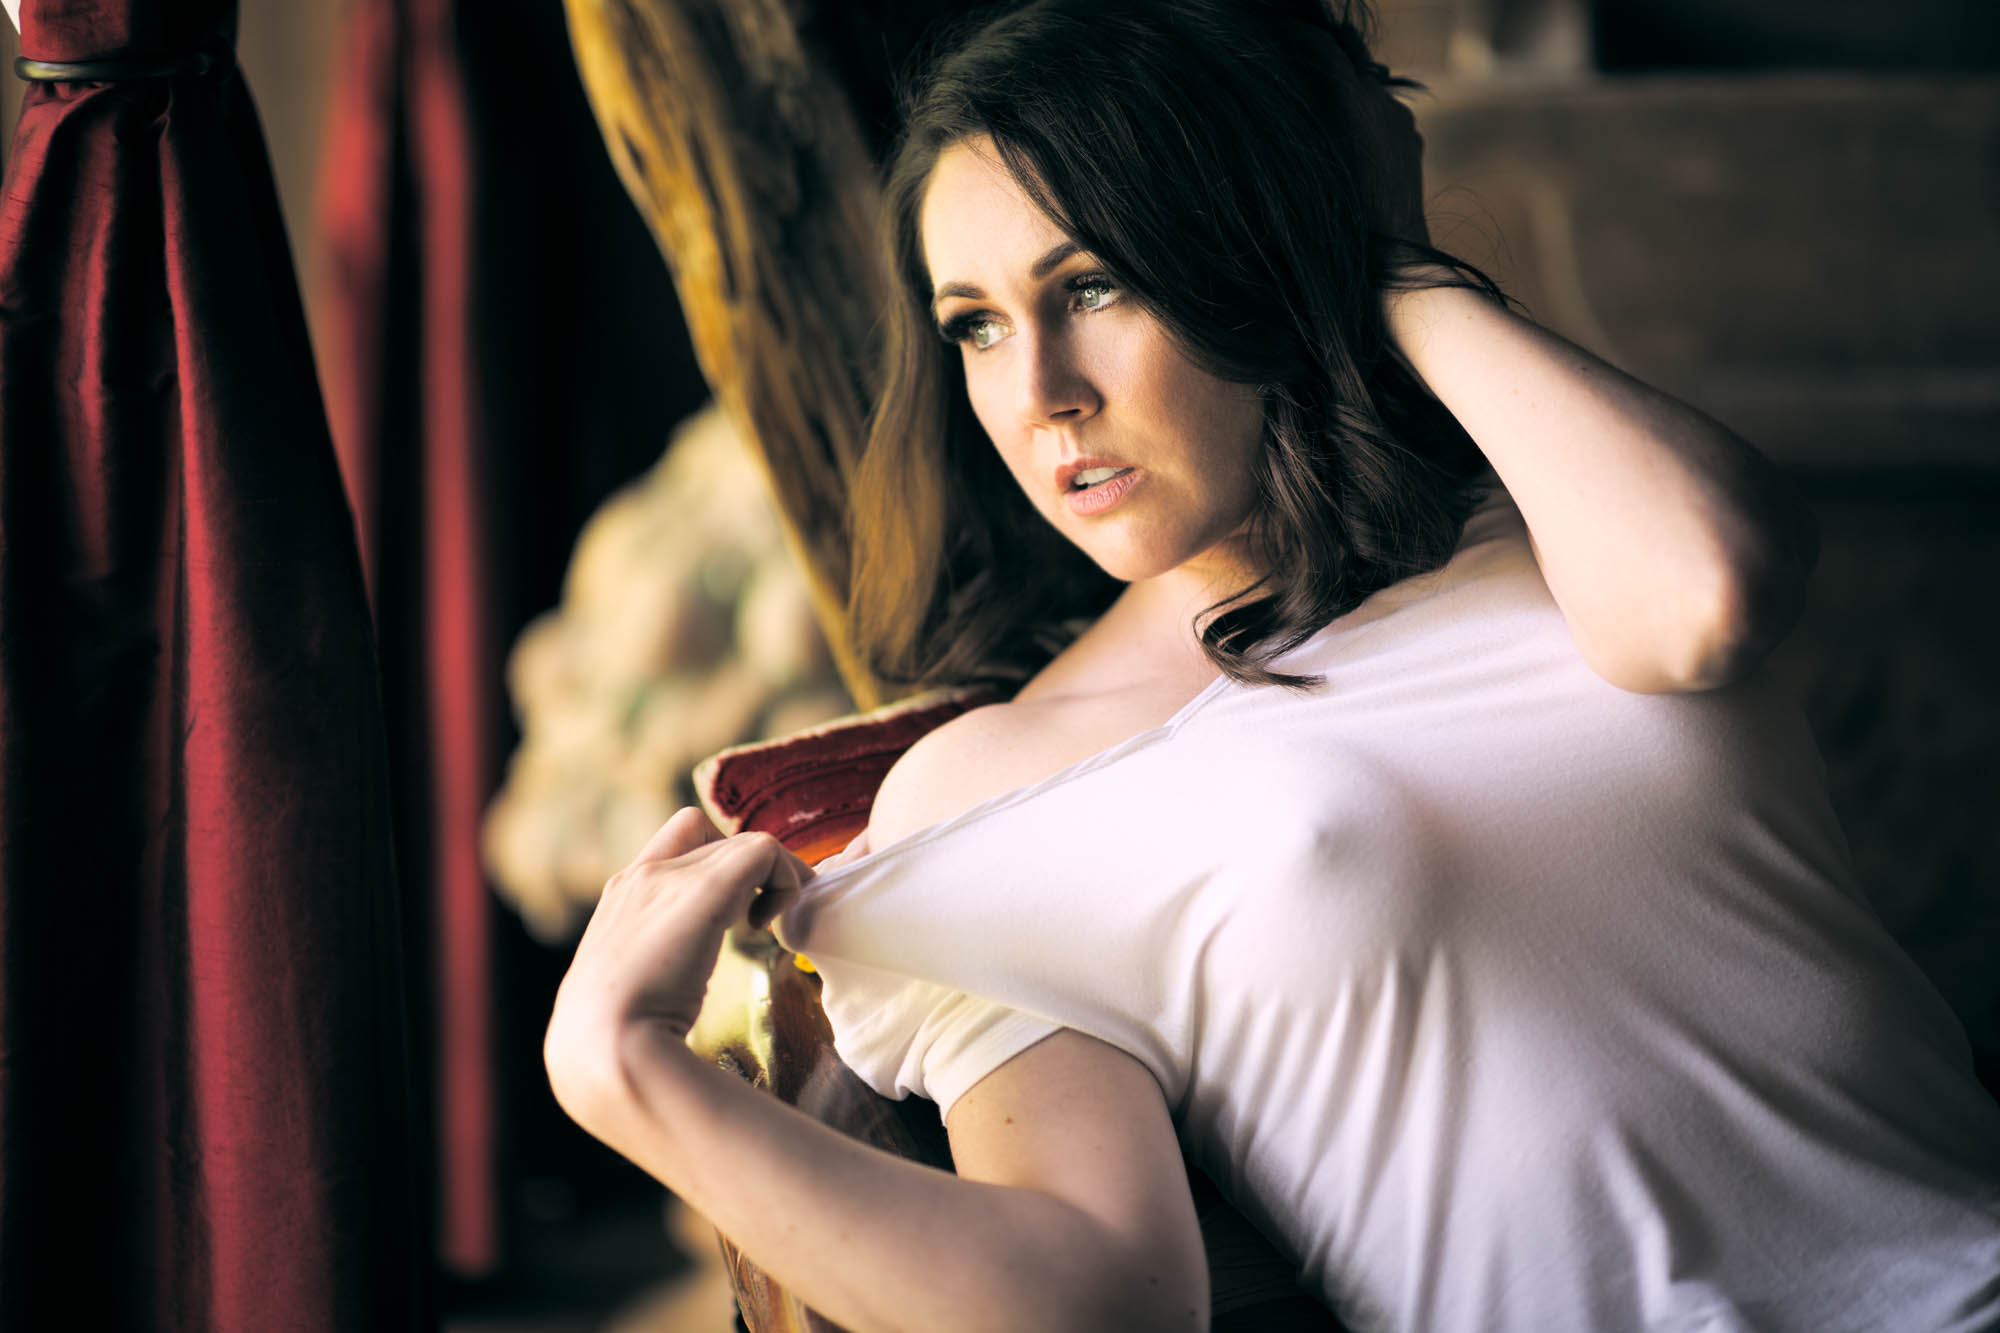
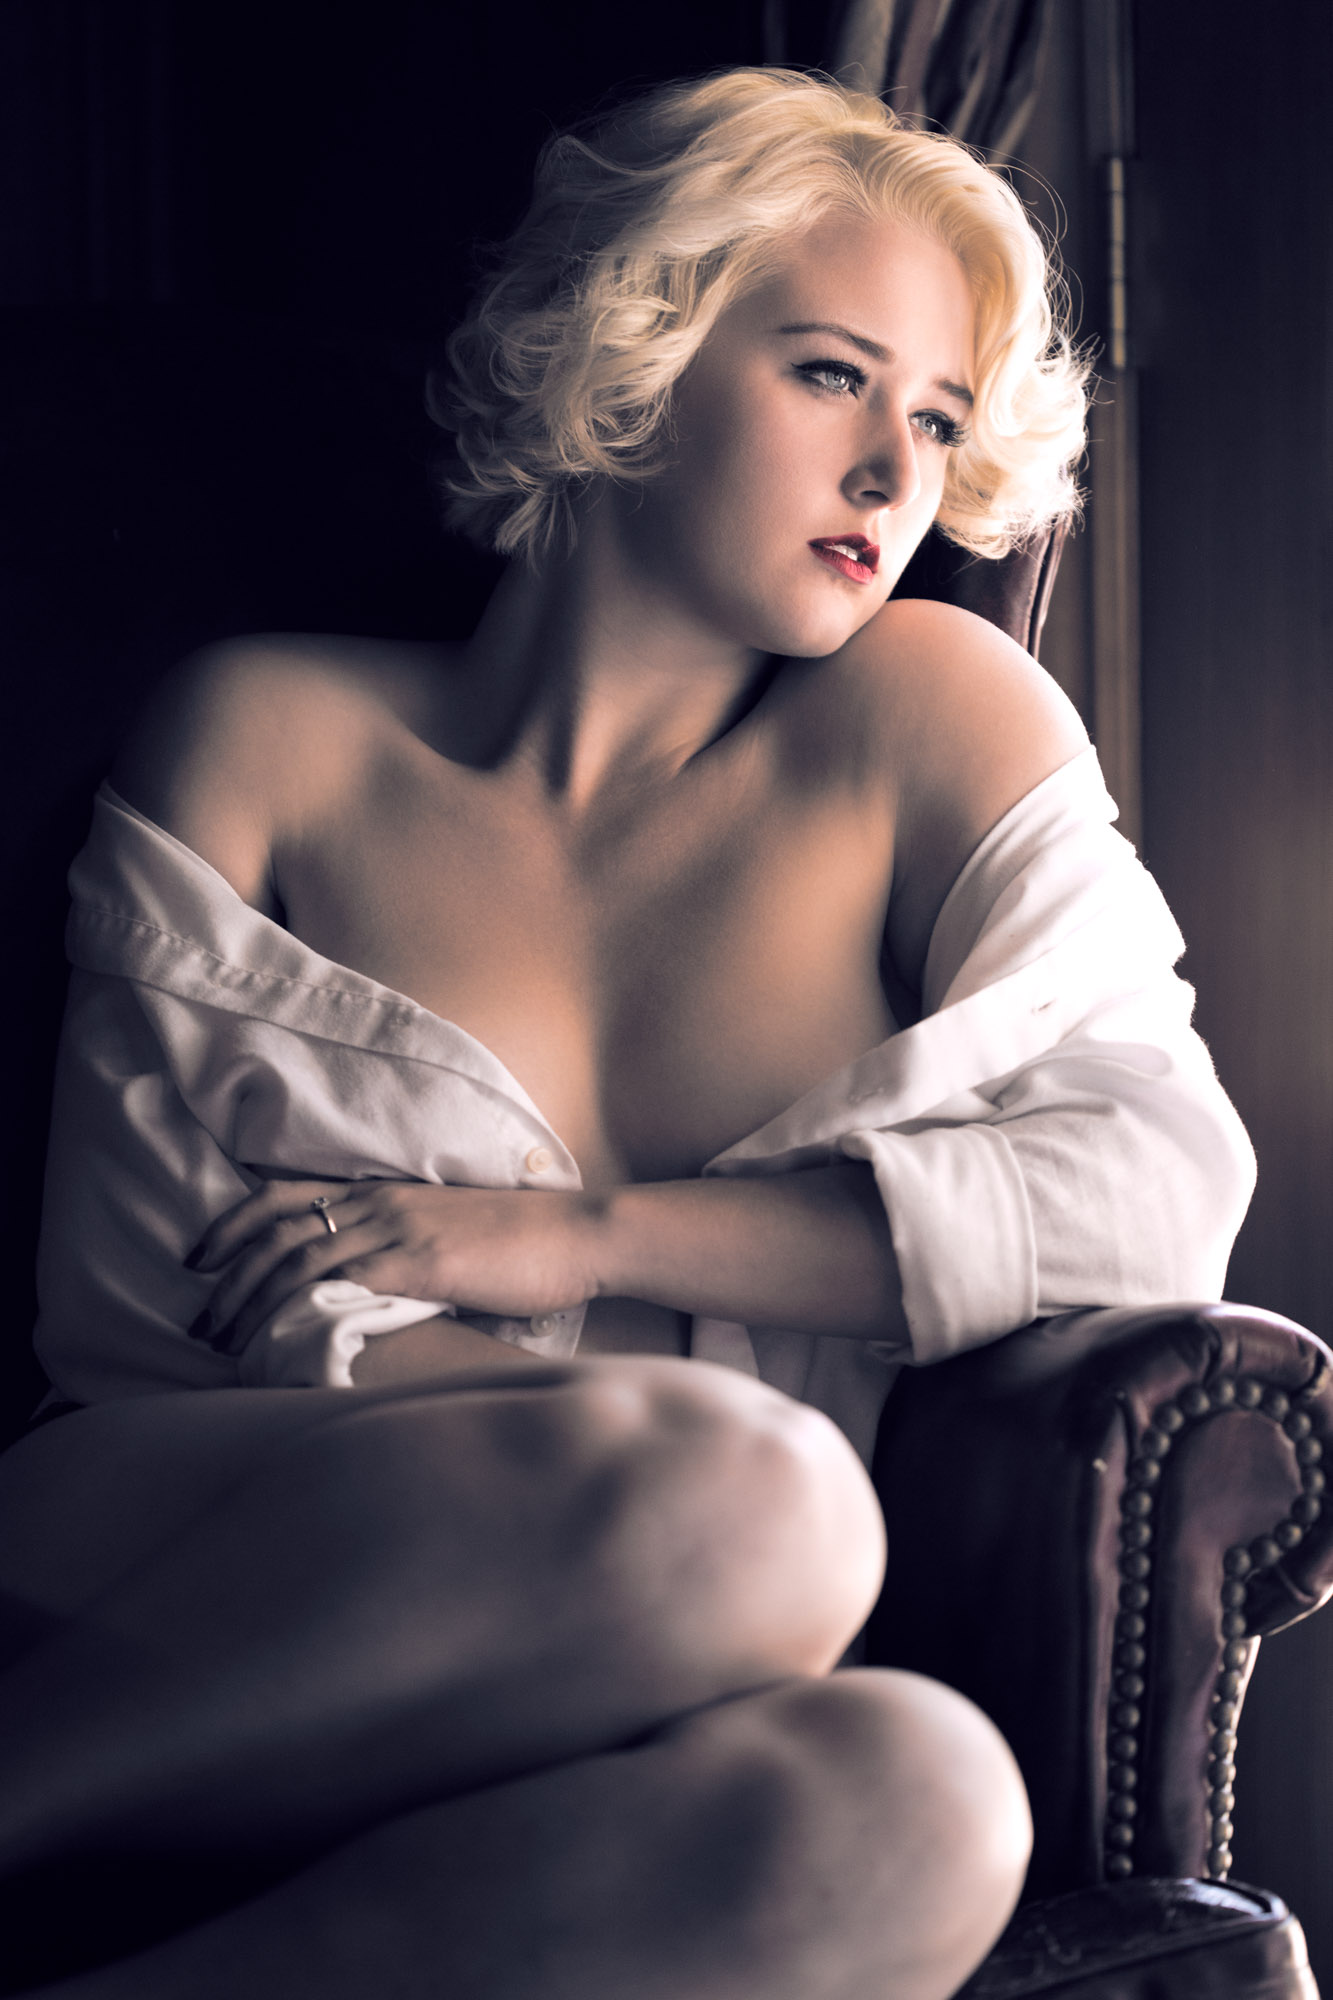
Easy DIY Boudoir Poses
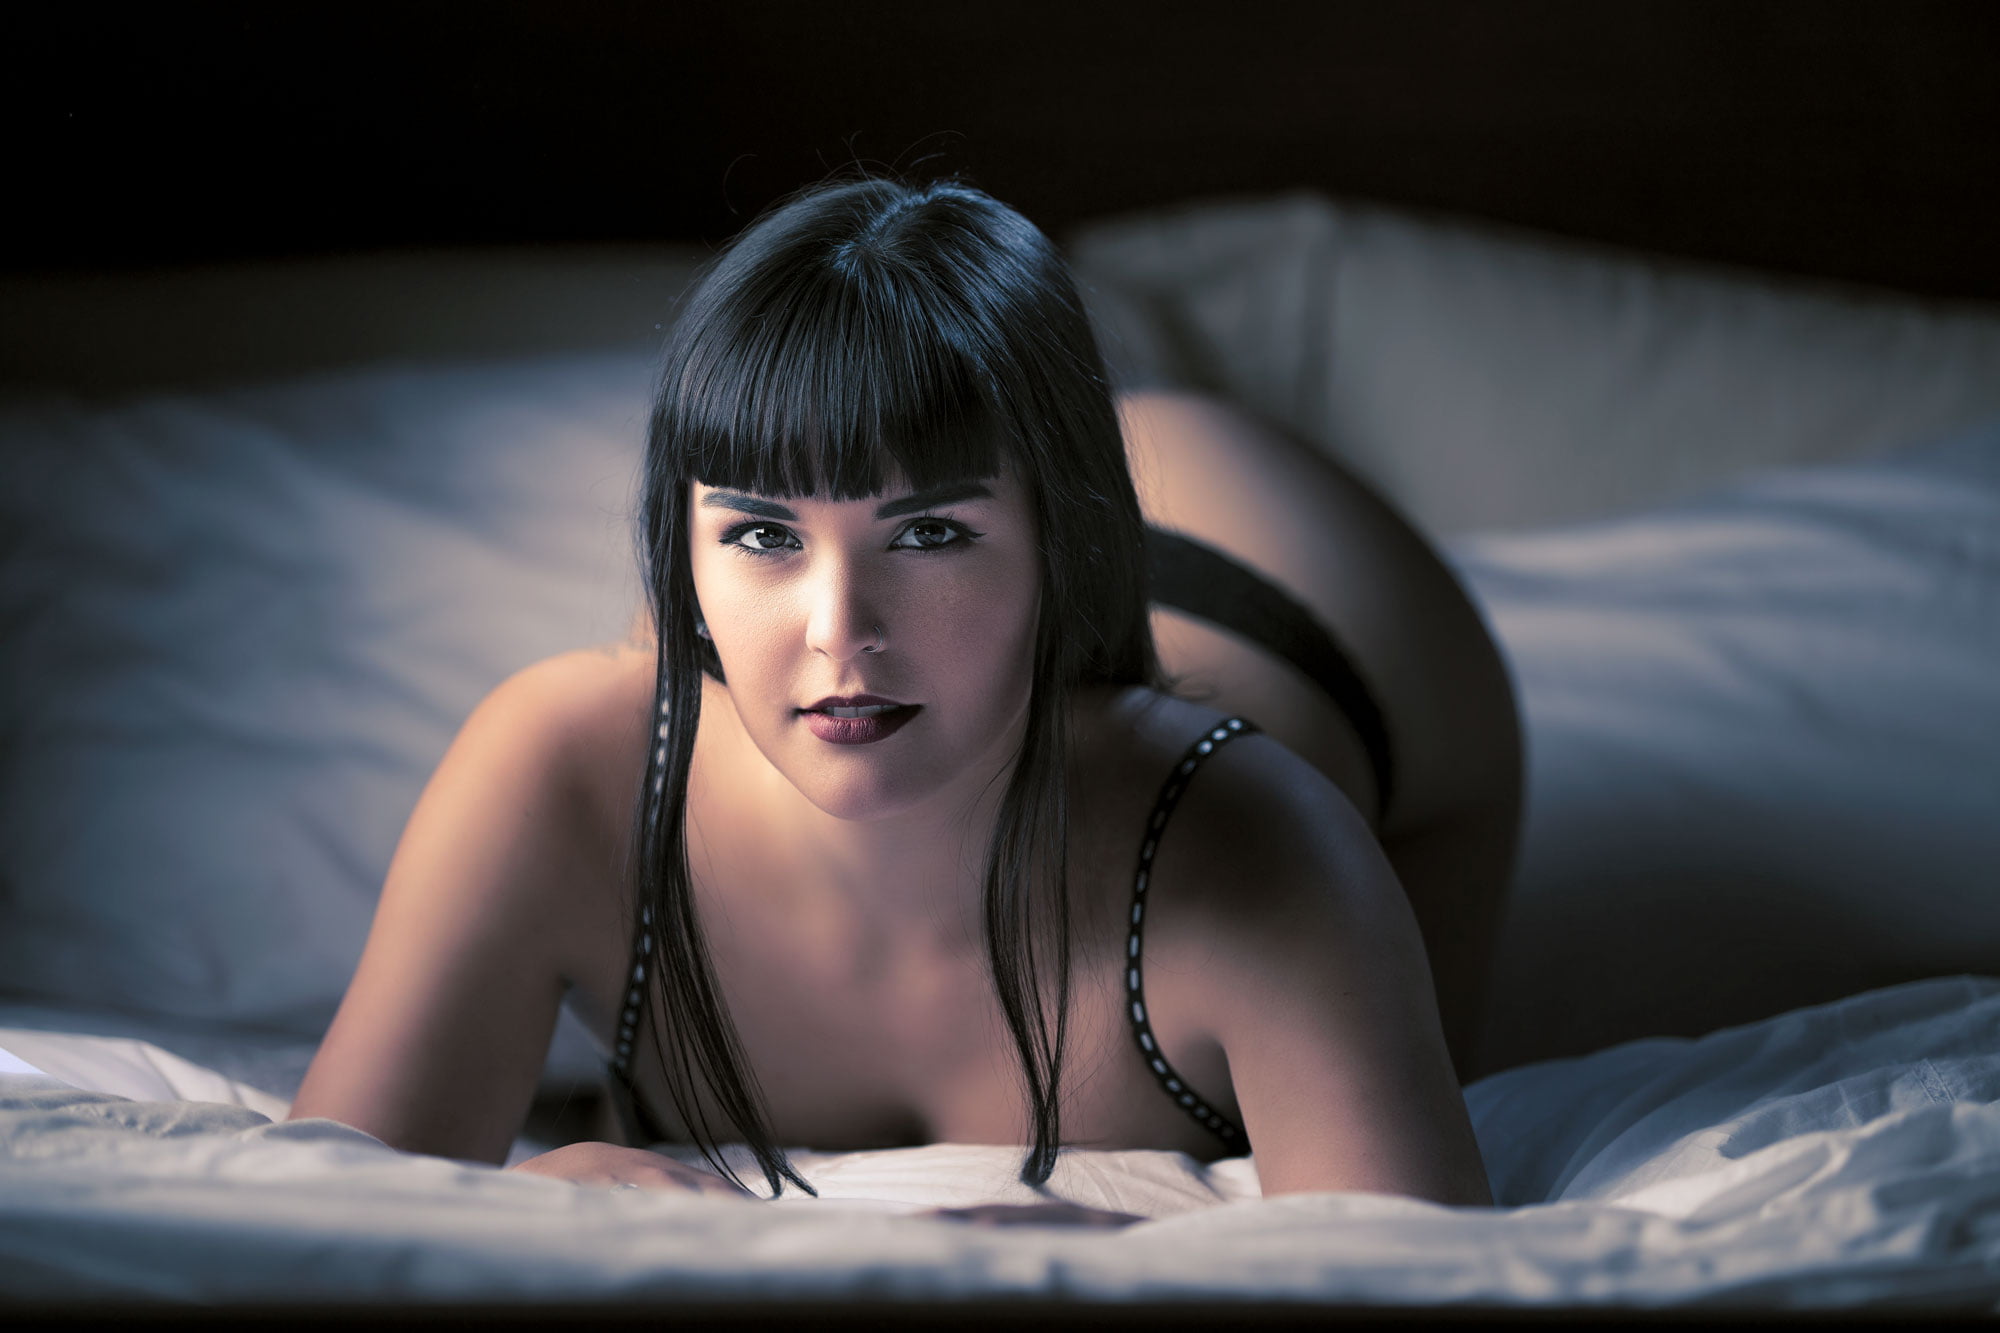
Once you find a nice window with good quality light and have your camera all set up, there’s an easy pose I do for all of my clients for their first few shots to warm them up and get them used to posing.
The basic idea behind all boudoir poses is to bring parts of your body toward the camera you’d like to highlight. By contrast, anything you’d like to diminish you’ll want to push away from the camera.
For example, if you wanted to make your butt look smaller and you boobs look bigger I’d first turn your hips away from the window. Next I’d have you shift your weight to your back foot. This will shift your hips away from the camera and make your butt look smaller. Then I’d have you turn your upper body back toward the window keeping your hips where they are. This will cause the window light to skip across your breasts giving your bust extra depth (making your boobs appear larger and more shapely).
Then I’d have you lean forward with your chest while keeping your shoulders back. This will emphasize the size of your bust while keeping good posture. From here you can experiment with different hand and face placements.
Bringing your face toward the window will create flattering short light on your face. Turning your face away from the window will put your face in shadow keeping the focus on your body instead of your face if you’d prefer.
Alternatively you can also push your hip toward the window at your side instead of back if you want to give your hip line extra curve. In general, you’re going to want to put size on or take size off your hips using this technique for whichever will give your body more of an hourglass shape.
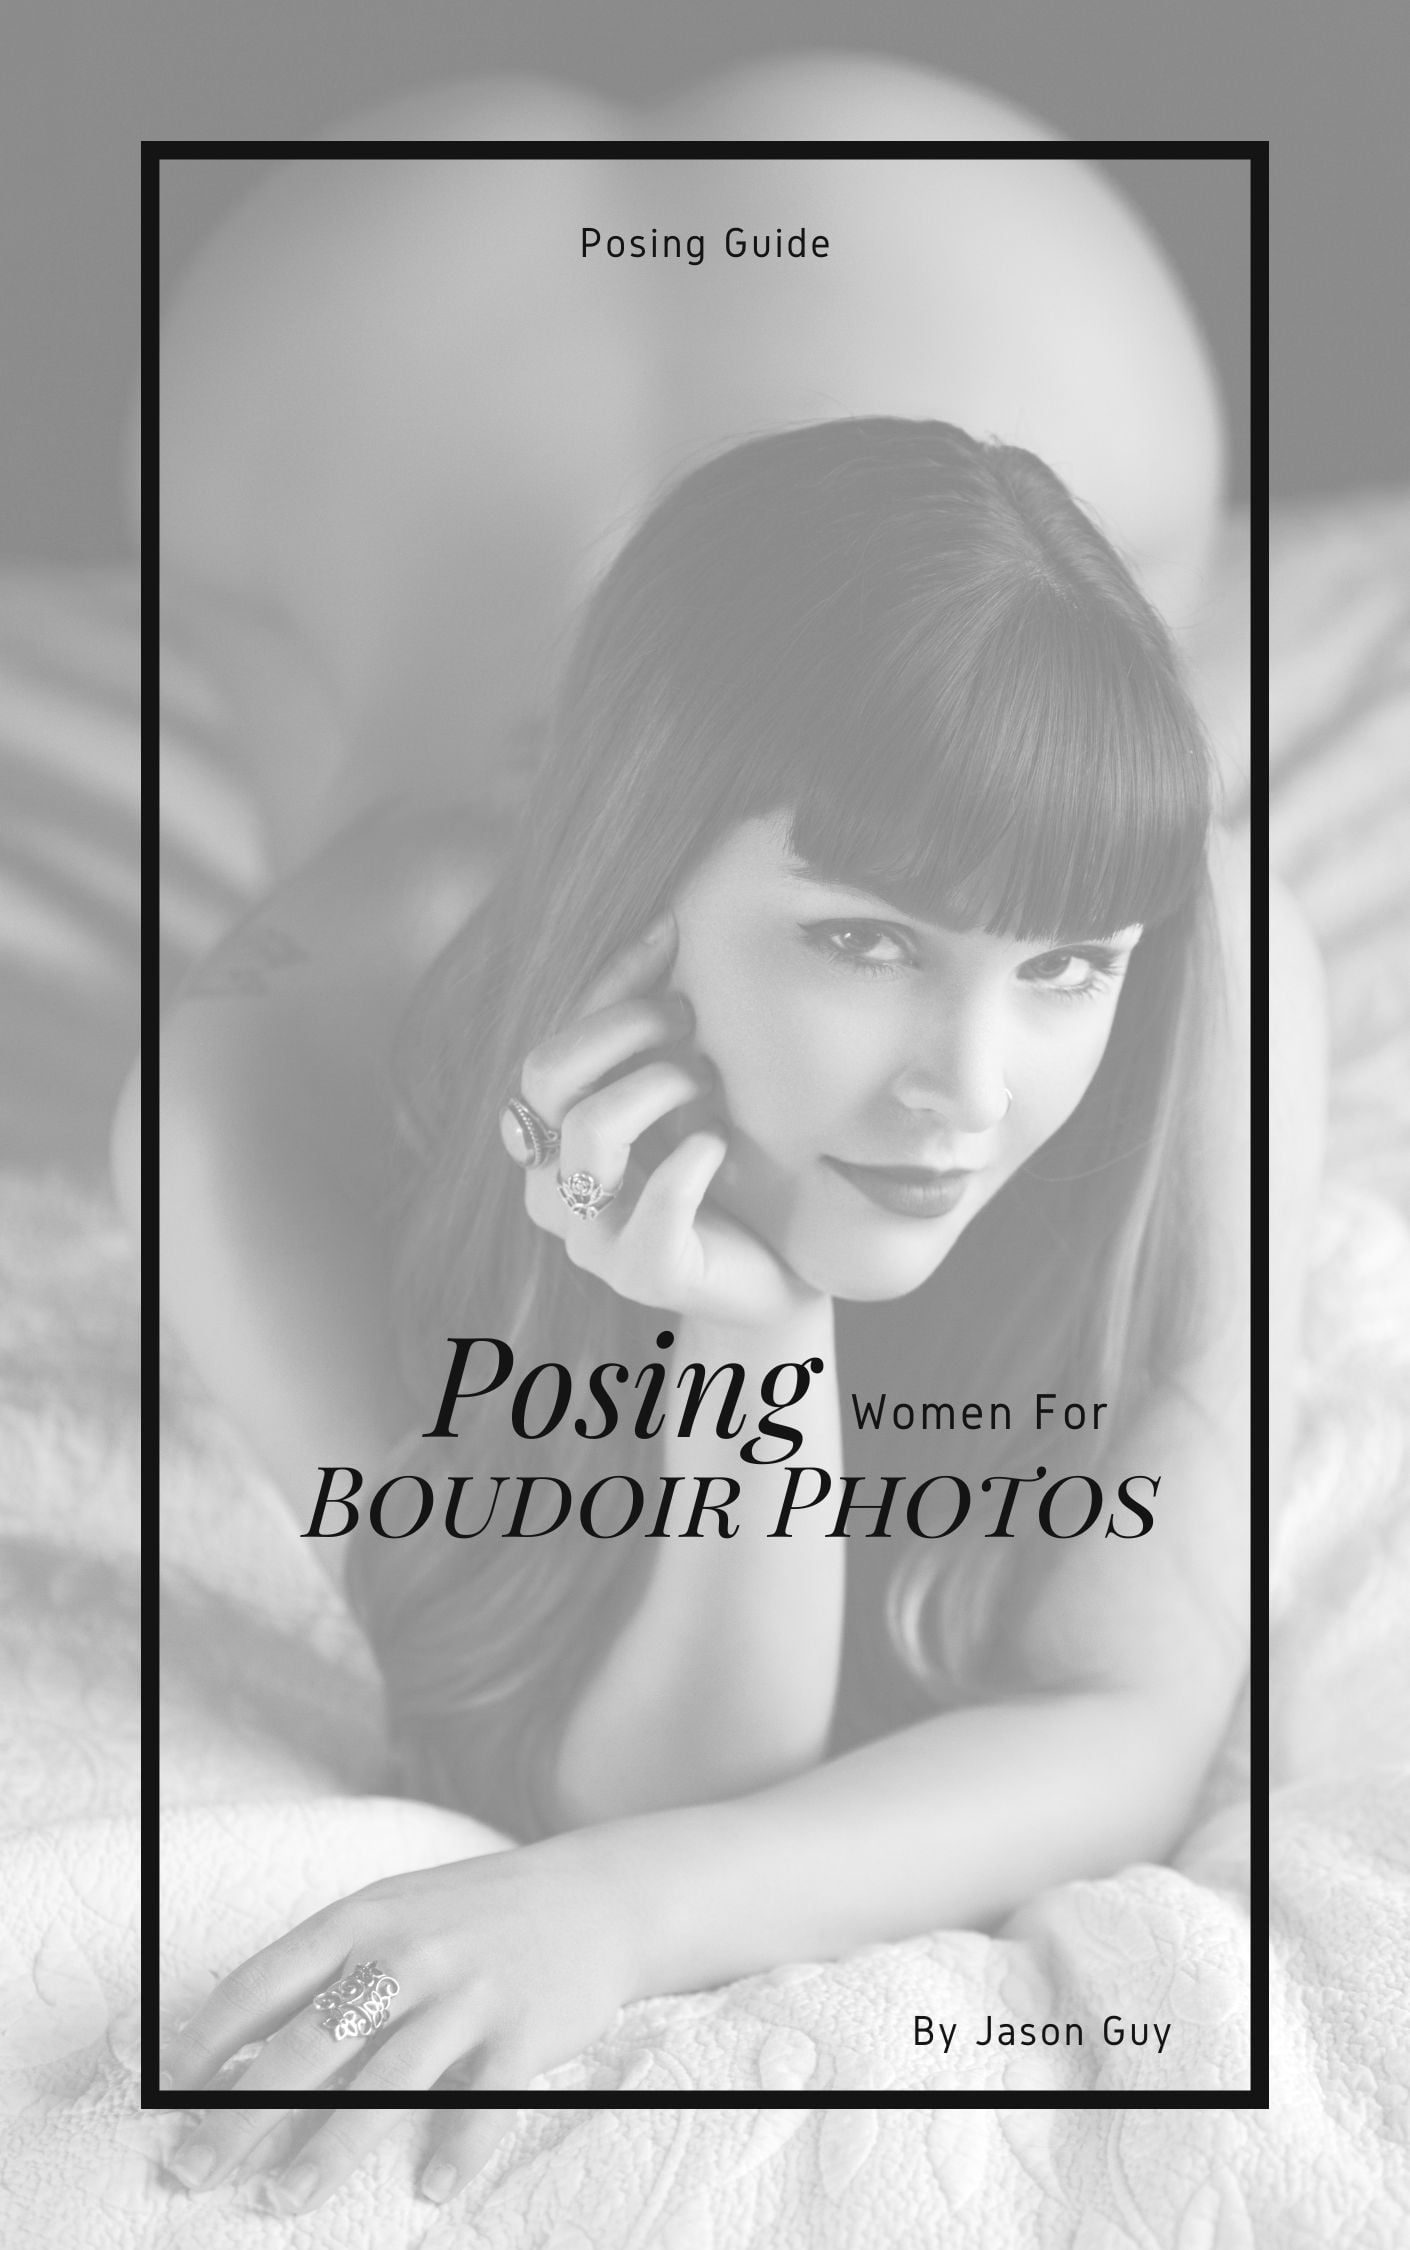
DIY Boudoir Photo Poses
For a more information about how to pose your body to highlight your best assists and diminish your sensitive areas you can download a free sample of my boudoir posing guide by clicking the button above.
In this guide I’ll show you how to pose the nude female form in a way that tastefully flatters your body type. This guide is intended for all skill levels and will teach you how to balance your proportions to enhance your natural hour glass shape.
By first teaching you the fundamentals of posing, these principals will help you progress to a point where you can confidently pose yourself for your diy boudoir photos
How To Take Boudoir Photos of Yourself
At this point you now know everything about how to do DIY boudoir photography for yourself. Now you just need to put it all together and capture some photos!
When I take selfies using these techniques, I sometimes hide the remote trigger somewhere (like my waistband) and conspicuously press it with one of my fingers to take the photos. If that doesn’t work and you notice the trigger in your photos, try putting the trigger on the floor and pressing it with your toes out of frame.
You’ll have to get creative with how you hide the trigger, but this is a way better problem to have over trying to take pictures with your phone’s timer.
Where To Print DIY Boudoir Photos
The short answer is it depends. If your photos are too provocative (which is subjective) some chain labs like Costco, Walmart, etc. may decline to print your photos. That said as a boudoir photographer that prints nude images for my clients regularly, I can tell you that all the pro labs I’ve ever worked with have never declined to print my clients fully nude images.
I try to keep things tasteful so your mileage may vary depending on what you’re having made. That said, the following pro labs would be where I’d try first if you’re wondering where to print your DIY boudoir photography.
DIY Boudoir Photos For Husband
If you’re about to get married to your soon to be husband, I recommend you start planning for your session with these bridal boudoir outfit ideas.
Alternatively, if you’ve been married to your husband for a while and are looking to spice things up with an the ultimate anniversary gift, I suggest you instead start by checking out these boudoir outfit ideas.
After reading either of those posts you should have a pretty good idea on what lingerie styles you should get to enhance your body type. Above all else, try to create photos that are timelessly beautiful by understanding what makes a good boudoir photo?
If you want to learn my best tips I give to my clients about how to prepare your body for your boudoir photos, you can find those in my boudoir guide here. The idea behind this guide is to help give you the information that actually contributes to better portraits in camera.
How To Take Your Own DIY Boudoir Photos
In summary, creating DIY boudoir photos with your phone is definitely achievable with the right preparation and a little forethought. Consider the following for best results:
- Things you’ll need: Begin by ensuring you have the necessary gear: a phone with a manual camera app, a tripod or selfie stick, and a Bluetooth remote trigger for easy photo capture.
- Outfits: Choose lingerie that flatters your body type, focusing on styles that highlight your best assets and draw attention away from sensitive areas.
- Prepare Your appearance: Pay attention to grooming, including hair, nails, and skin, and consider adopting an efficient workout routine if you wish to tone up before the shoot.
- Lighting: Choose a northern facing a window with indirect sunlight for soft, flattering light.
- Posing: When posing, remember the basic rule – highlight what you want to emphasize by bringing it towards the camera and diminish what you want to downplay by pushing it away from the camera.
- Take lots of photos: Experiment with different poses, hand and face placements to find what works best for you and discard the rest.
- Gifting your photos: Finally, choose one of the labs from our list to print your photos, or send them digitally to his phone.
Whether you are creating these photos for yourself or as a surprise for a significant other, remember that boudoir photography is about capturing your confidence and celebrating your unique beauty. With patience and practice, you can create surprisingly high quality boudoir photos with little more than your phone.
Now, I’d love to hear from you! Which of these tips do you think will be the most useful in your own DIY boudoir photoshoot? Or if you’ve already tried a boudoir photoshoot at home, what are your go-to tips and tricks? Please share your thoughts and experiences in the comments below.