
Sonoma County Headshot Photographer
My name is Jason Guy and I am a Sonoma County headshot photographer. In today’s virtual business world, your profile photo is often the first contact your customers will have with you. A good headshot can instantly message competence, confidence and approachability – distinguishing you from your competition. My sessions are all about capturing your personality in great light so you can connect better with your audience online.


Why My Clients Chose Me
I want you to feel great about how you look—simple as that. These reviews came from some of my recent clients who I had the pleasure to photograph.
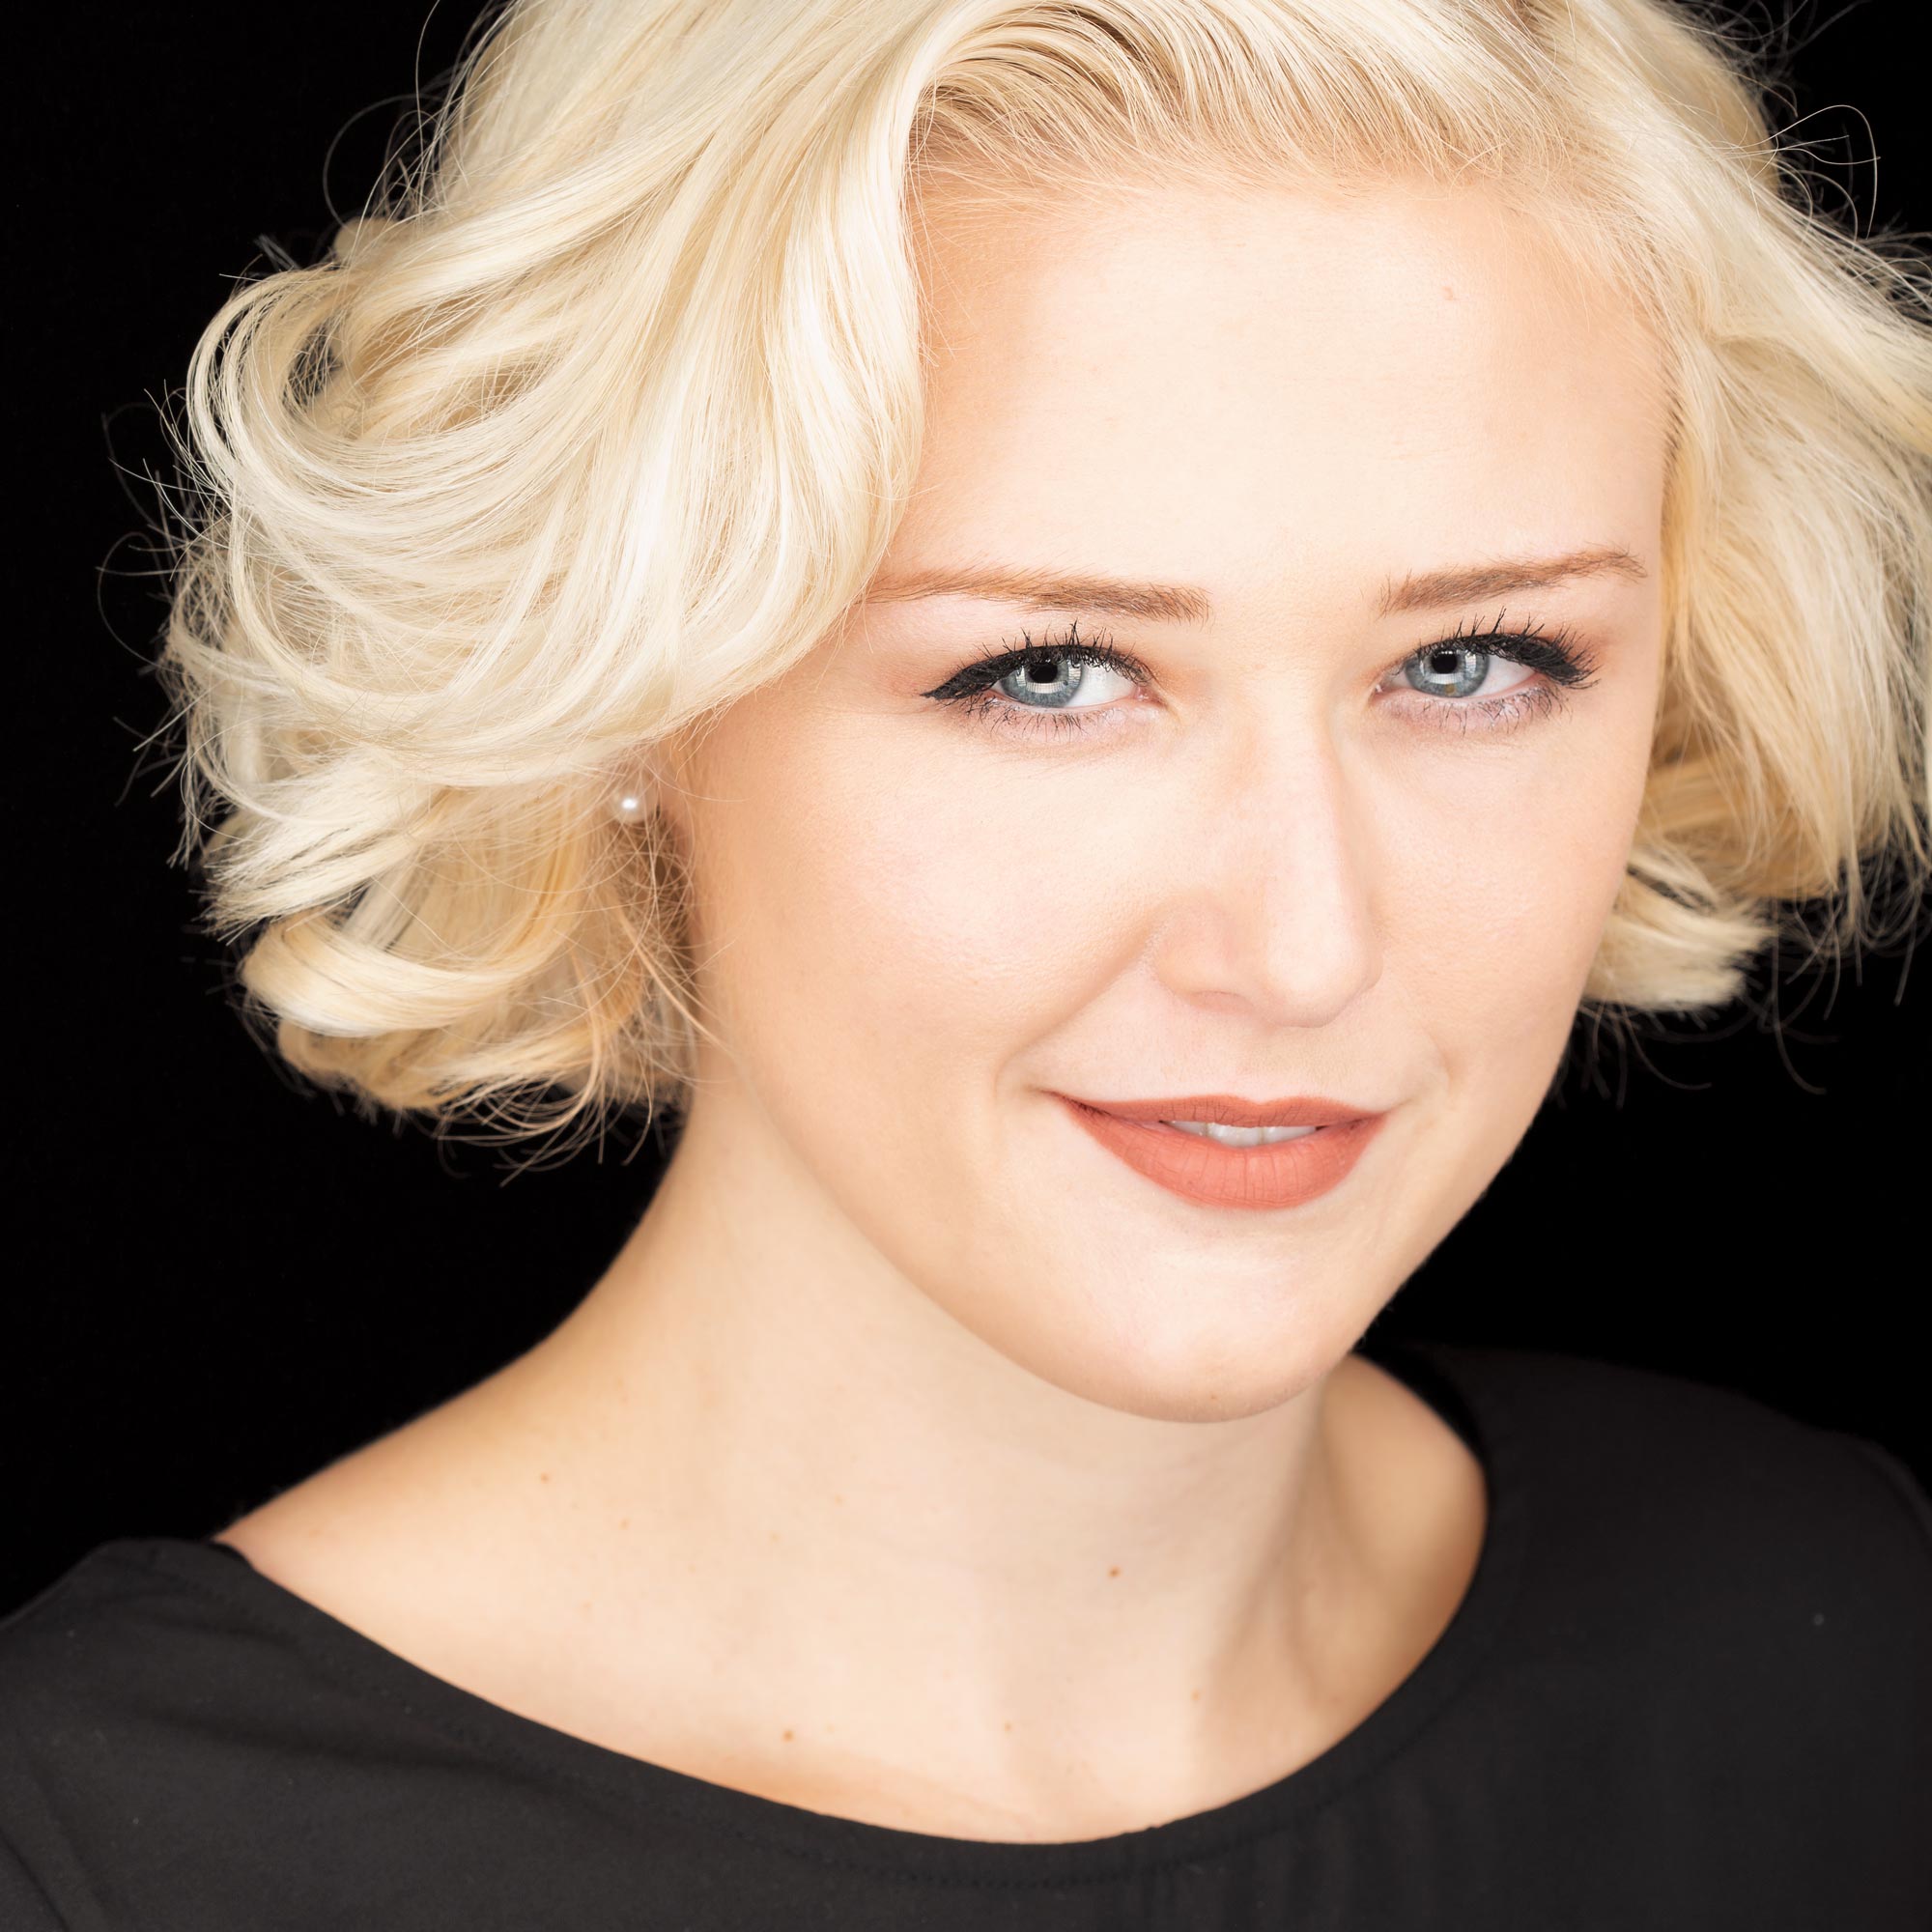
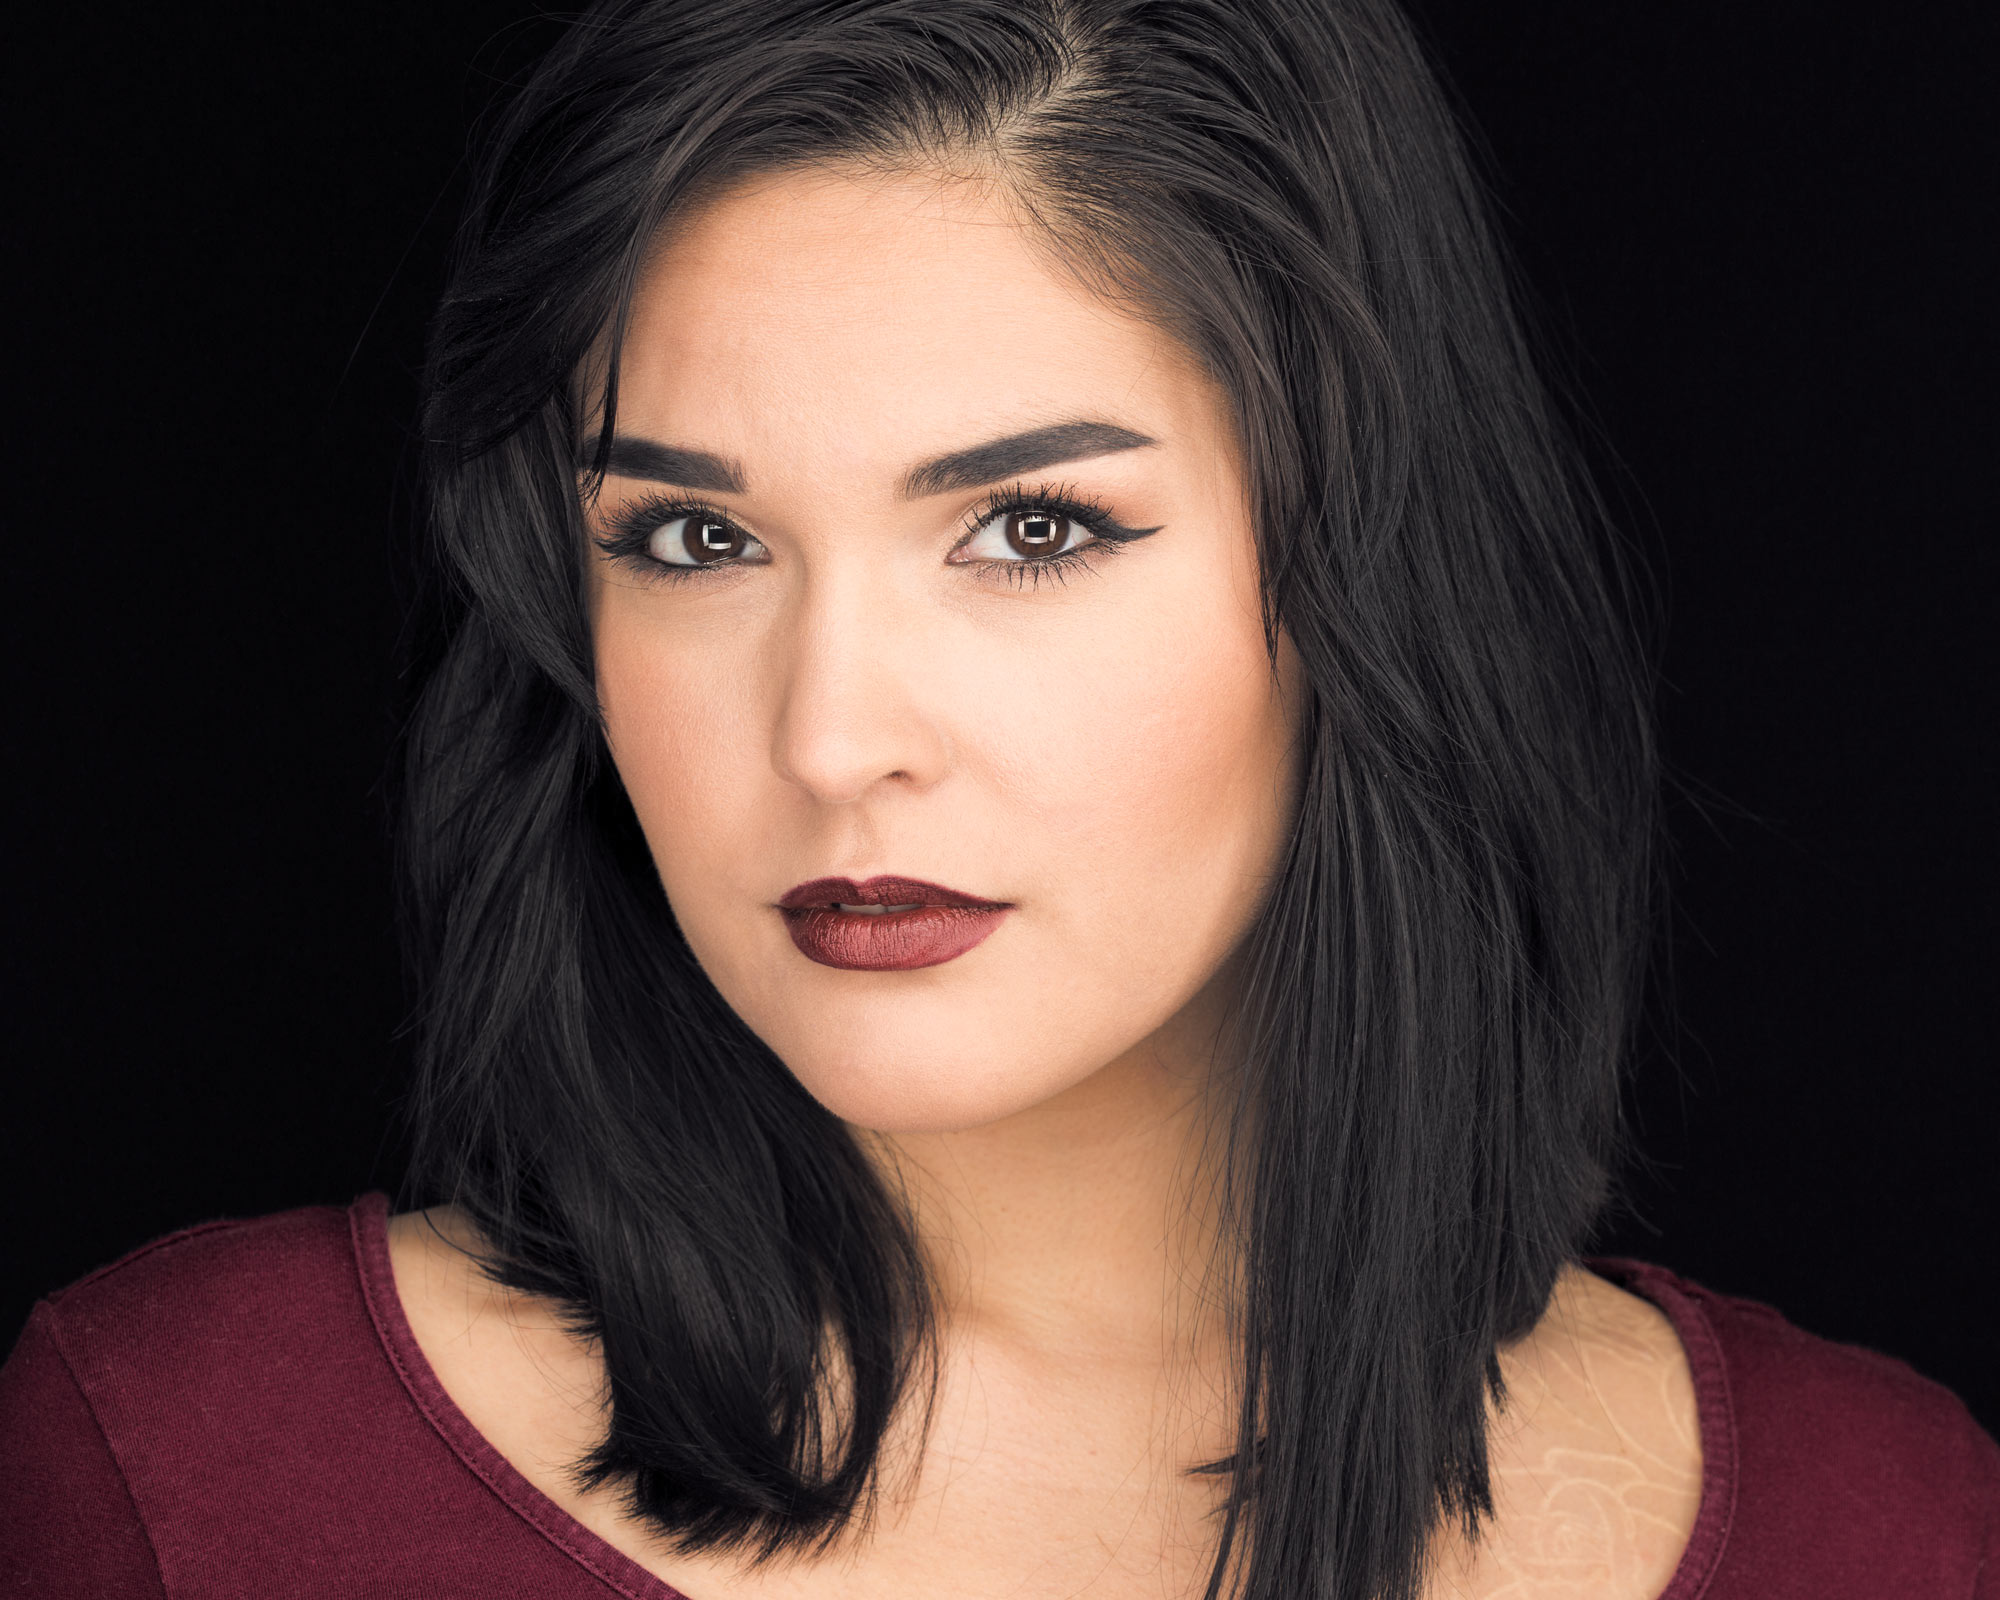
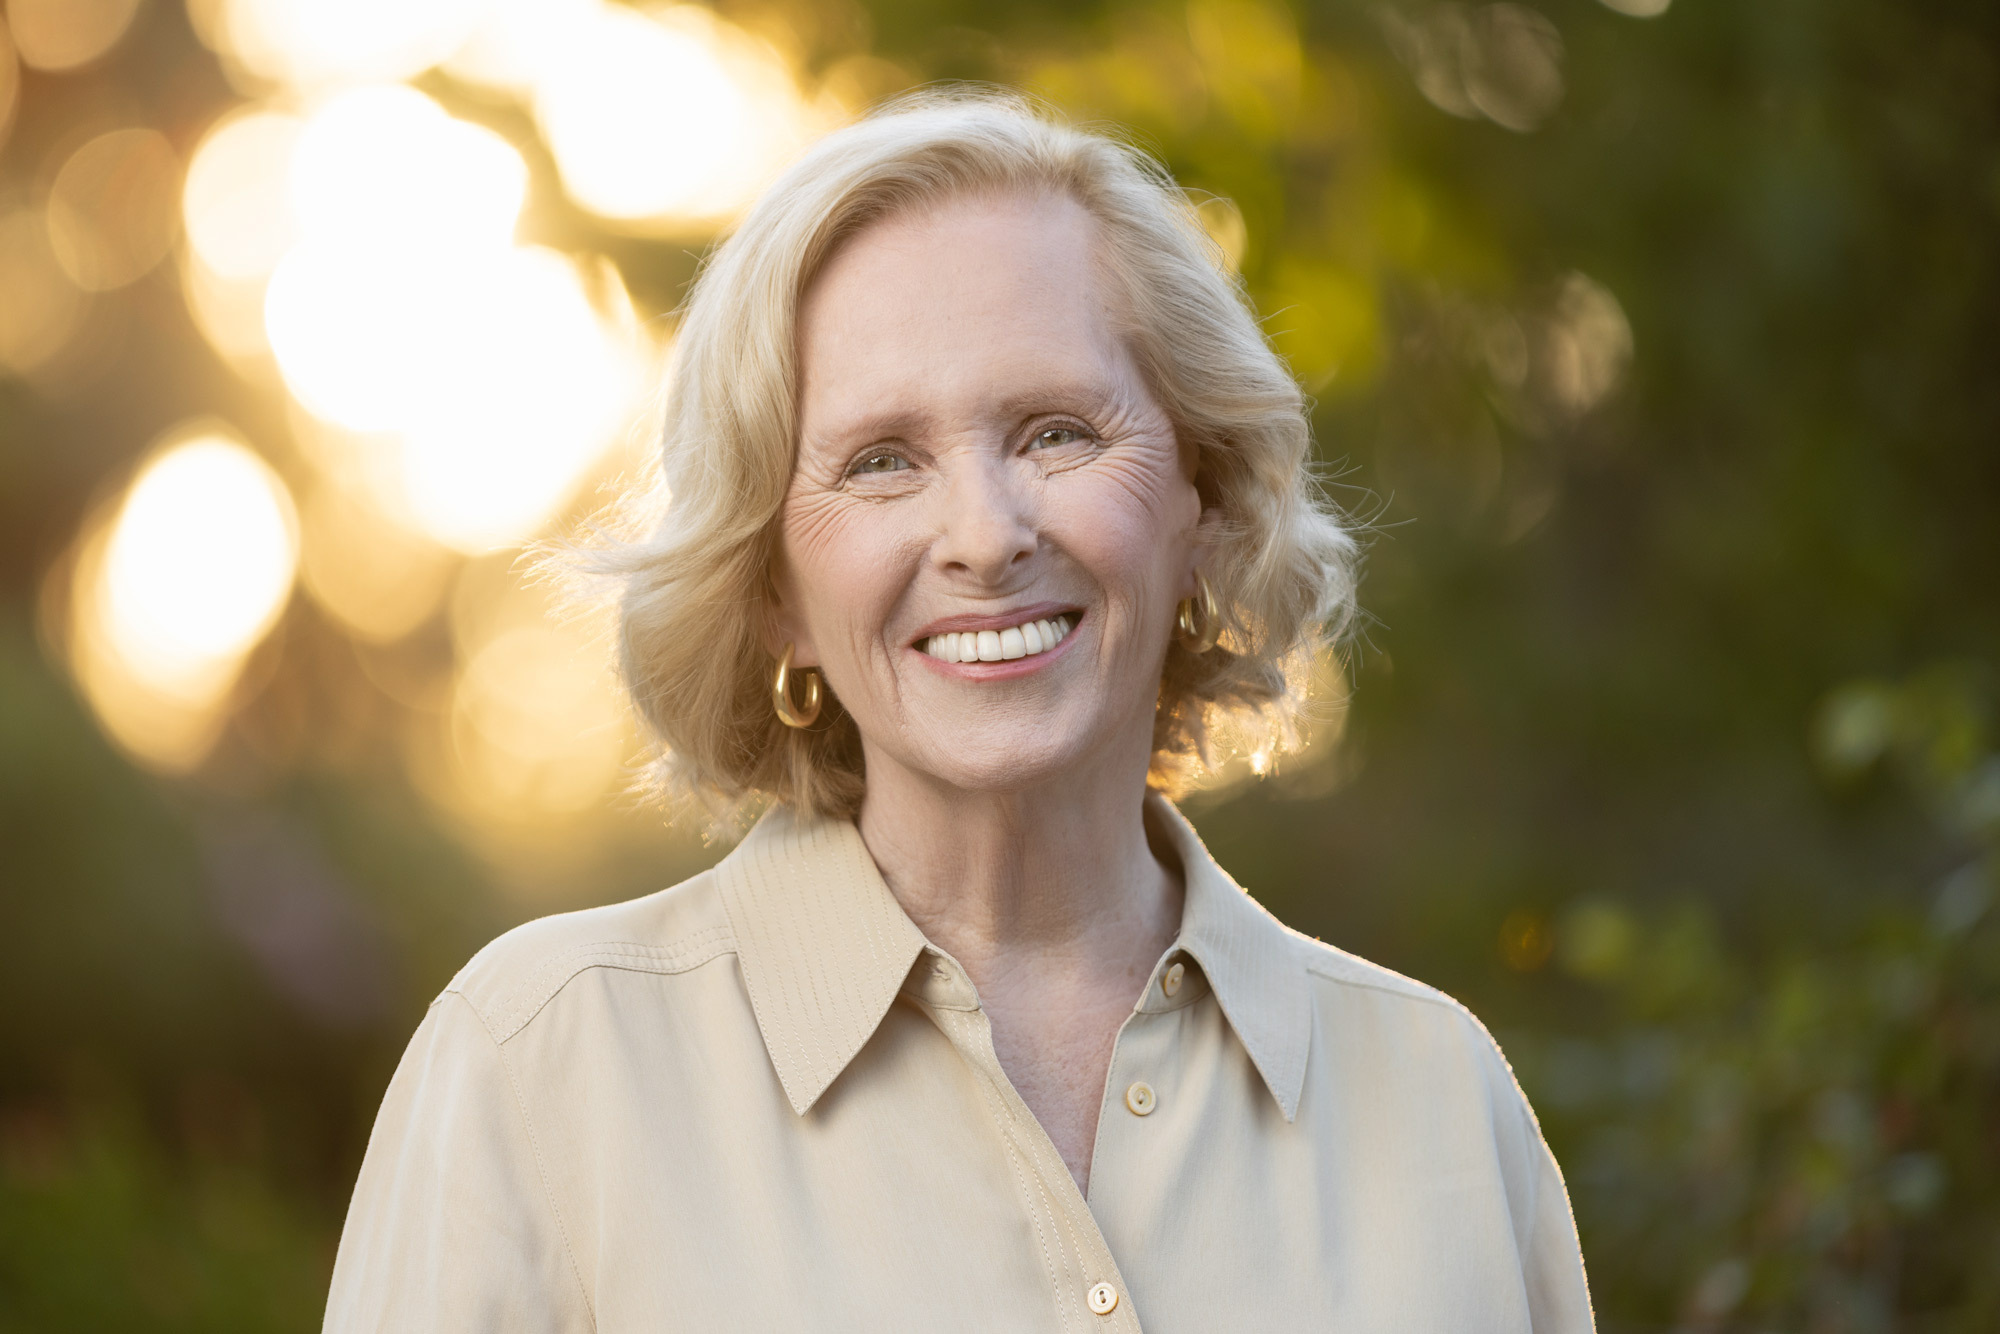
Cindy Homen
“Jason Guy did an amazing job with my headshot. He created a studio-style headshot for me using his custom-built ring light. Even though I usually feel awkward in front of the camera, Jason made me feel comfortable and directed me perfectly. I’m completely blown away by the quality of the photo. His direction and custom light created a unique and authentic look that I absolutely love. Highly recommend!”
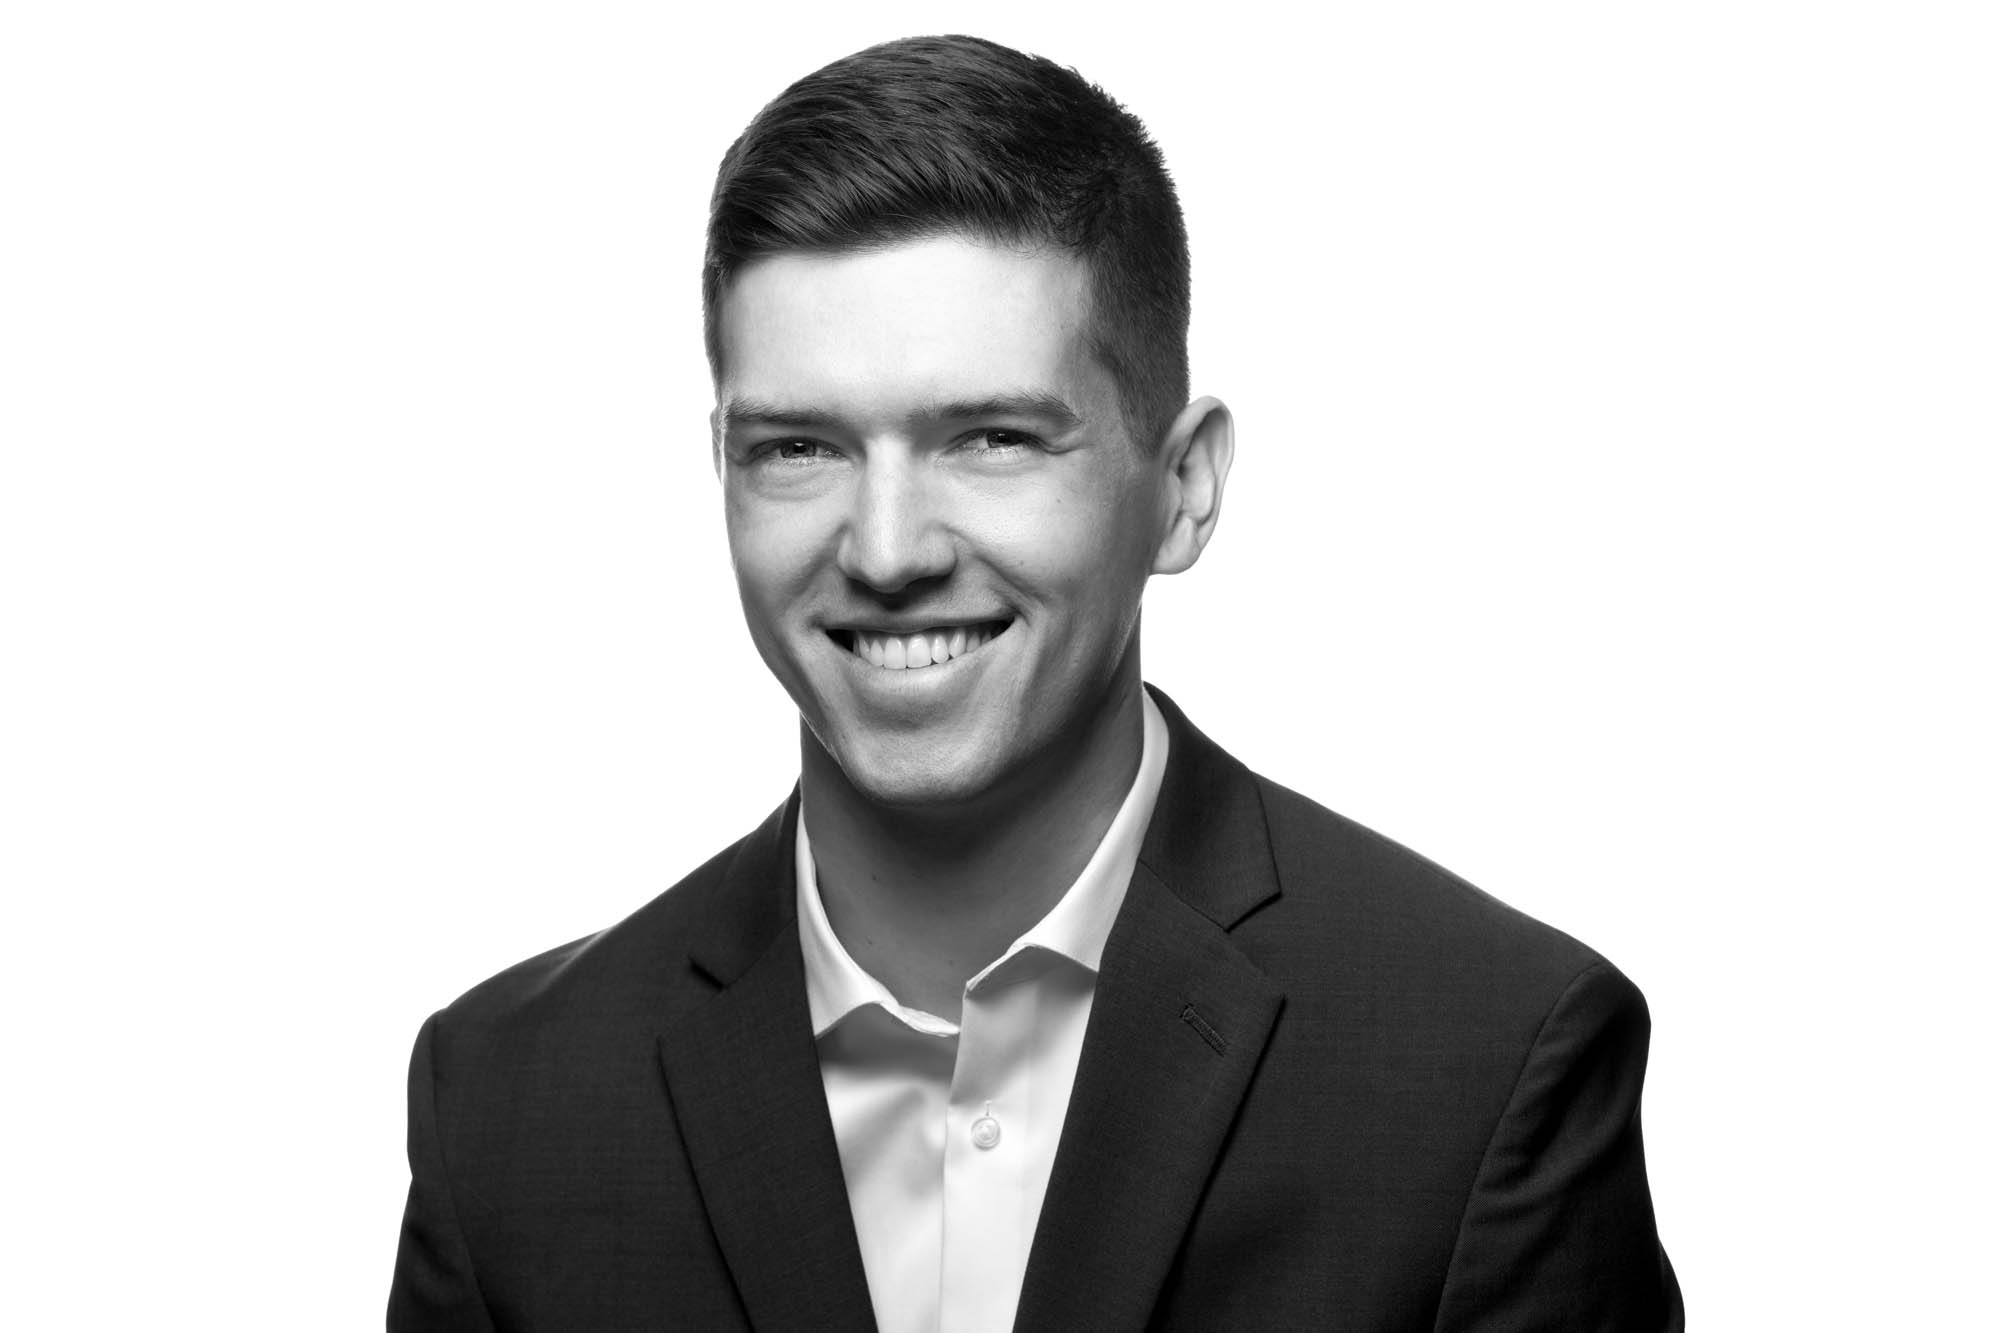
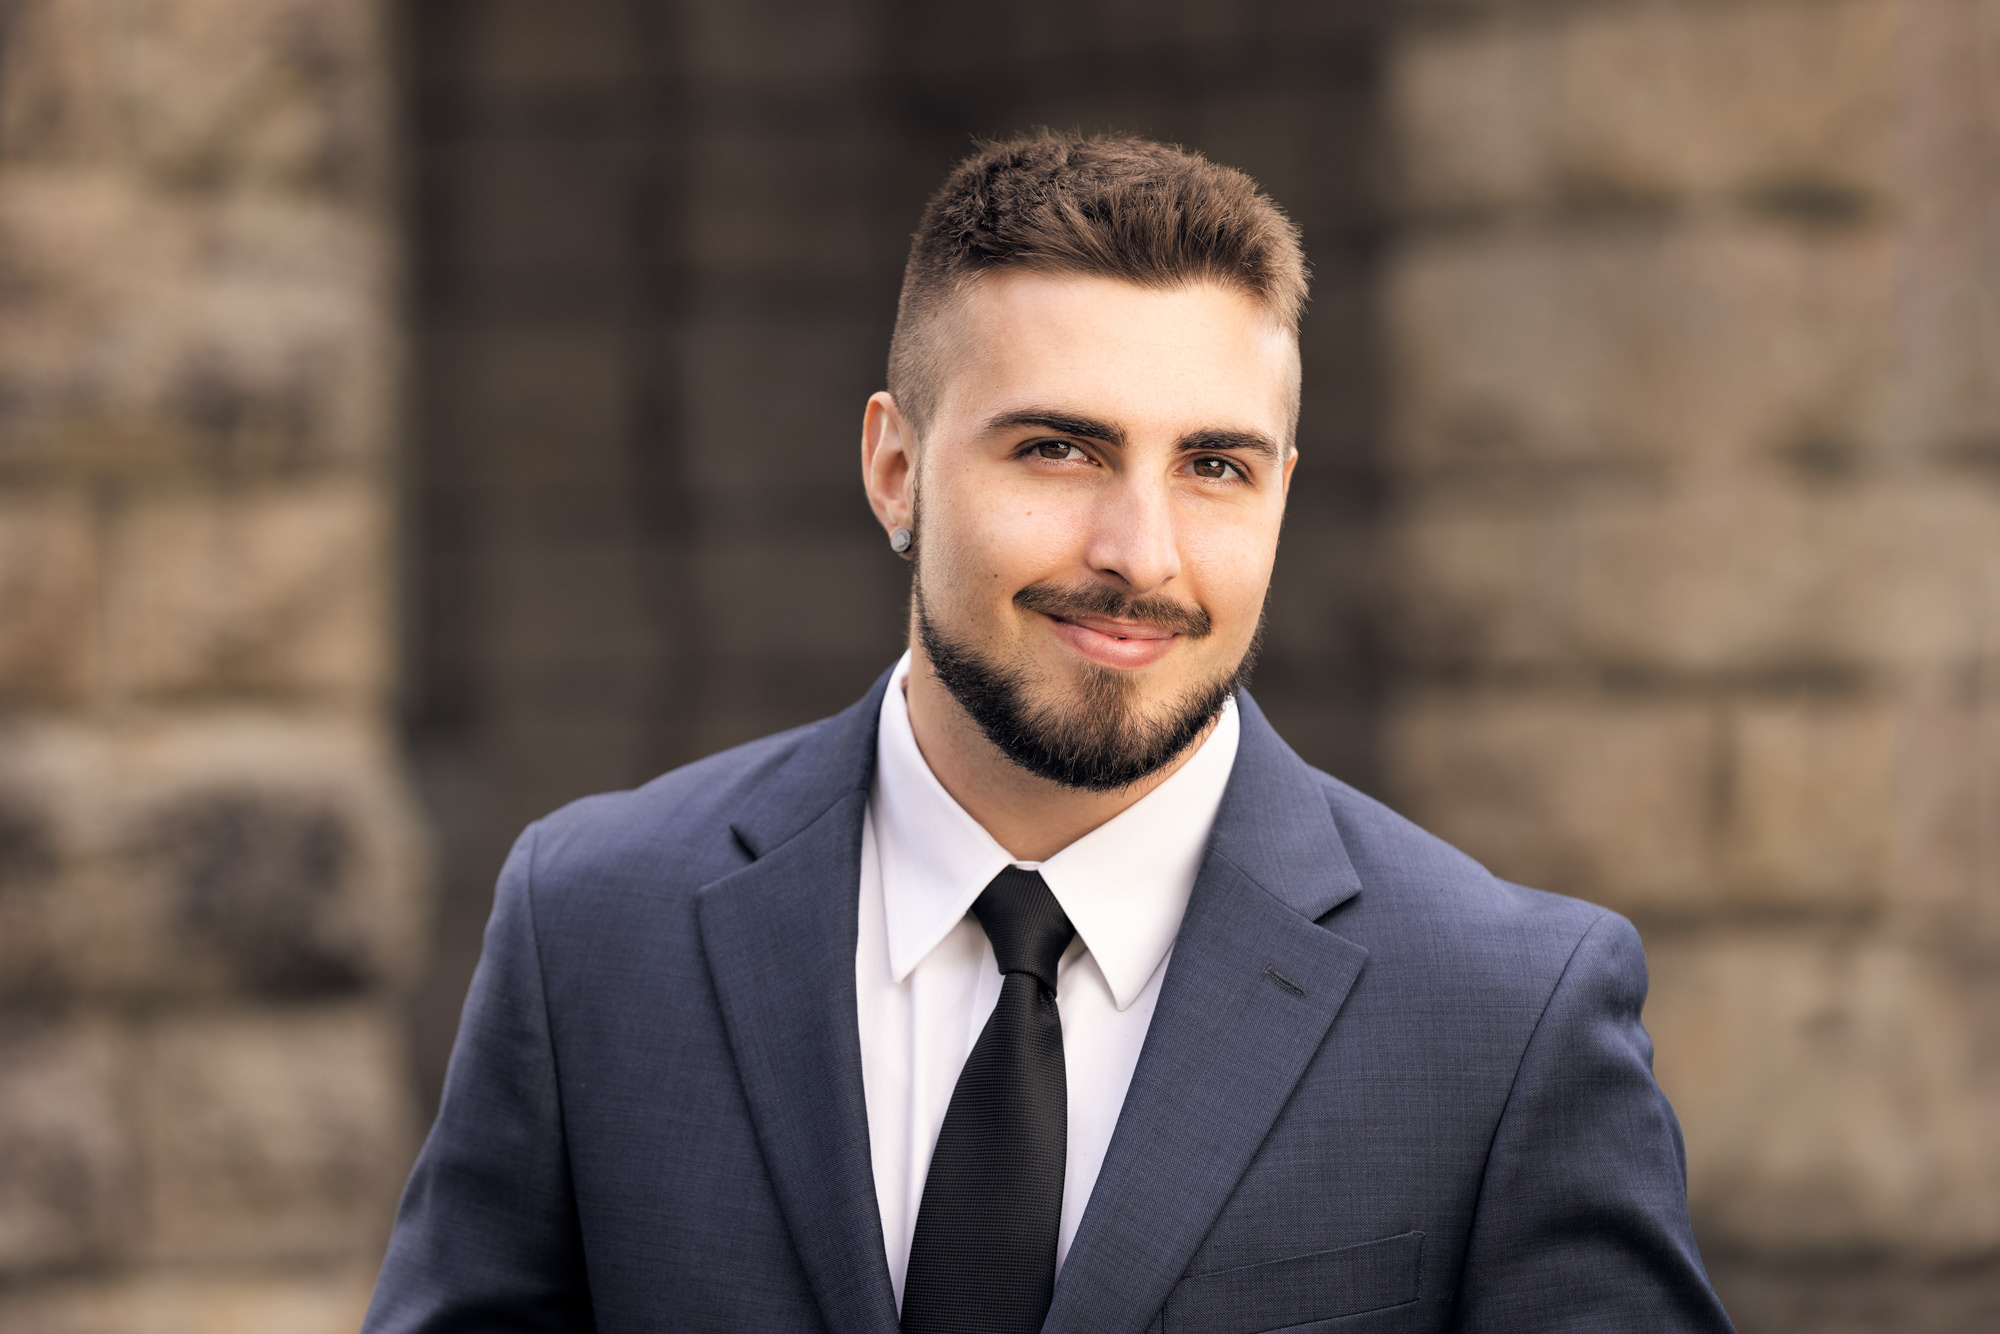
Alex Antenen
“Jason was very fun to work with and made the whole photo shot painless. I got amazing pictures and he made the process very easy for me. I ended up getting the edited pictures in 4 days!! Also if you get the chance to have hair and makeup done, do it, Ducky is great!”
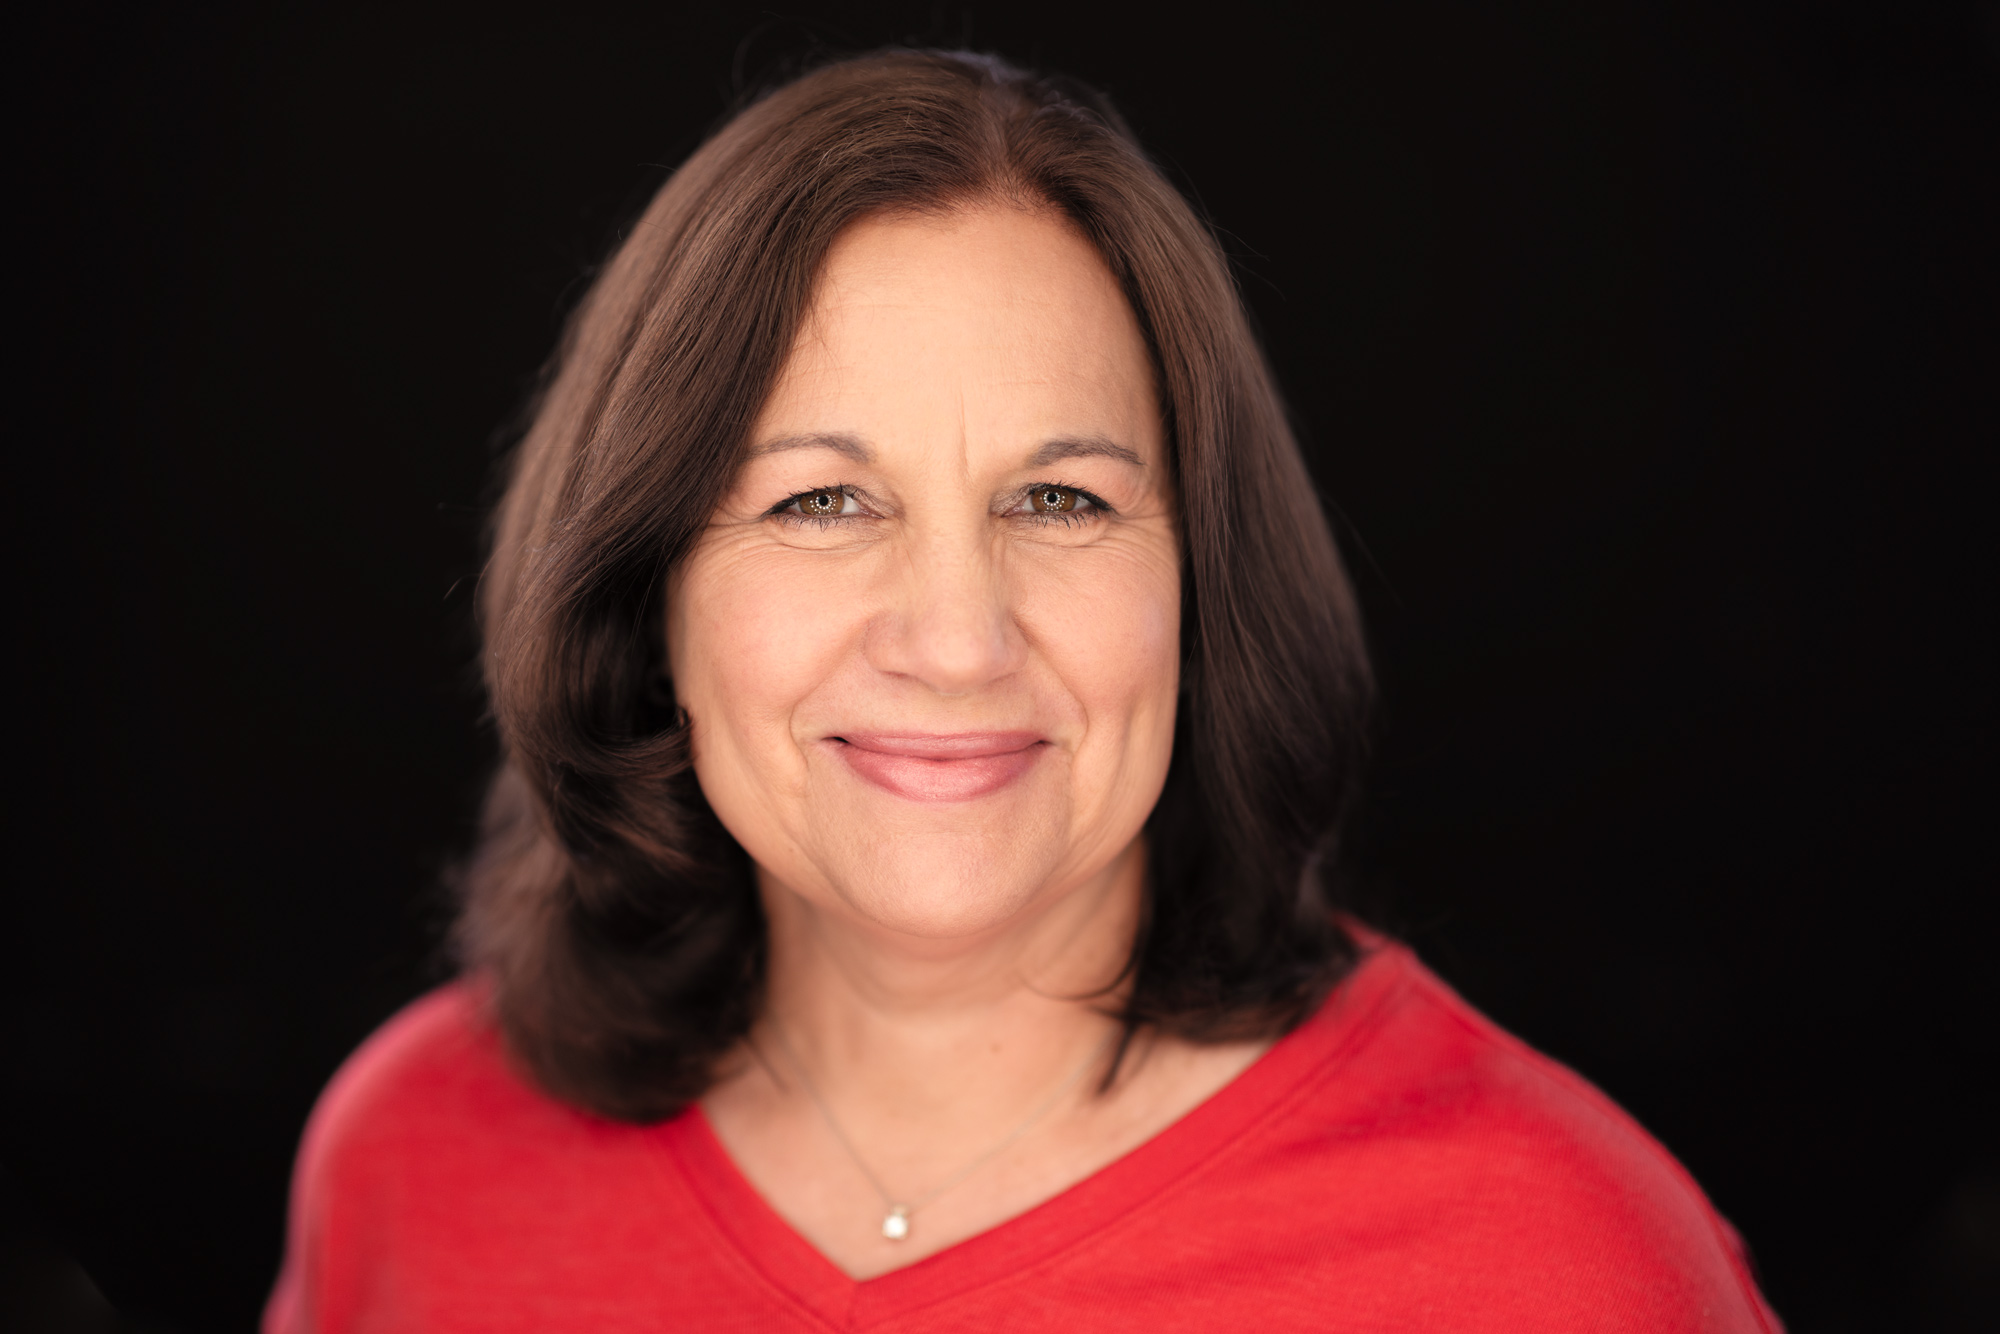
Lisa Guderian
“Jason really made the whole experience fun and comfortable and my photos turned out perfect! I highly recommend him for professional headshots!!”
Jaan Whitehead
“Jason came to my home with a wonderful make-up artist and, together, they created a warm and welcoming environment for me to have a headshot done. The results were terrific, and I could not be more pleased. So thank you Jason!!!”
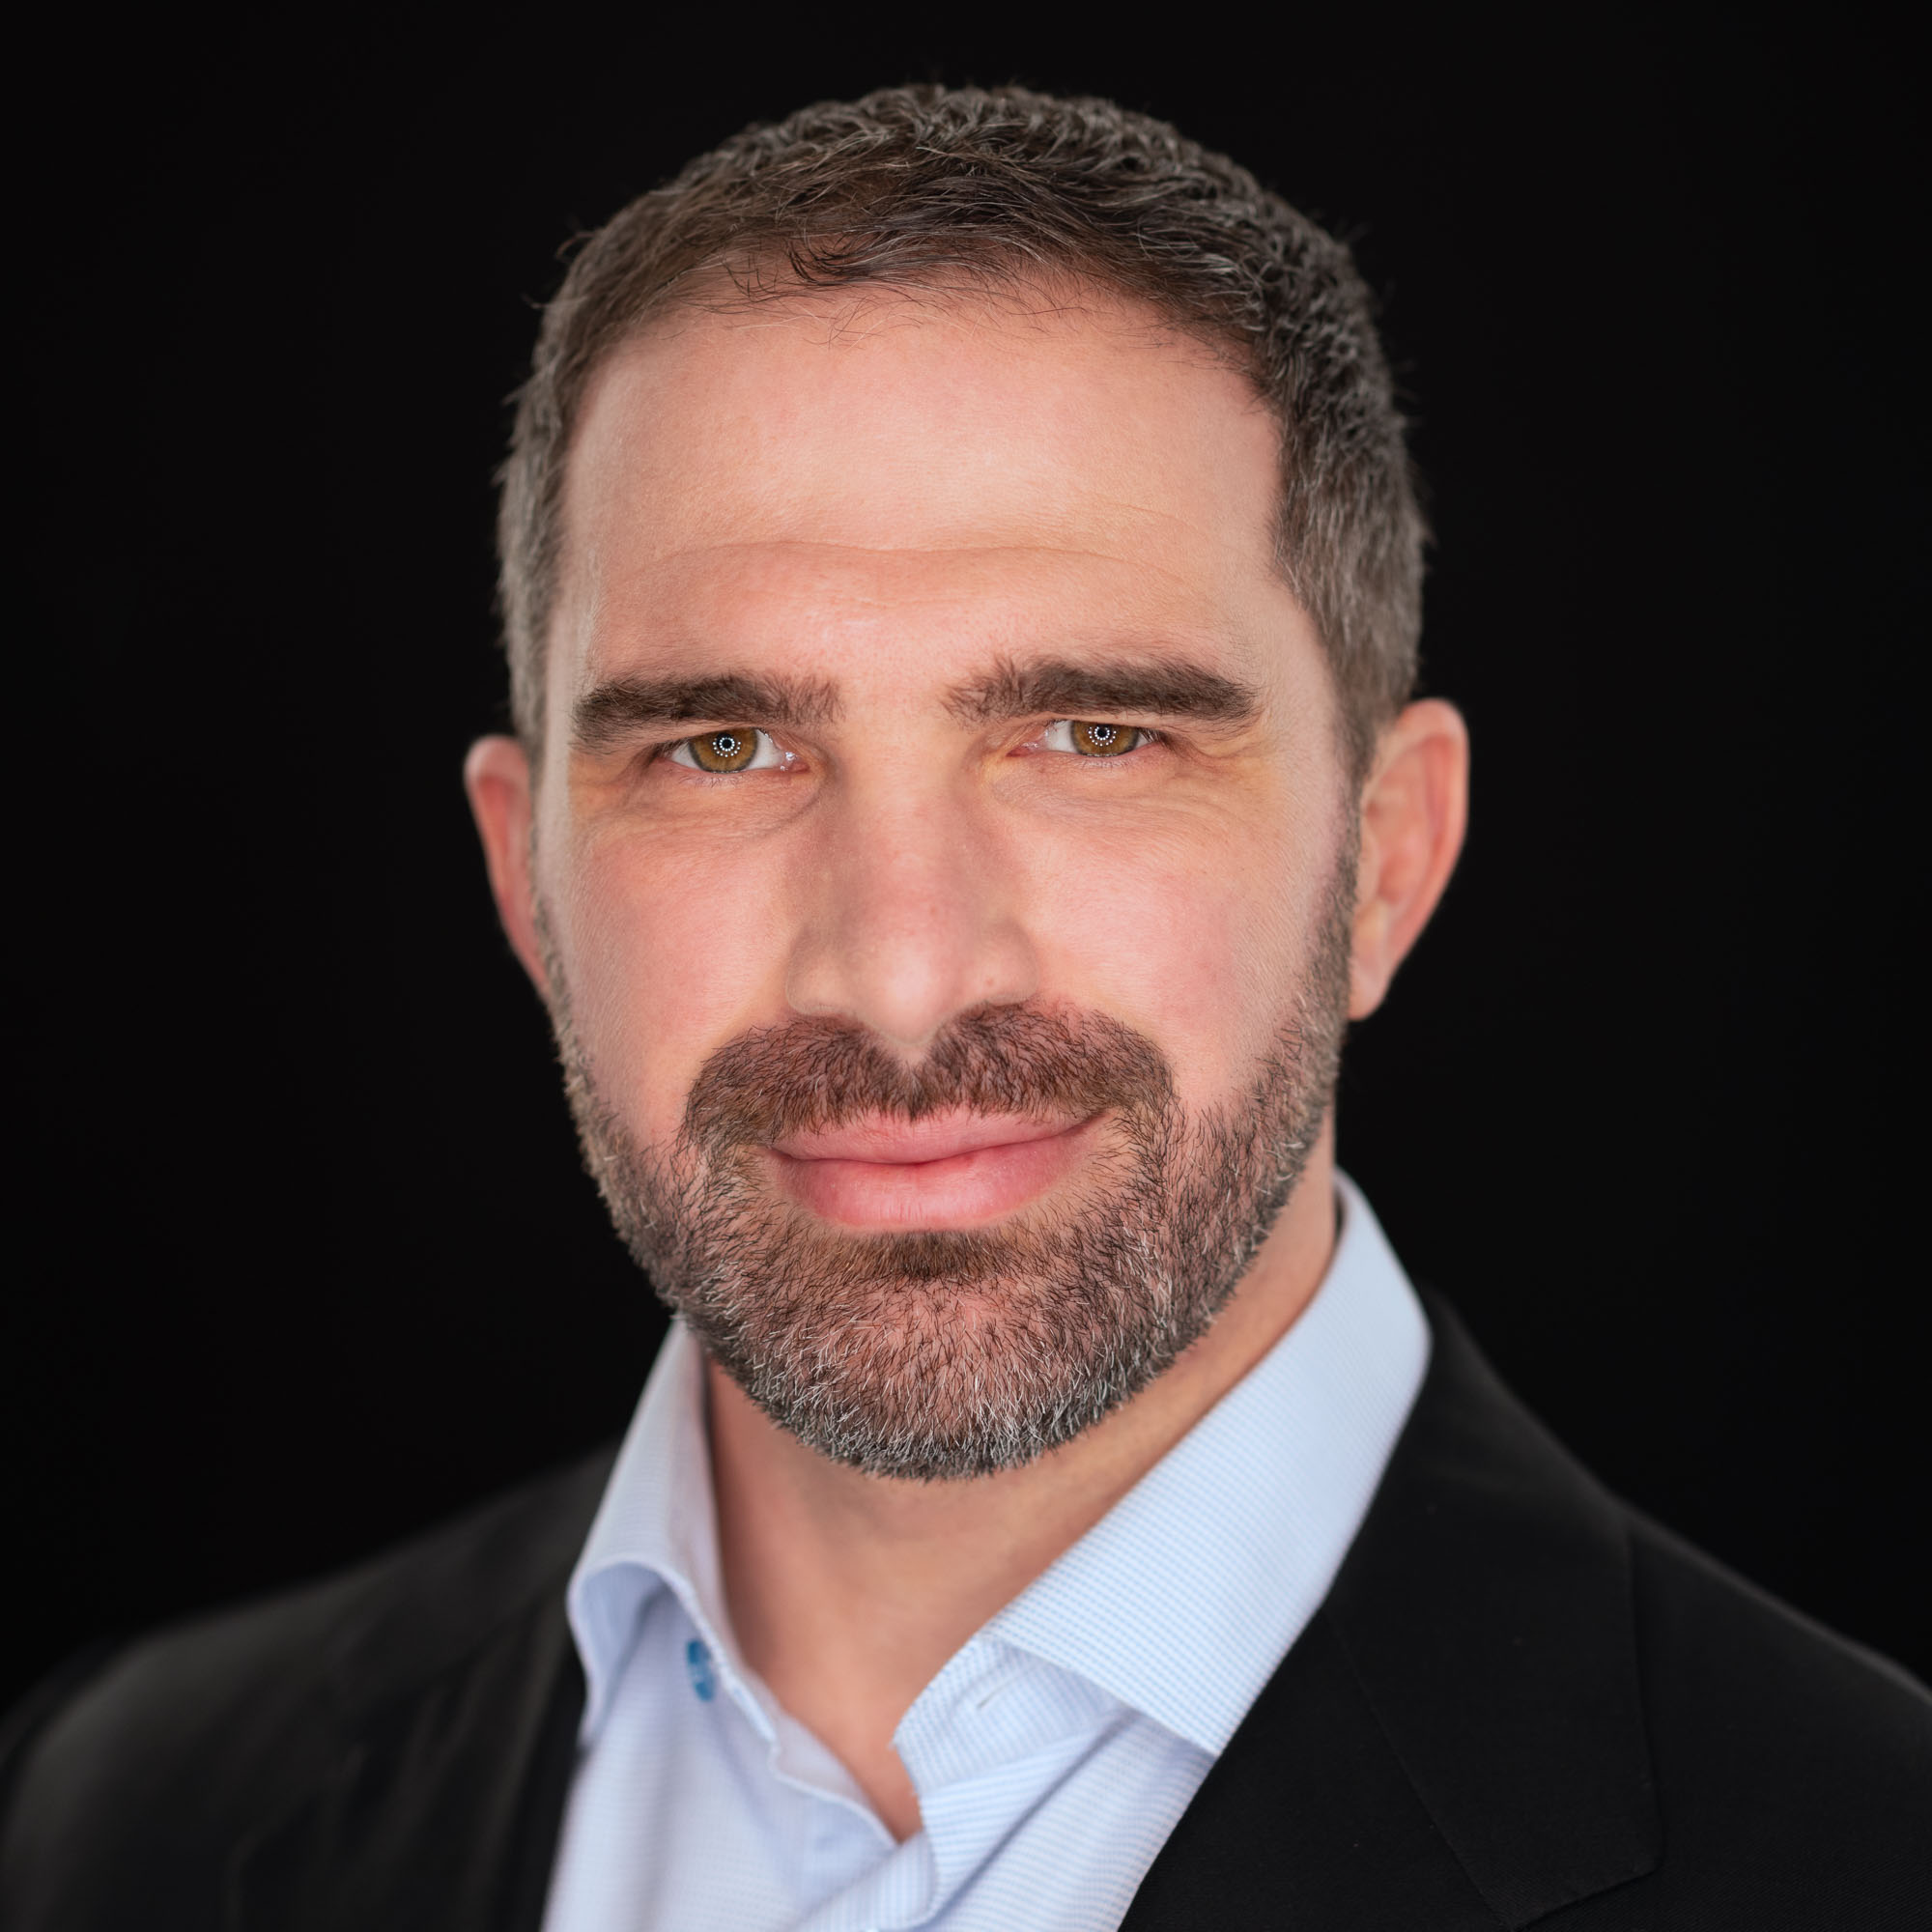
Raymond Giomi
“Jason makes the process very easy and efficient. Responds quickly and makes you feel comfortable when posing. Phenomenal quality of work.”
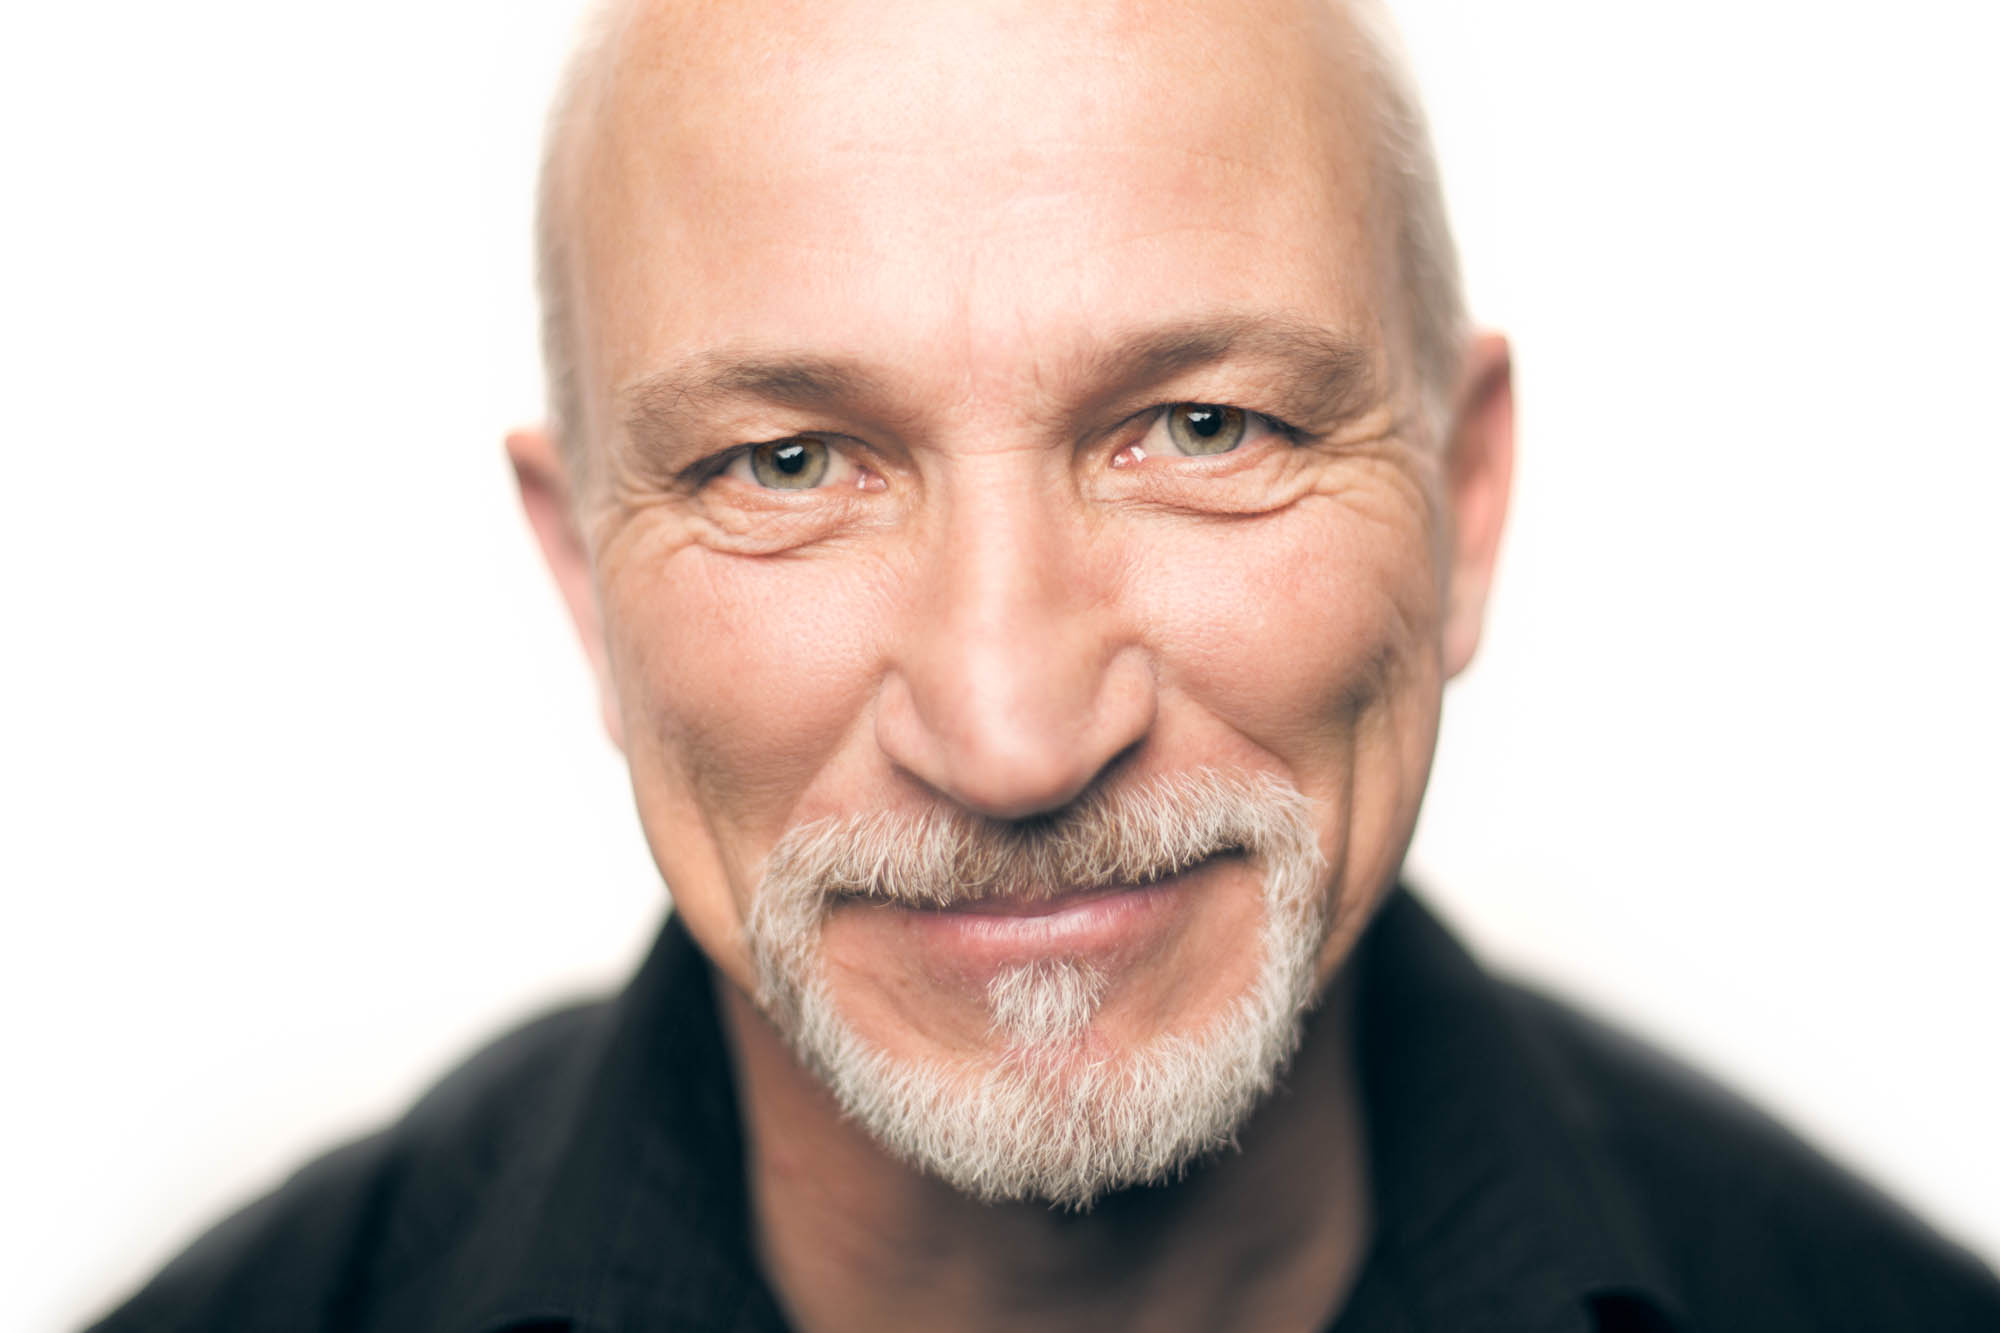
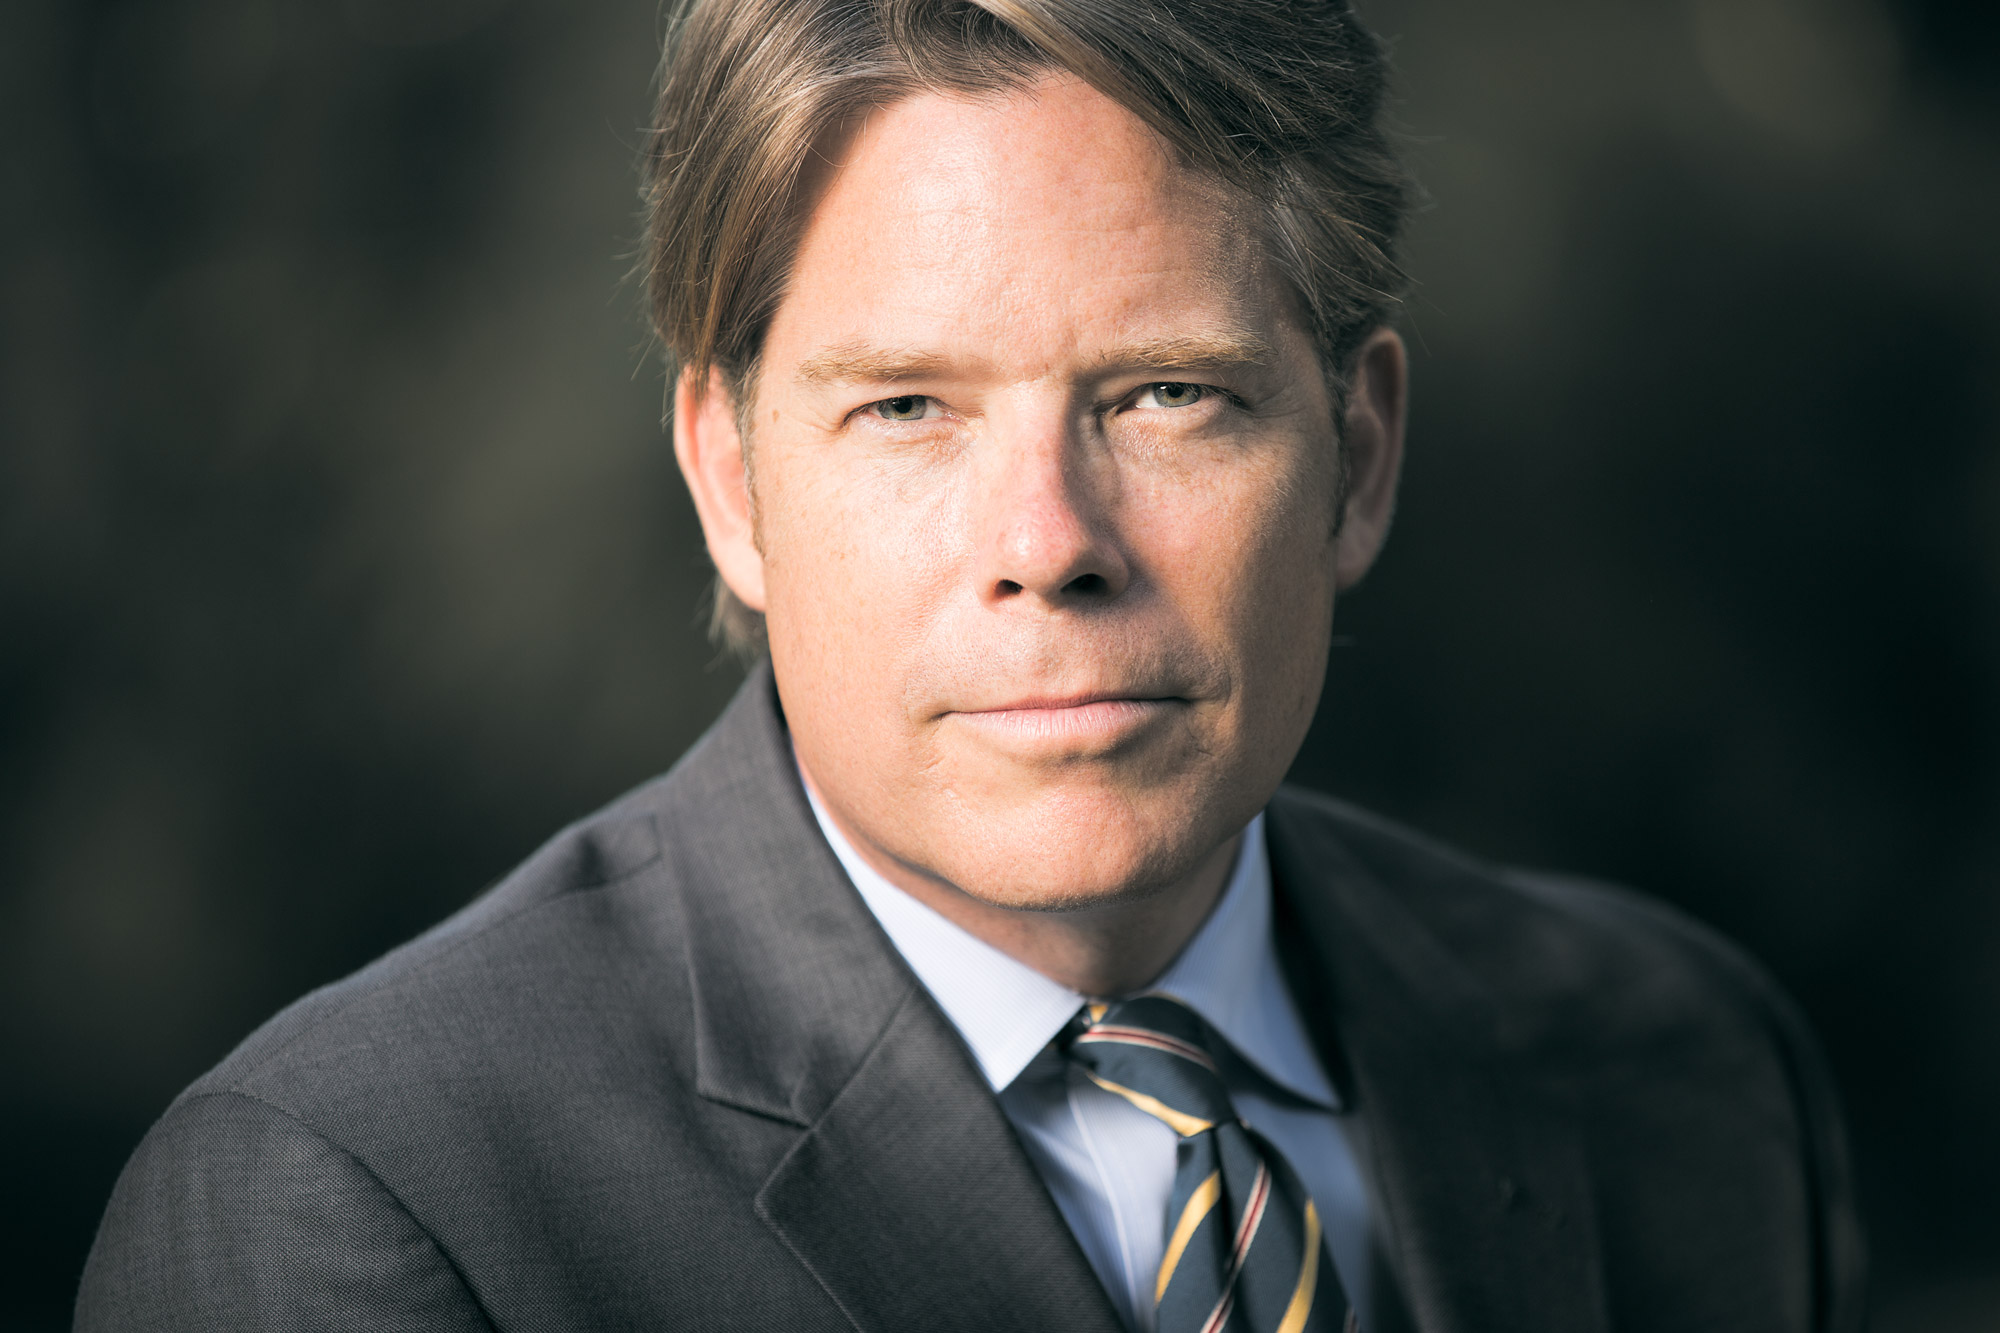
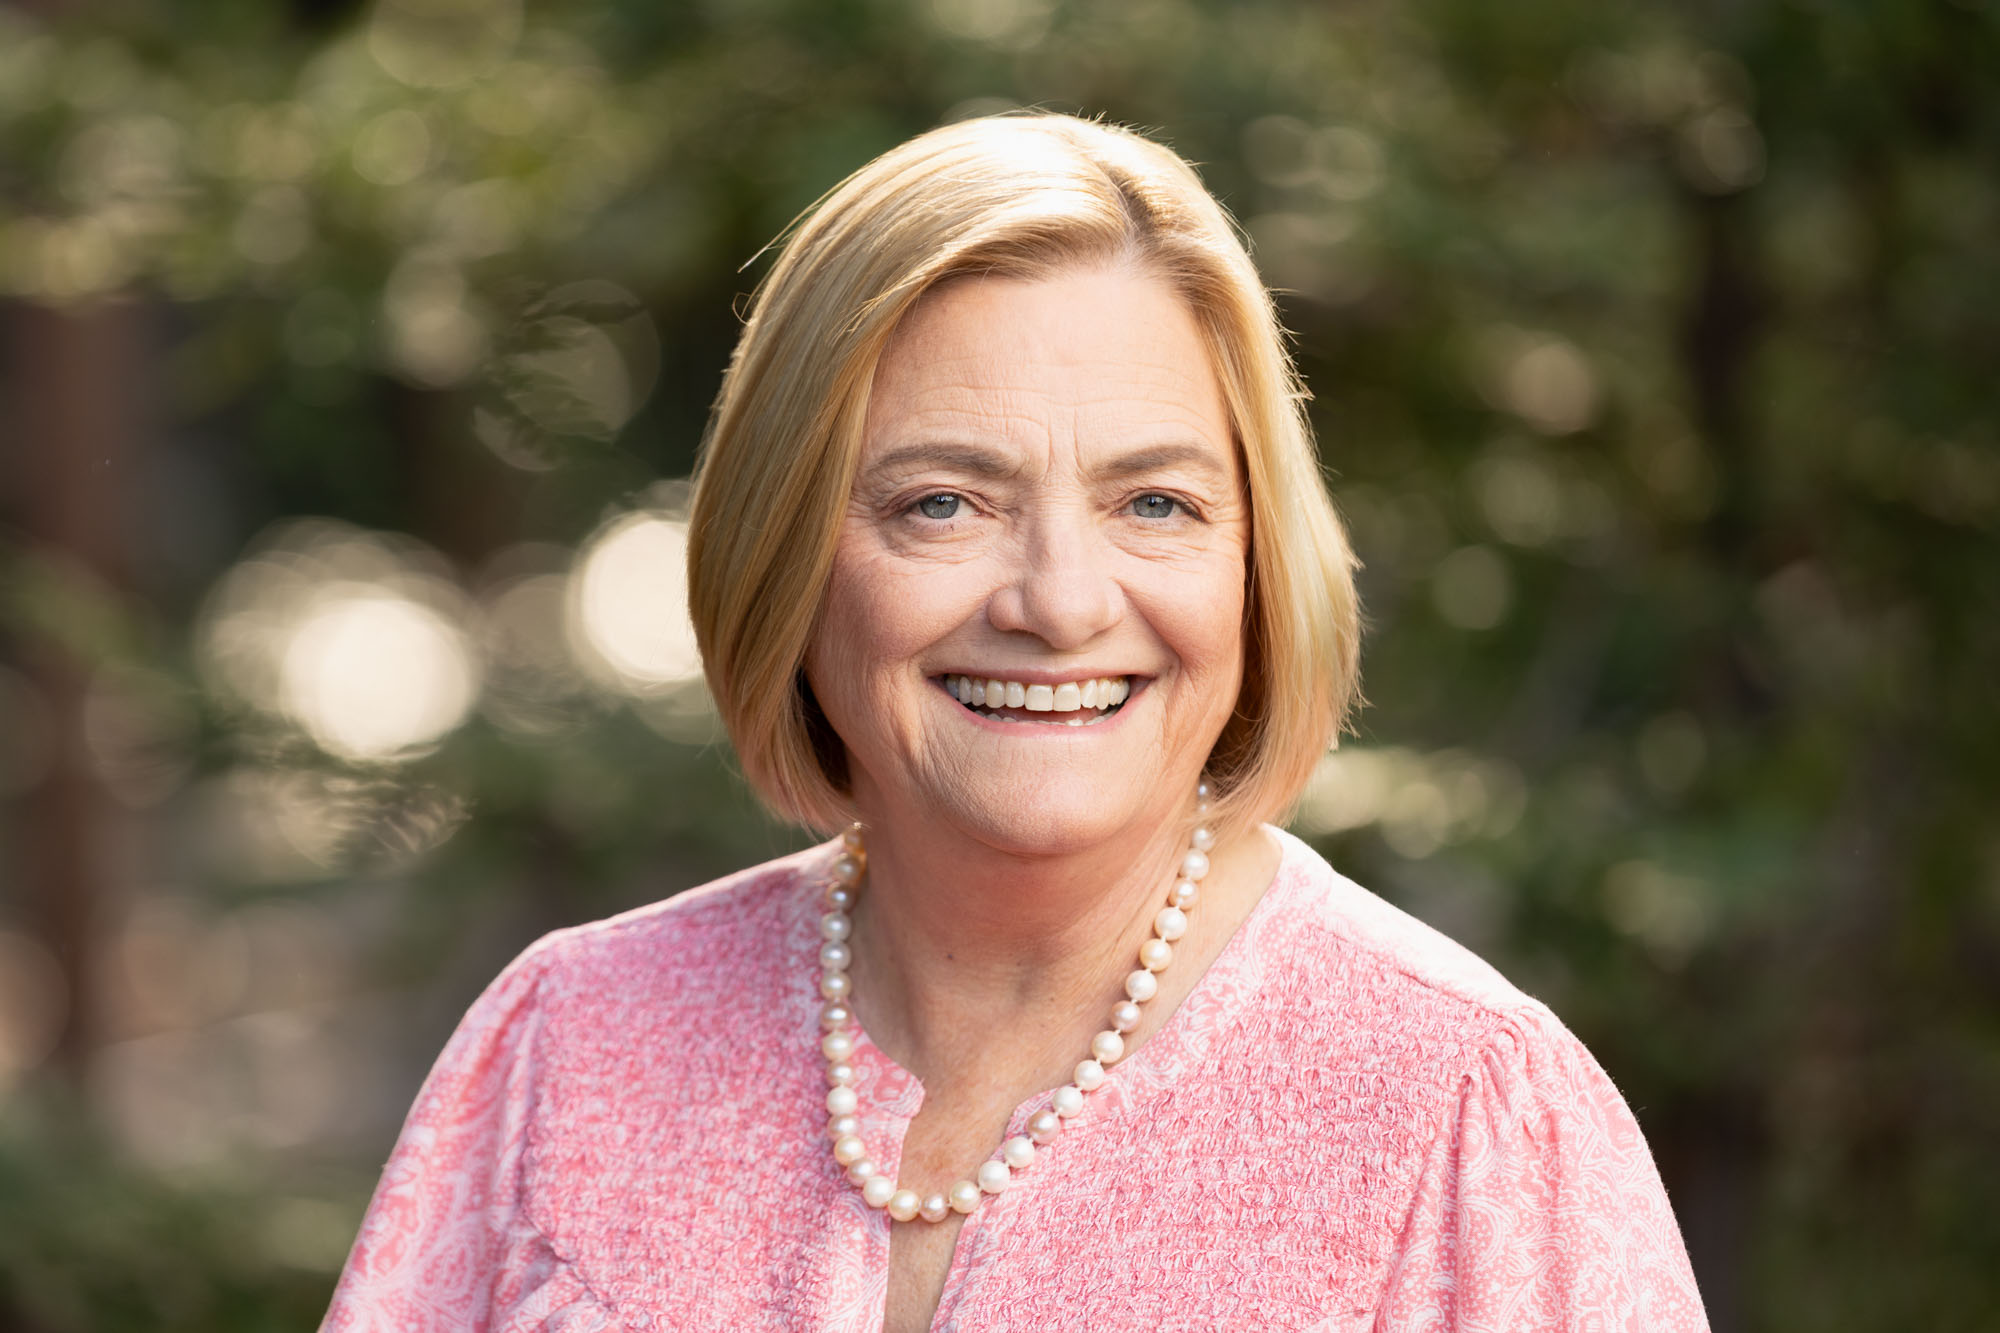
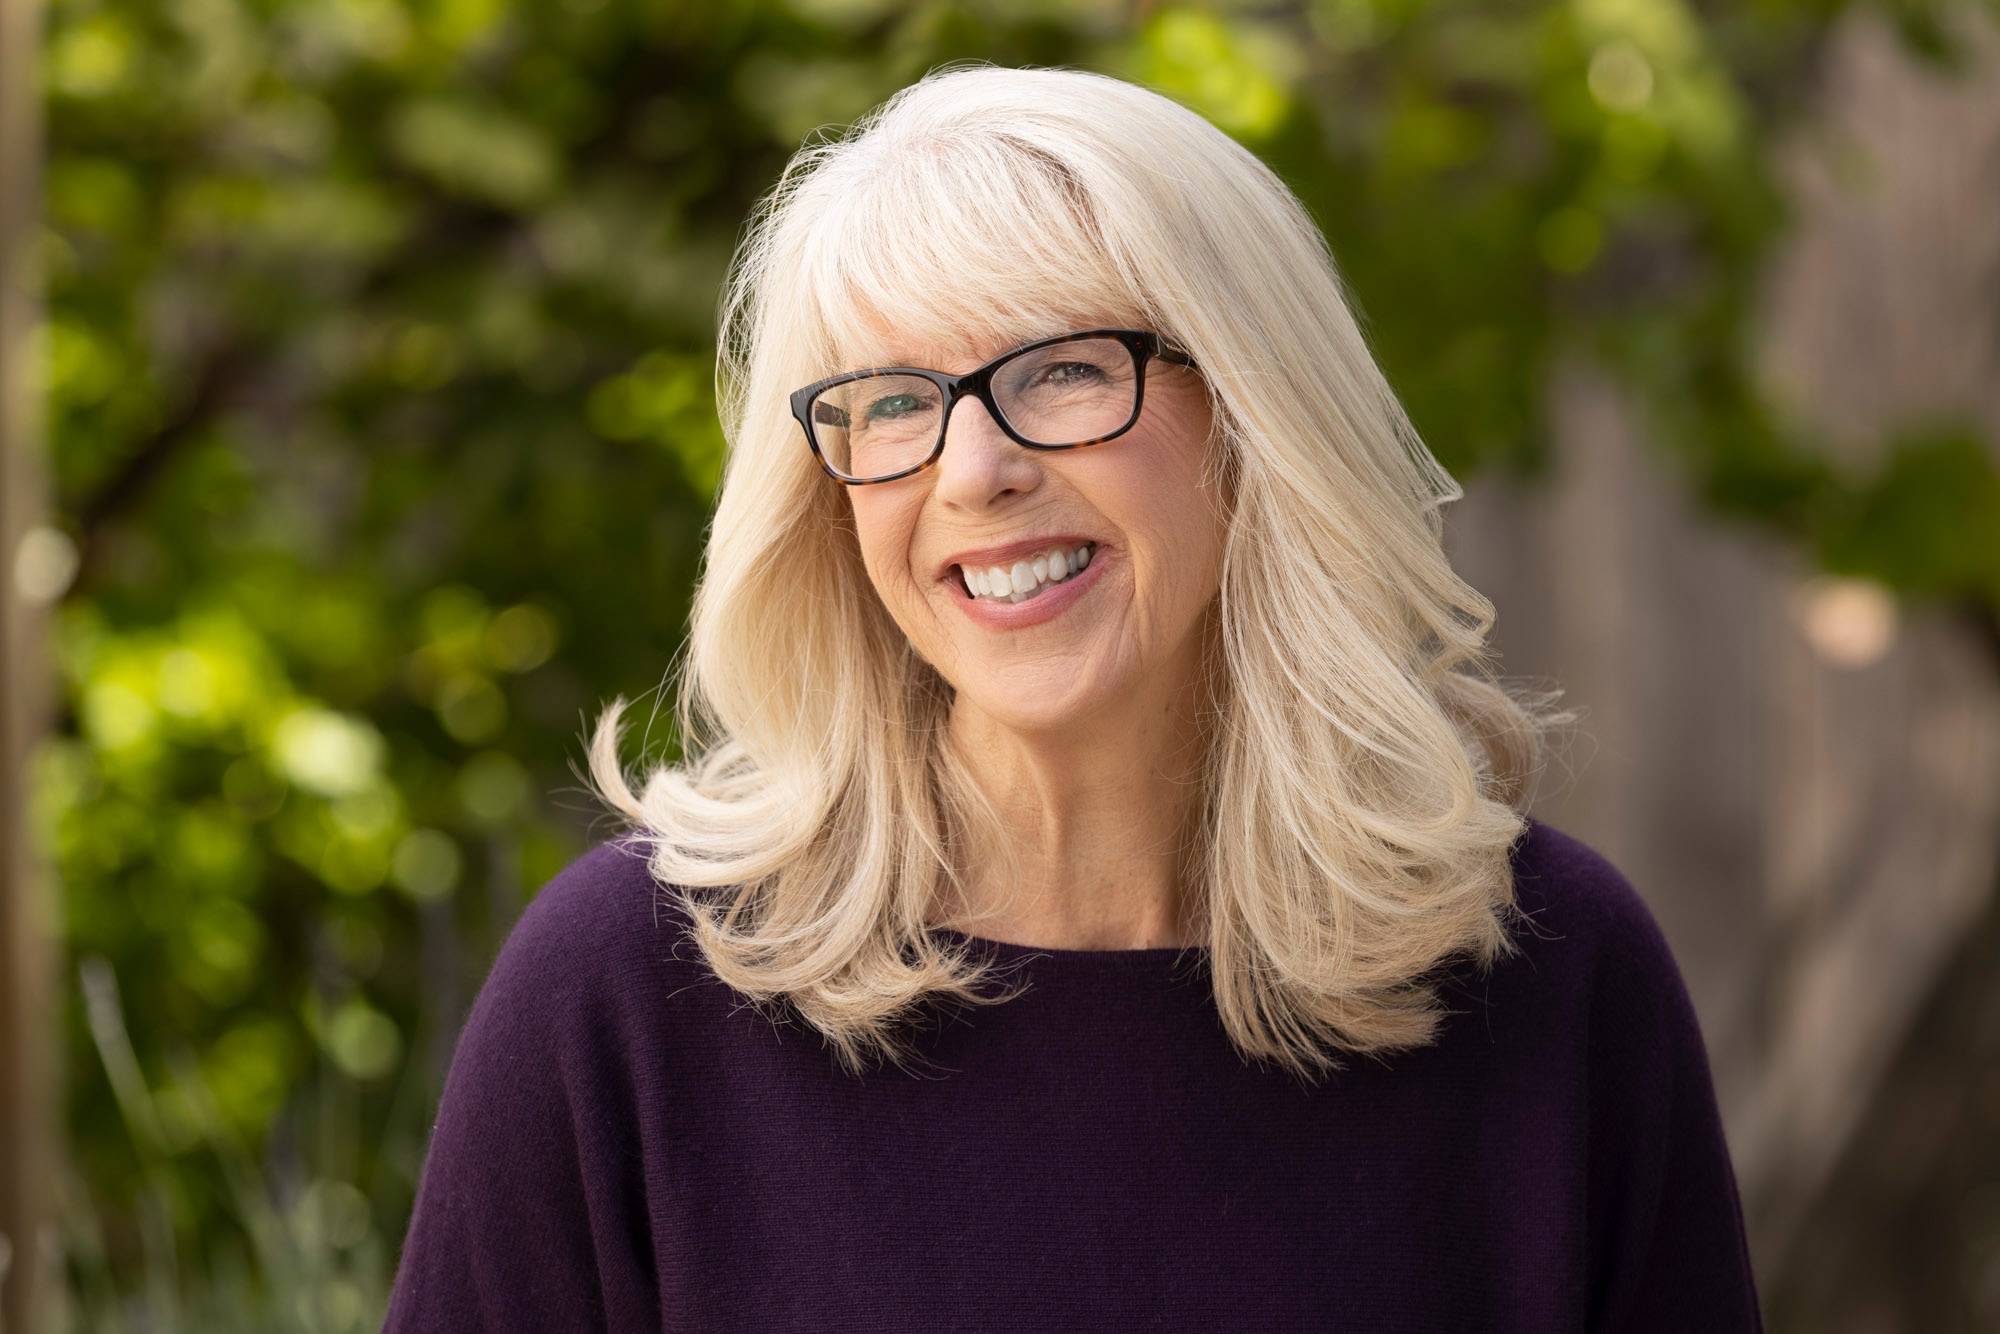
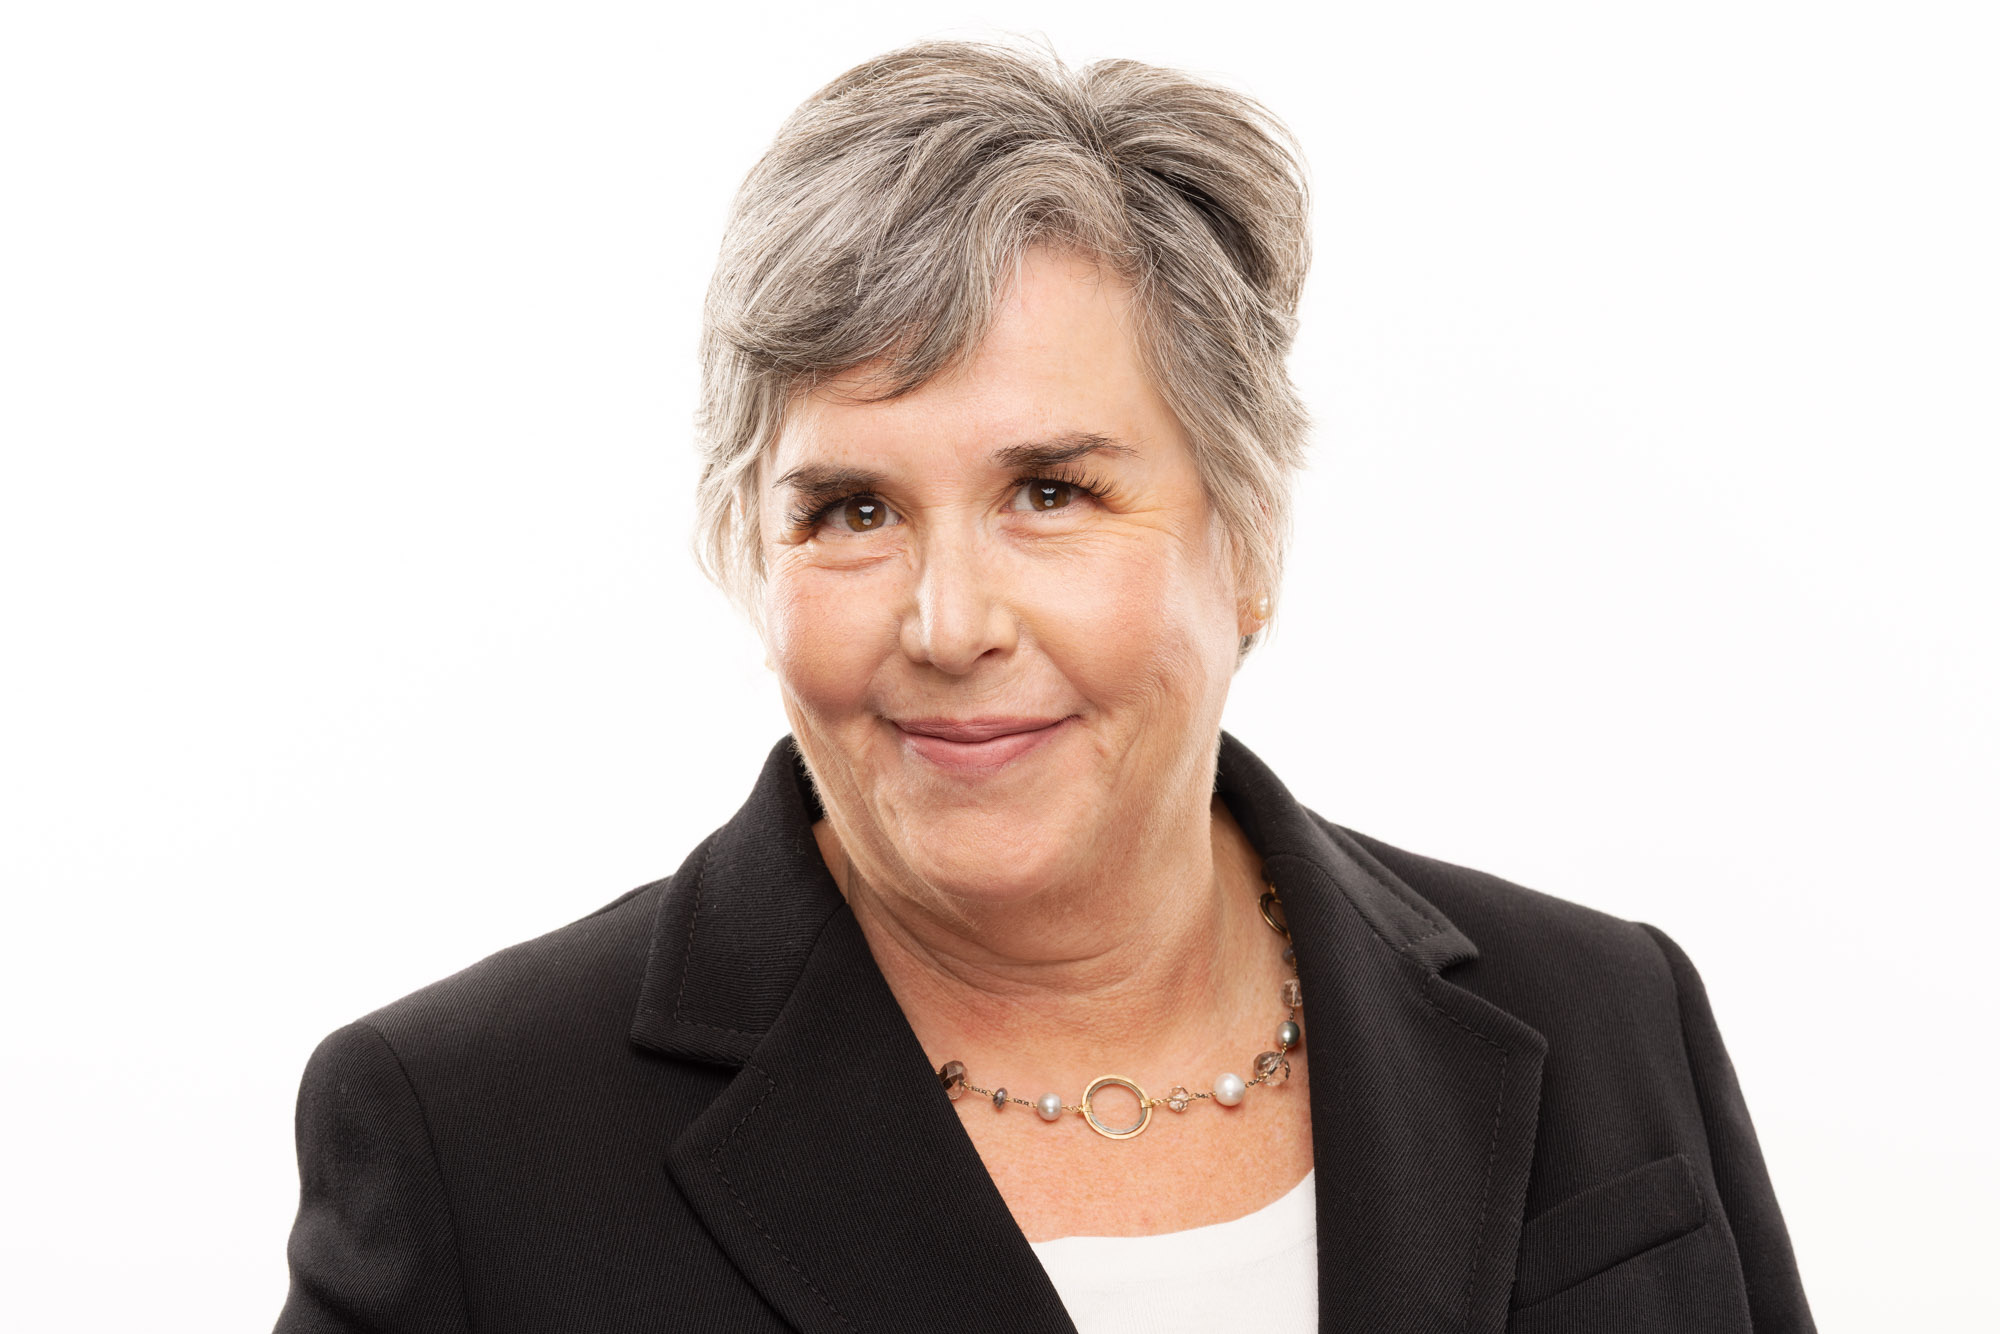
Sonoma County Headshot Photographer Jason Guy
My name is Jason Guy and I am Sonoma County headshot photographer. My promise to you is that I will capture photos of you and your team that look like what I show here in my portfolio. Every photo on my website is directed, lit, and hand retouched by me, and you can expect the same for your portraits.
All of my headshot sessions are photographed on location with different style options to suit your brand’s needs and budget. I am available for assignments anywhere in Sonoma, Napa & Marin Counties. However, there will be an additional fee (TBD) anywhere more than an hour from Sonoma, California. If you have any questions or are ready to update your headshot, you can get in touch by clicking the button below.
Headshot FAQ
Below, I’ve compiled answers to some of the most common inquiries I receive to help you prepare for your session and understand what to expect. If you have any other questions, check out my headshot FAQ here.
How Much do Headshots Cost?
Environmental style headshot session at your location
Watermarked proofing gallery of all captures from your session
Hand retouching of your favorite headshot by me
Digital JPEG of your favorite image optimized for the web at 2000px on the longest side
Additional People / Images:
2-9 images: $220 per image
10-19 images: $195 per image
20+ images: $165 per image
Style Options:
Environmental (within 1 hr of Sonoma CA): No additional fee
Studio Style: $400 set up fee at your location
Professional Hair and makeup $250 per person
Where Are You Located?
American Canyon, Angwin, Benicia, Boyes Hot Springs, Calistoga, Cotati, Crockett, Dillon Beach, El Verano, Eldridge, Fairfax, Fairfield, Forestville, Glen Ellen, Green Valley, Guerneville, Healdsburg, Hercules, Inverness, Kentfield, Kenwood, Lagunitas, Larkspur, Martinez, Mill Valley, Napa, Novato, Occidental, Penngrove, Petaluma, Pinole, Point Reyes Station, Rohnert Park, Ross, San Anselmo, San Geronimo, San Pablo, San Rafael, Santa Rosa, Sausalito, Sebastopol, Sonoma, St. Helena, Tomales, Vallejo, Windsor, and Woodacre.
What Headshot Styles Do You Offer?
What Are Some Thing I Can Do To Get Better Headshots?
What To Wear For Men’s Headshots – Tips on how to style yourself for sharp, professional results.
What to Wear for Women’s Headshots – A style guide to help you choose the most flattering outfits for your photos.
Headshot Session Checklist – A quick list of easy prep steps that help you look your best on camera.
These guides are based on years of experience as a professional headshot photographer. Whether it’s your first time or you’re updating old images, they’ll help you feel more confident and get photos you’ll actually want to use.