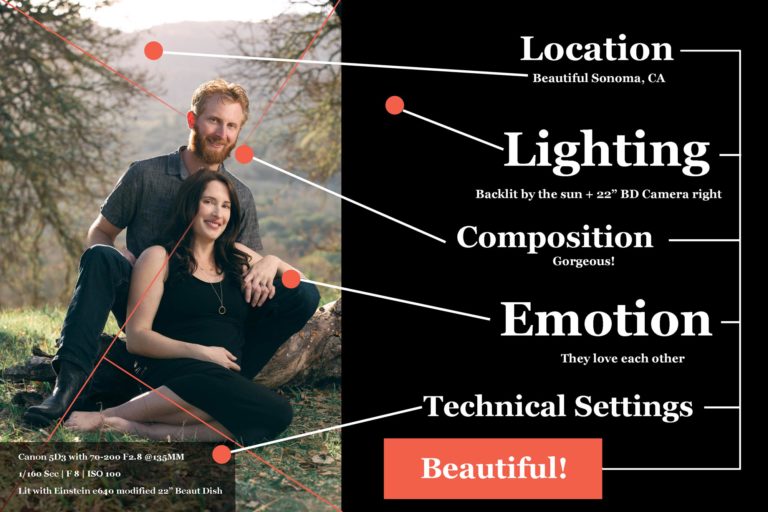
Getting good diy fitness photos with your phone is entirely possible, especially if you know how to light and pose your body. That’s why I wanted to share my knowledge as a fitness photographer. My hope is that by sharing some quick tips, I can help you get better fitness photos using little more than your phone and a few other inexpensive pieces of gear.
How to take diy Fitness Photos:
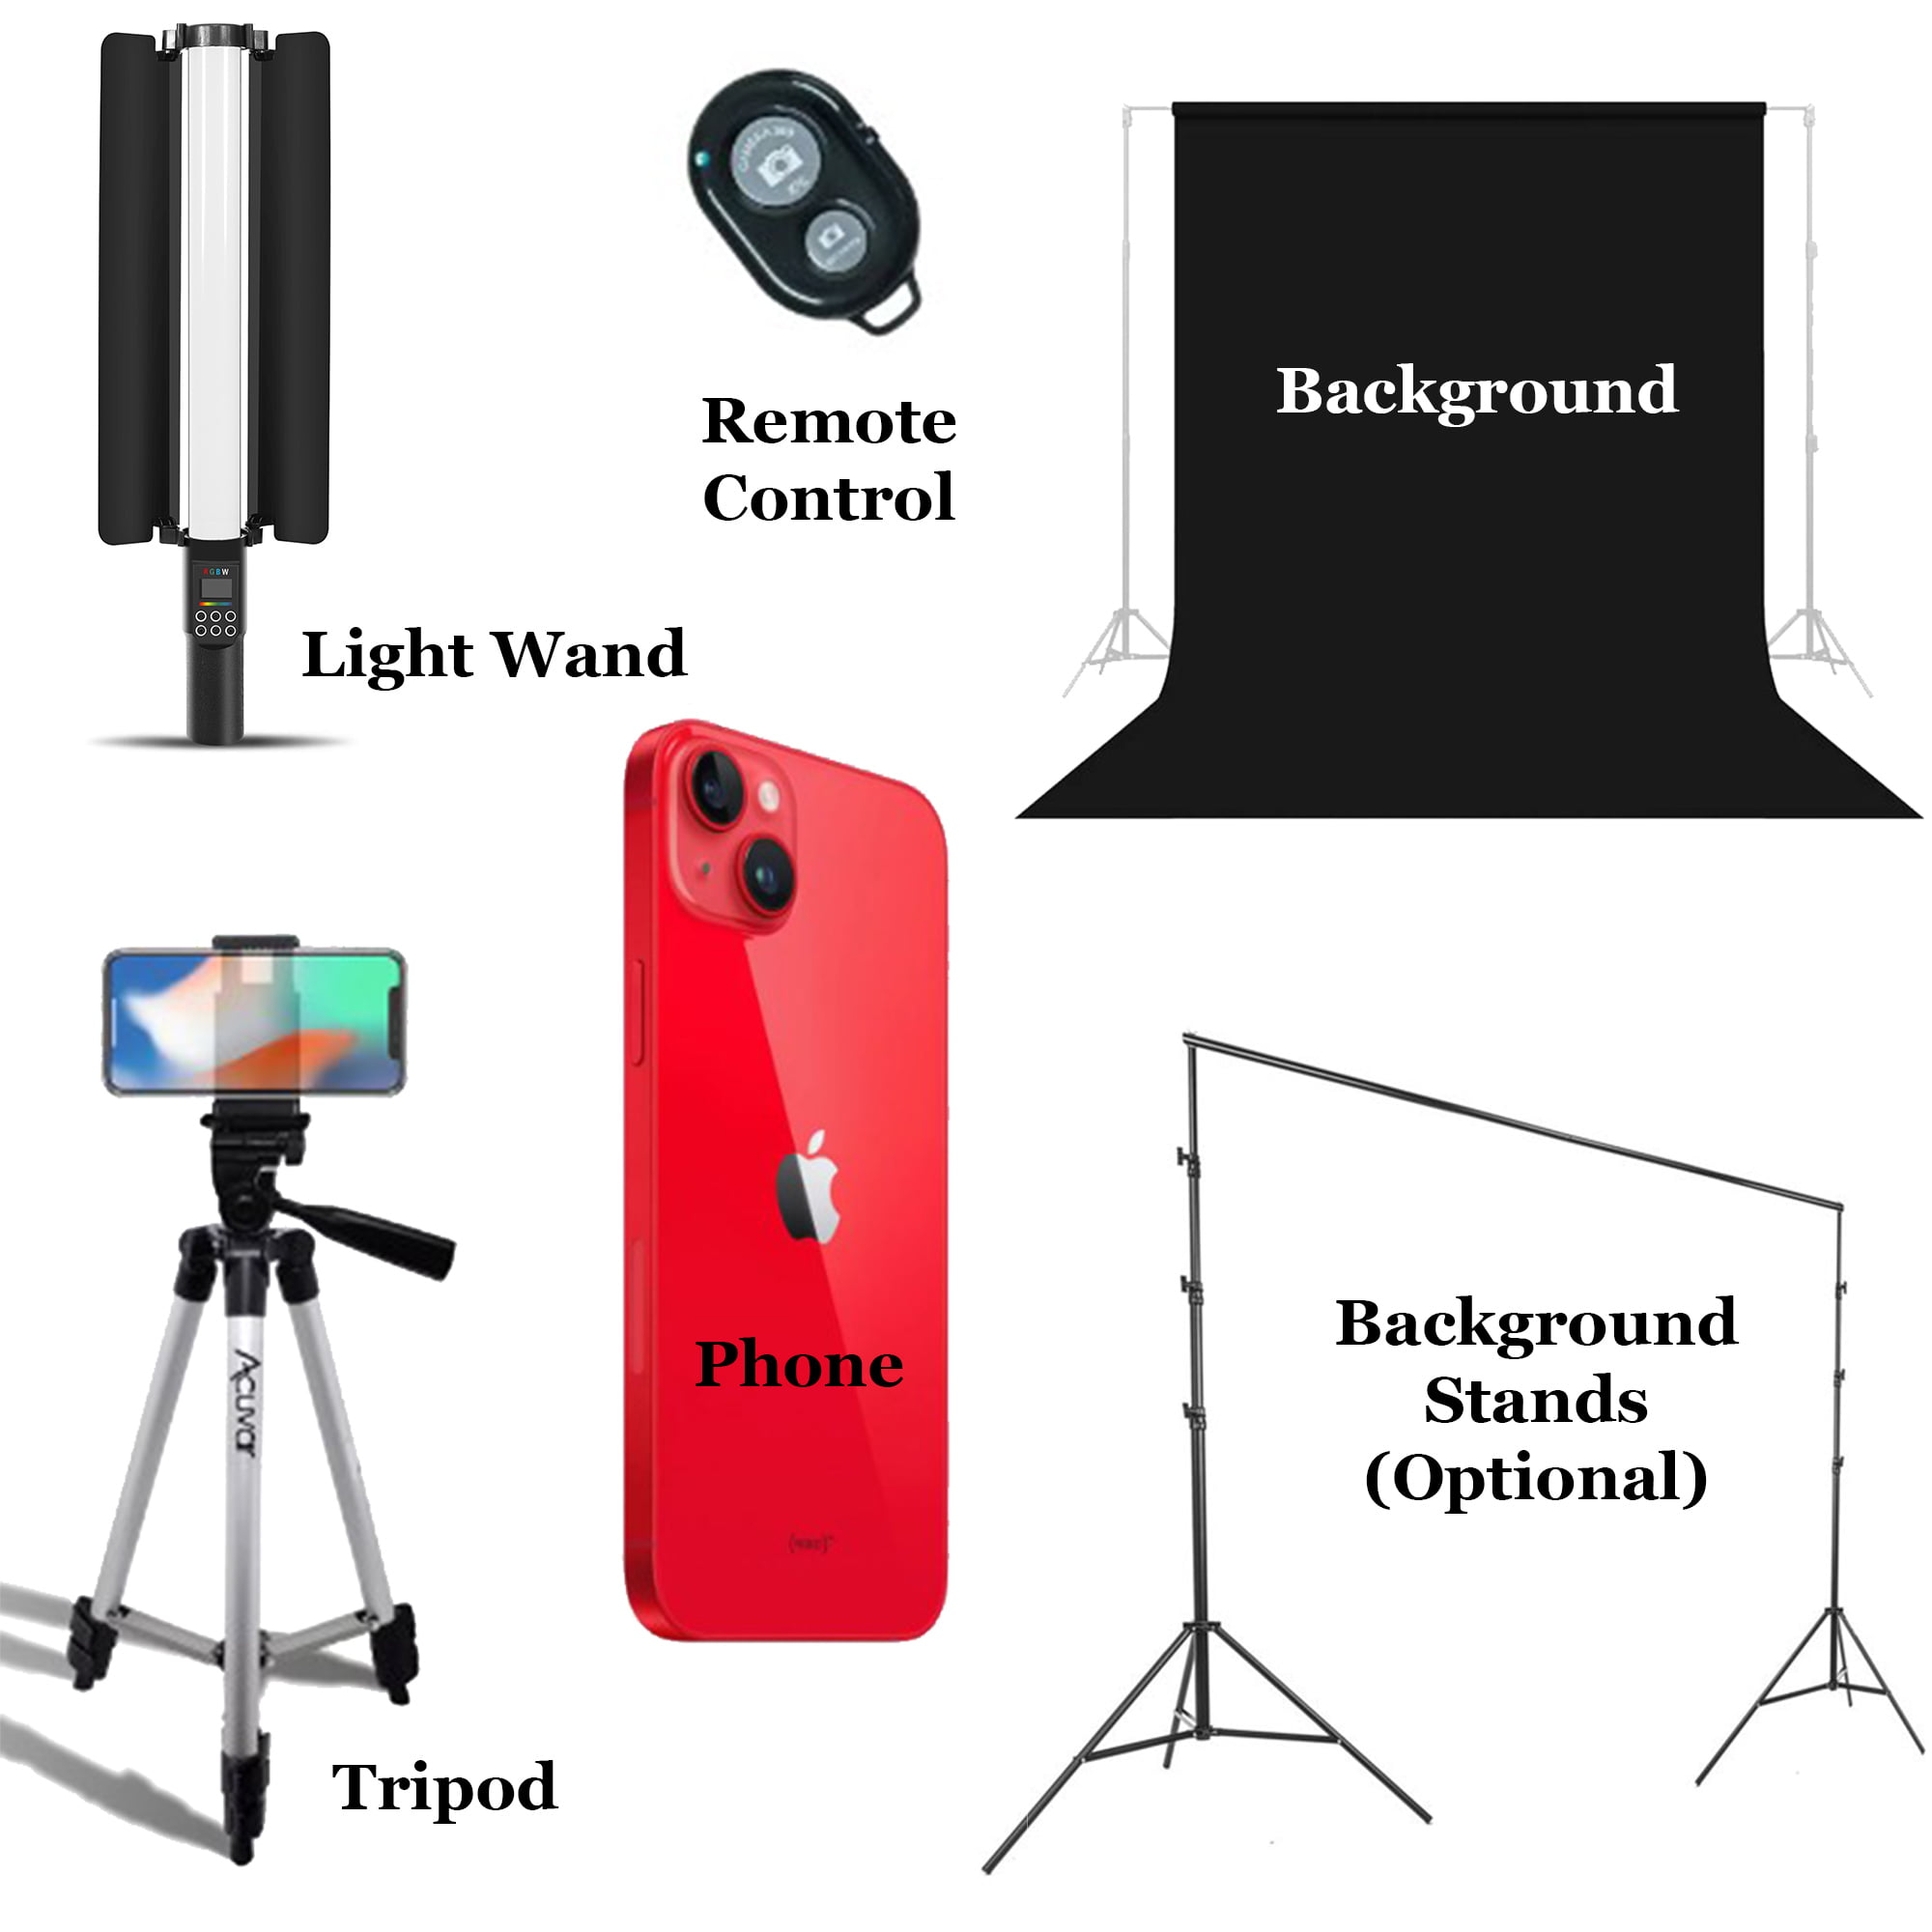
- Gear you’ll need for your diy fitness photos
- Fitness Photography Lighting Set Up
- Enhancing Your Body With Your Pose
- Editing your fitness photos
This post may contain affiliate links, meaning I get a commission if you decide to make a purchase through my links at no cost to you. Please read my disclosure for more info.
1. Gear You’ll Need For Your DIY Fitness Photos
There are infinite ways to capture fitness photos. In this post I’m going to show you an inexpensive beginner friendly set up similar to the one I use for capturing my own fitness progress photos.
With this gear along with a space with good light control (like your garage or a spare bedroom) you should be able to get similar results to the photos featured throughout this post.
To capture you’re own diy fitness photos you’ll need:
2. Fitness Photography Lighting Set Up

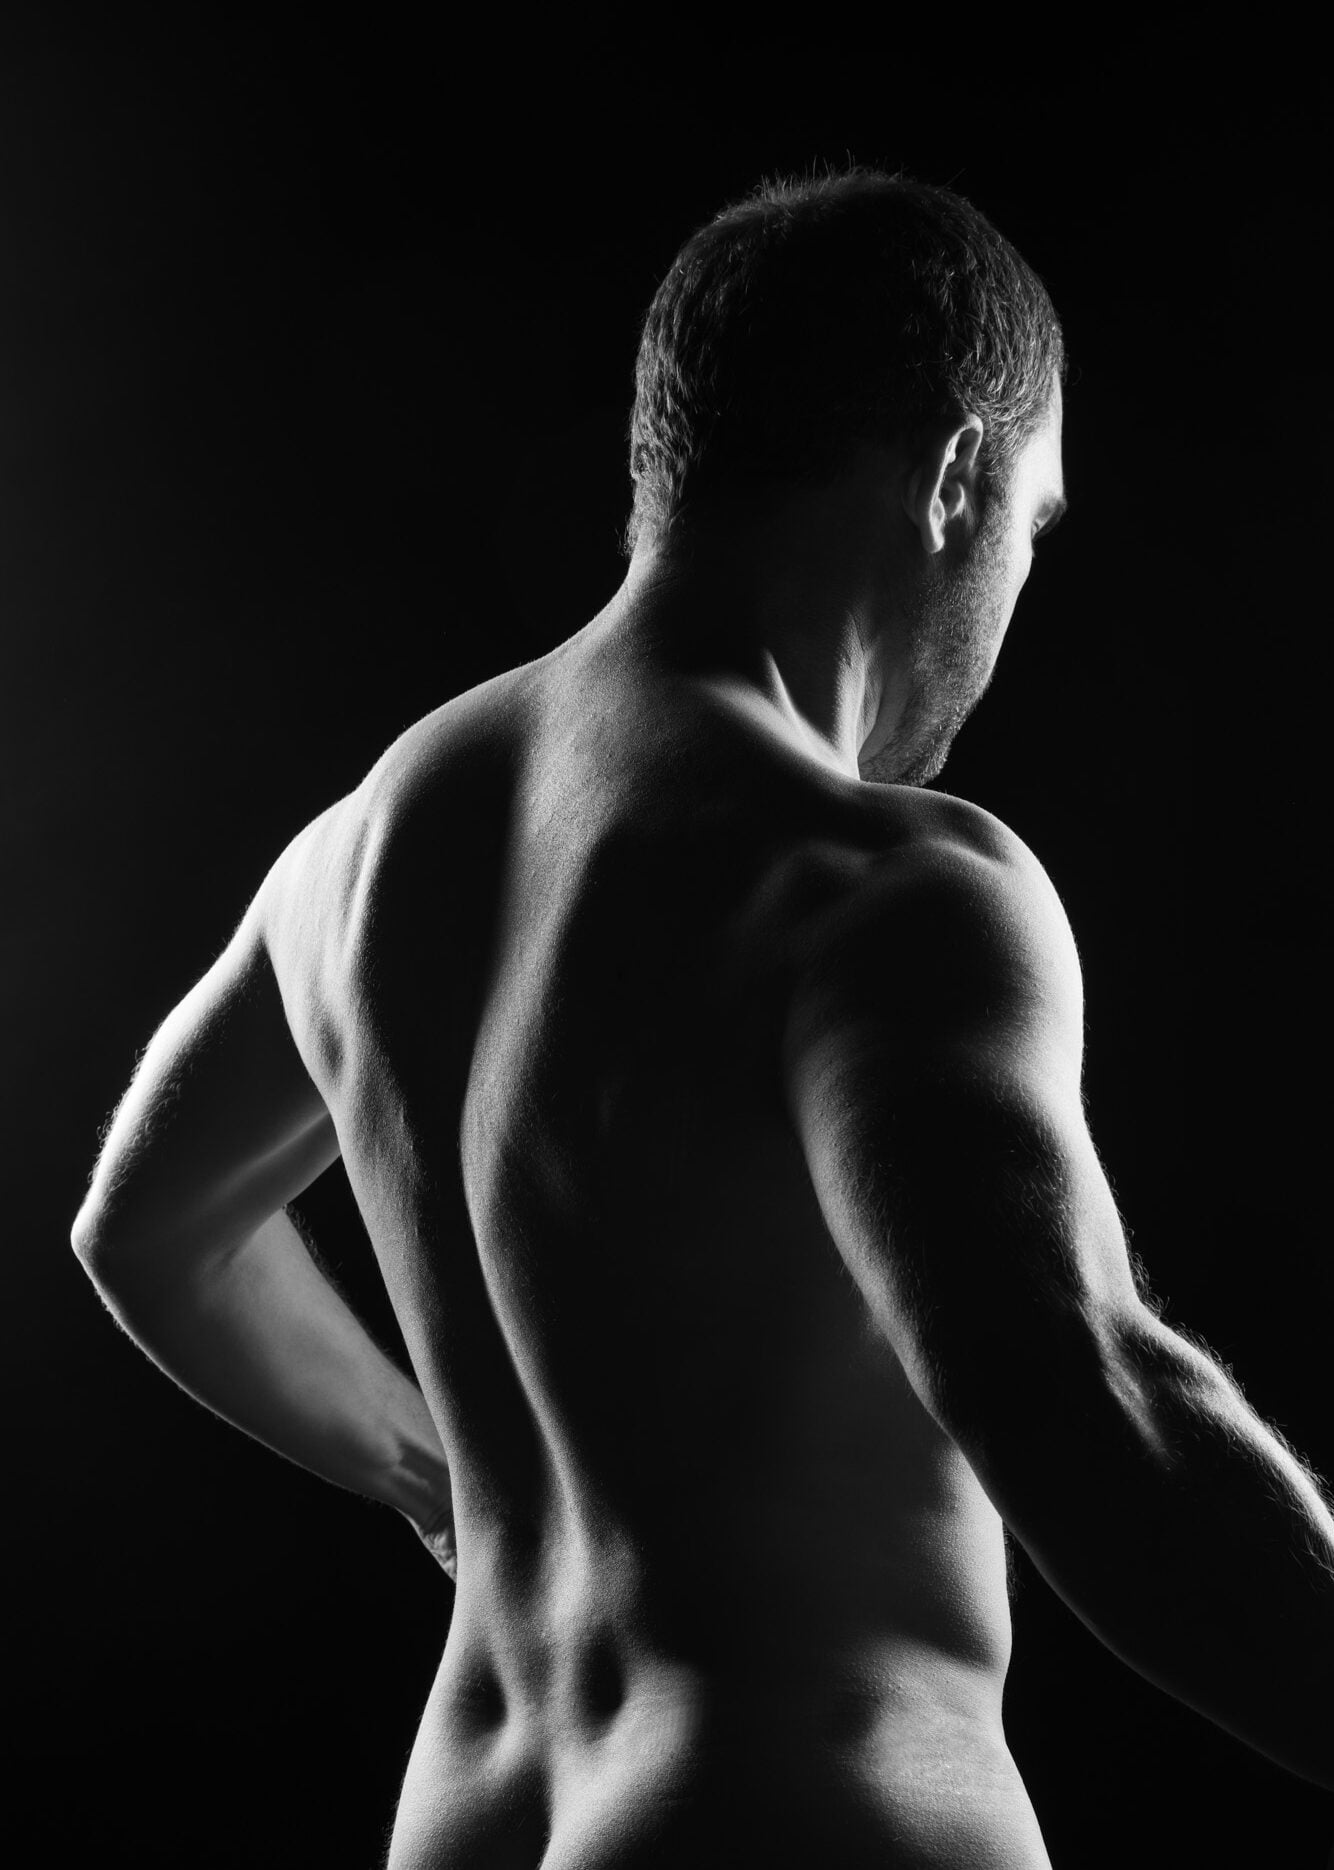
The sample fitness photography lighting set up above is of yours truly. Note that you’ll need 2 light wands and that the barn doors (linked above) are crucial for light control. Also note that my photo was lit and captured with fancier equipment than what’s listed above, but you’ll be able to get a very similar look at much lower cost doing your diy fitness photos with the items mentioned above.
When you set up your lights, it’s important to note that the closer the lights are to you, the more dramatic the shadows will be. So if your lighting looks too flat, get your lights closer to you. Also if you want your shot to fall into black like mine, you’ll want to do this in a room with total light control.
I also suggest if you want your photo to look like the sample above you also get a black seamless background. If you want to save a couple bucks you can forego the background kit that holds the background and instead mount your seamless background to your wall like this. This is a good way to go even if you only plan to capture your fitness photos semi regularly as it will greatly reduce your set up time.
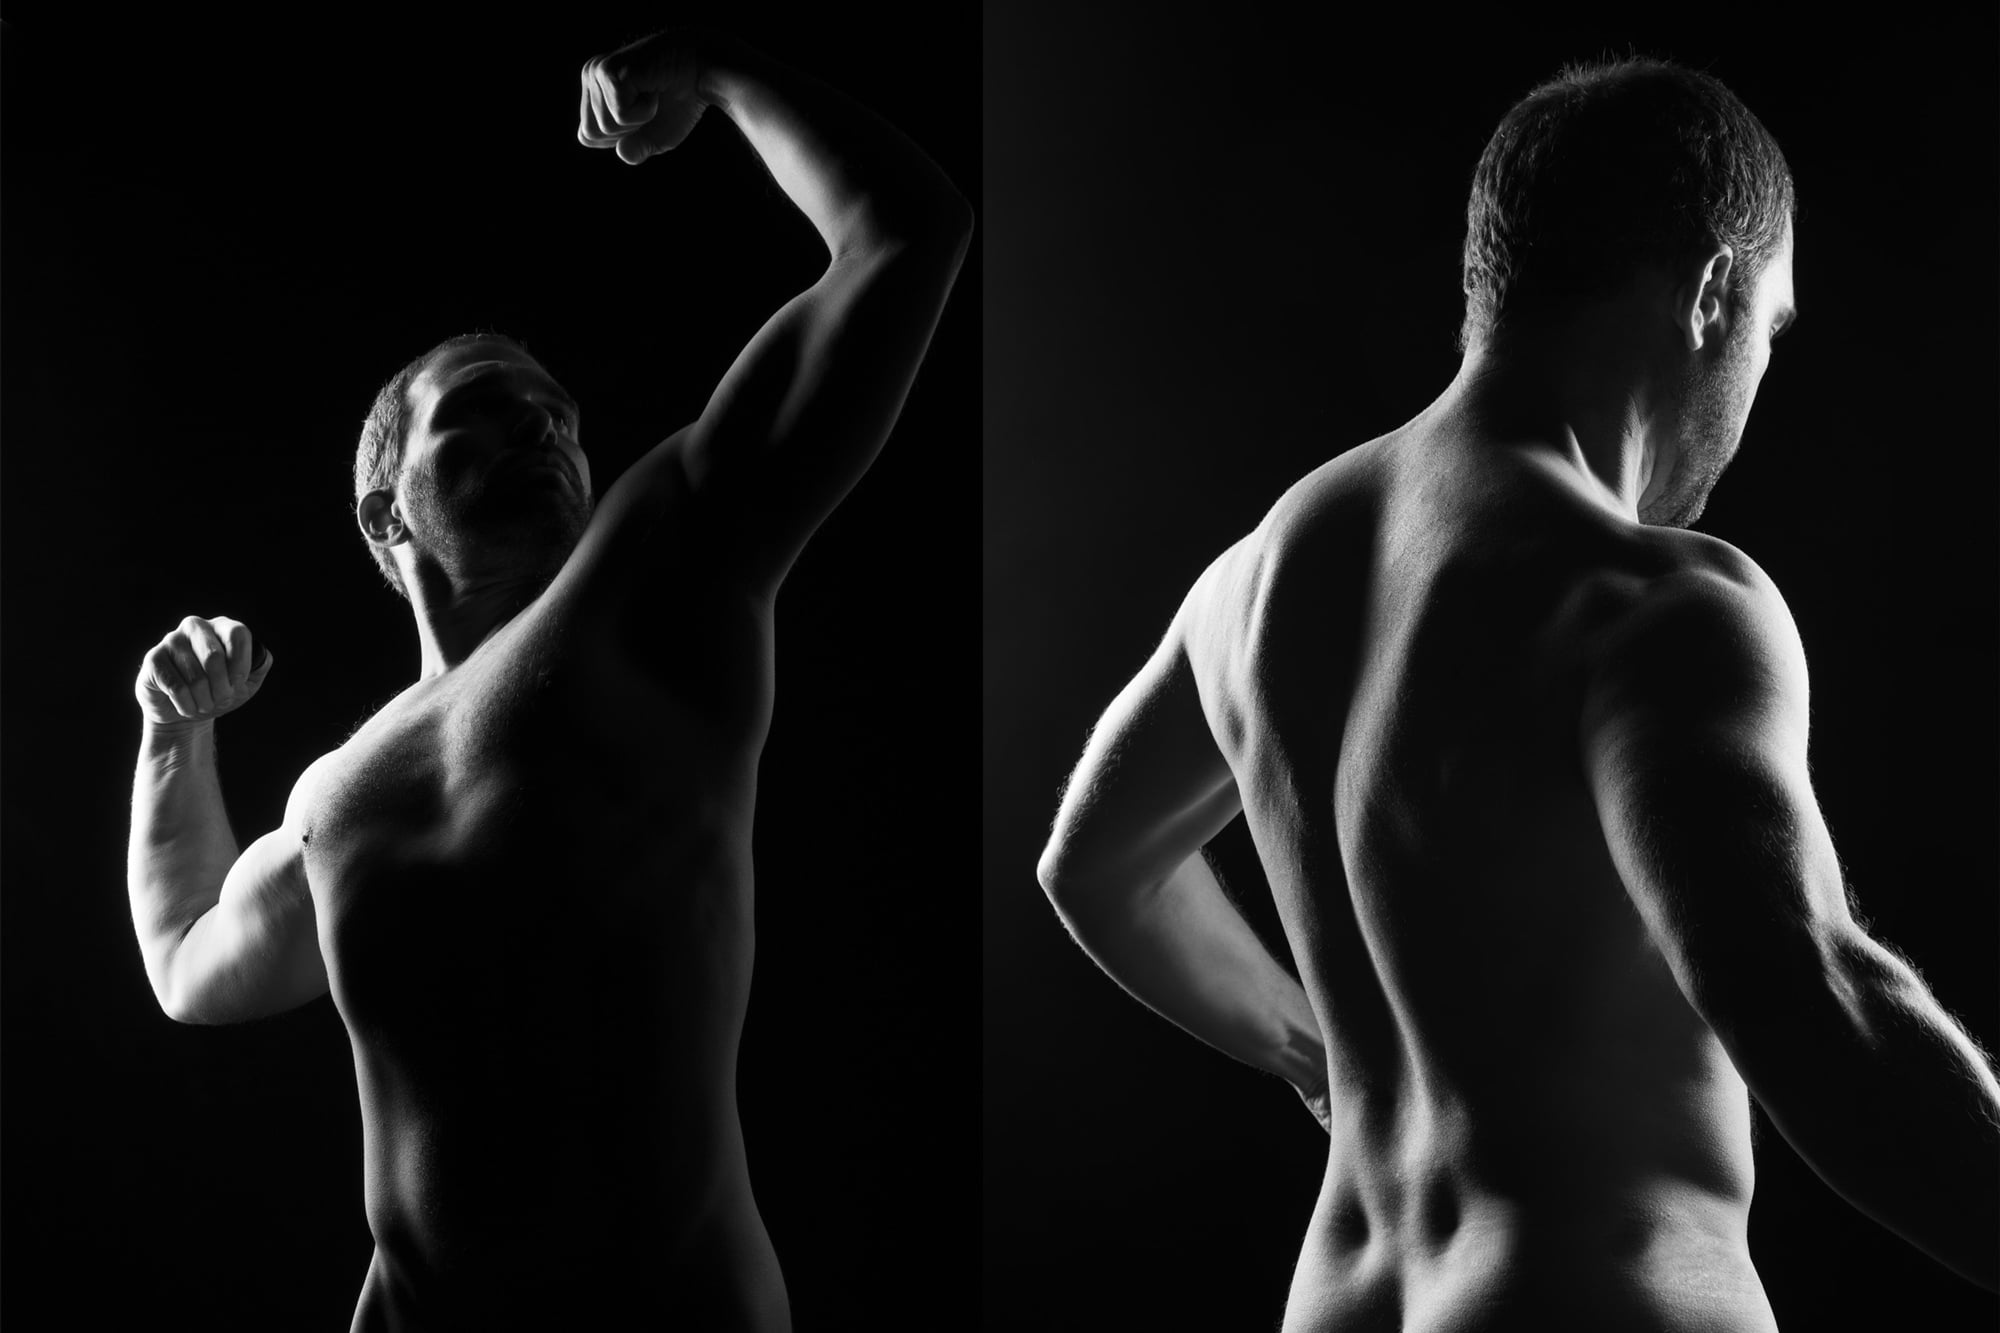
3. Enhancing Your Body With Your Pose

Although good lighting is key to getting a good fitness photo, what most people don’t realize is how posing and lighting work hand in glove with each other.
Put another way, great lighting is pose specific. Thus, if you want good lighting, you first have to decide how you’re going to pose. Once you know the pose you’re going to do, you can then precisely place your light to highlight the muscle groups you’re trying to showcase.
Having to do everything yourself is hardest part when first learning how to take your own fitness photos. To make your job easier I recommend you also get yourself a full length mirror so you can see yourself posing and adjust for your photos in real time.
If you decide not to get a mirror this will make capturing your photos a lot harder. This is because you won’t be able to make the fine micro adjustments necessary to finesse the light falling across your body. Instead, you’ll have to walk back and forth to your phone to review your photos there.
Alternatively, you can use the front facing camera on your phone at the expense of image quality. This is because the rear facing camera on your phone will take better quality photos then the forward facing one will.
4. Editing Your Fitness Photos
Once you get a nice photo that you’re happy with, the final step is to edit your photo. I recommend you refrain from exaggerating areas of your body so you can have accurate progress photos of your body as time goes on. I consider the lacking areas good motivation to program in exercises to improve these areas.
Also, try to be judicious with your color grading. Having seen more than one photography trend come and go, color grading via filters is a common way people date their photos as we ride the latest visual trends.
I personally like to keep my edits simple and timeless by adjusting the basic camera raw stuff like: white balance, blacks, highlights, whites etc. If I do add a color grade, I always try and be very light handed about it. I always edit my photos with Photoshop and recommend you do also for best results.
That said if you’ve never worked with Photoshop, the learning curve is very steep. So if you’re unwilling or uninterested in learning how to edit your fitness portraits, The following are some popular 3rd party editing apps that are super easy to use.
Mobile Photo Editing Apps
Like, Share & Comment!
I hope this post helped give you some ideas for how to take quality diy fitness photos of yourself. In short, just remember to just keep things as simple as possible when taking pictures of yourself.
It’s hard enough as it is to try and make mind muscle connections, show good expressions and photograph your own photos yourself without the added complexity of capturing your photos. Keep things simple and follow the tips in this post and you should be happy with your results.
If on the other hand all of this sounds overwhelming and you’d rather just have your fitness photos captured professionally, I suggest you reach out to a skilled photographer in your area. If you’re located in the Northern Bay Area of California, or would like to travel in to come do a fitness photoshoot with me, you can get in touch here.
Should you have any questions about anything mentioned in this post or feel like I missed something, let me know in the comments. Otherwise go back and review this post as needed and you should have a better understanding of how to take your own diy fitness photos!