
How To Take Your Own Fitness Photos
This guide will show you how to take your own fitness photos. That said as a fitness photographer and power lifter I can emphatically say that it’s way easier to capture portraits of other people, then it is to capture photos of yourself.
That said, I’m going to help make your life easier and show the tricks I use to capture my own fitness progress photos.
Preparing Your Body For Your Fitness Photos
Before we start talking about how to take your own fitness photos, you’re going to want to first prepare your body. This is important because for the best quality photos (and most accurate representation of your progress) you’re going to want to try and capture everything in camera (without editing) as much as possible.
For example, with regards to tan lines, you’re either going to want to give them time to fade away, or tan the rest of your body so they can catch up with the darker areas of your body.
You can also try to even out tan lines with a spray tan if they bother you but this should only be done by hand by a skilled tech and never in one of those automated car wash things, as this can look worse than doing nothing at all.
Both men and women should also consider removing their body hair for their fitness photos. Even if you’re not usually one to remove your body hair, this can make a big difference for your fitness photos (especially for men).
The reason for this is because body hair will blur the lines of your musculature. So if you want to showcase your progress in the best light, guys especially should knock down their body hair with at least a trimmer before taking photos.
To get the best definition for your photos consider getting some wax strips or having your hair professionally removed 3-5 days before your photos to give your skin a chance to heal.
For women it’s important to allow at least 2-3 weeks of hair growth before waxing to give the strips something to grab onto.
If you want to show even sharper lines in your musculature, you can apply Pam cooking spray to your skin before you take your photos. This oil will make your skin shiny which will further increase the range between highlight and shadow.
Note that applying oil is generally best done for very muscular and lean bodies. Making your skin shiny will highlight all the features of your body (good and bad). Try doing test photos both with and without it if you’ve never tried it before as sometimes it’s more flattering to go without the oil.
Accessories & Settings For DIY Fitness Photos
For best results you’ll want to capture your diy fitness photos in your cameras’ manual mode. This will prevent your exposure from shifting while you’re taking your photos. It will also give you the most control over how your final photos will look instead of letting the camera choose the exposure for you.
Android phones have manual control over their cameras in the native app. Iphone users have semi manual control in the native app, but as an iphone user, I’ve had better luck capturing selfies using third party camera apps like Halide.
No matter the device you use to capture your photos you’re going to want to get a tripod and remote control for your camera. This will allow you the freedom to capture your photos from different angles and take your pictures without having to run back and forth while you rely on the internal timer.
These two items will make capturing your photos MUCH easier and are super cheap. For those capturing their photos with their phone, I recommend you get a tripod and remote kit like this.
The remote trigger will again reduce your effort when first learning how to take your own fitness photos. It will also give your photos much more diversity as it will allow you to take photos further away than arms reach. Posing into the right light is hard enough without the back and forth of working with your camera’s timer function. A remote trigger will make the process way less frustrating.
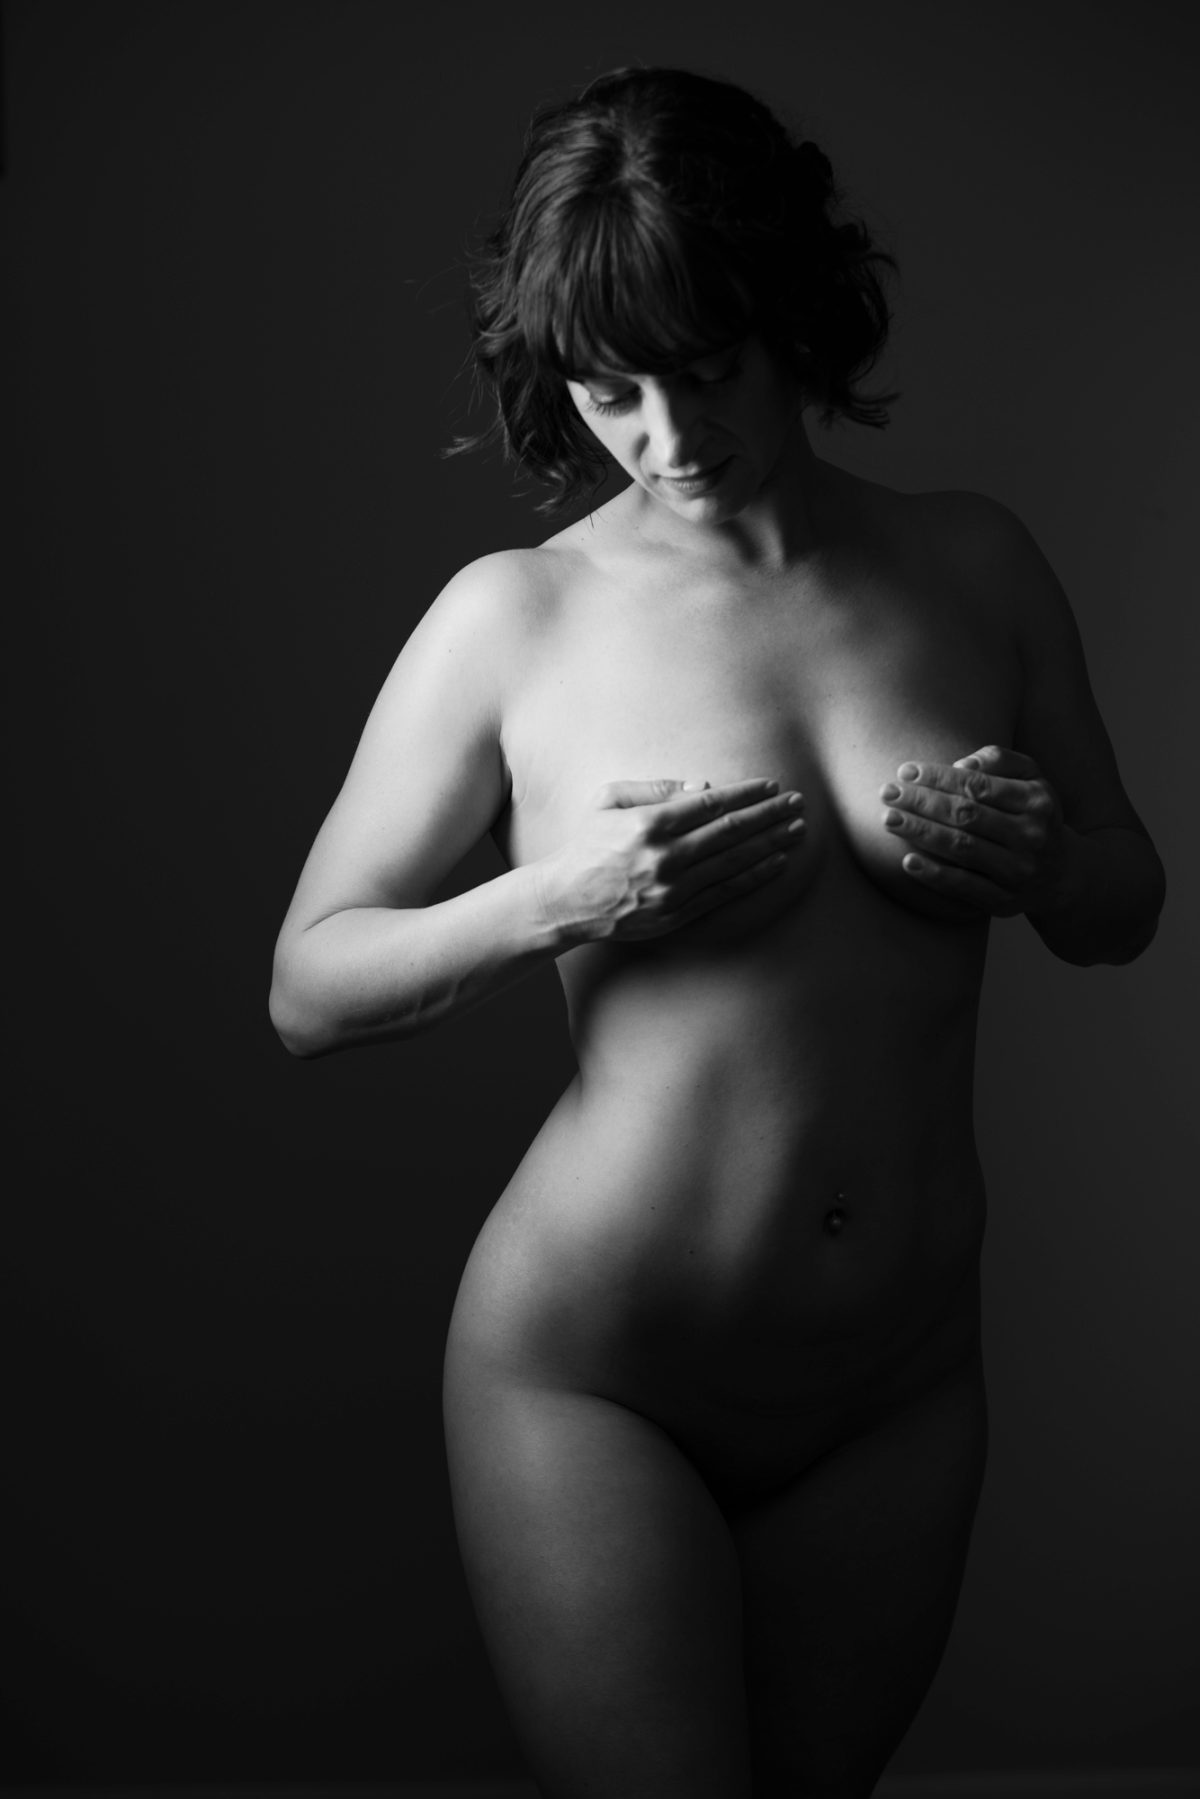
Lighting for Fitness Photos
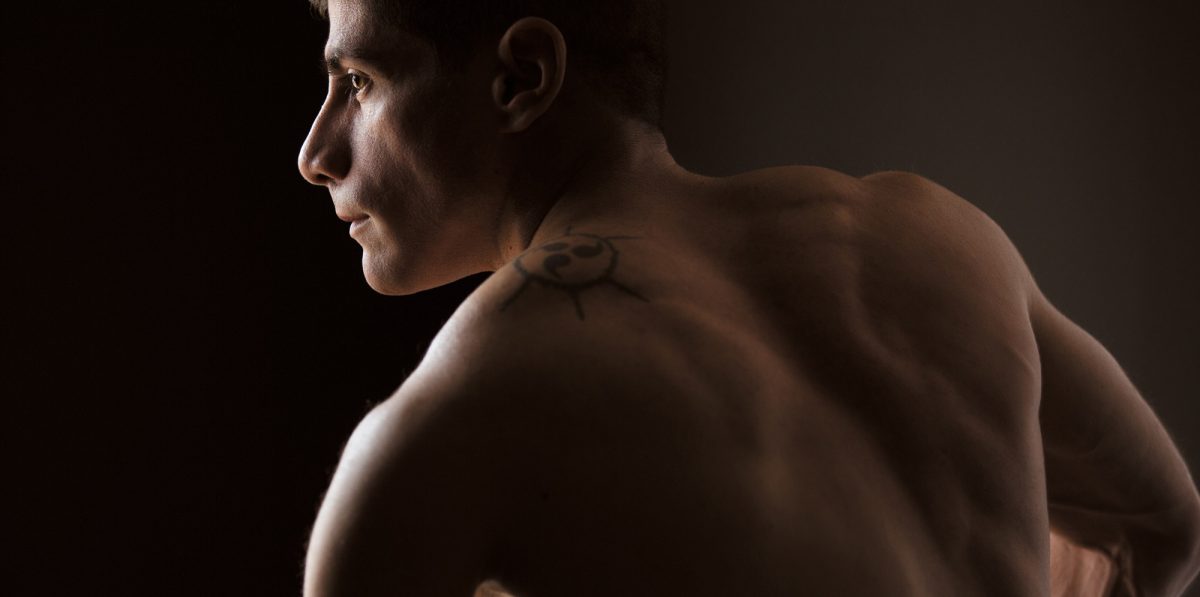
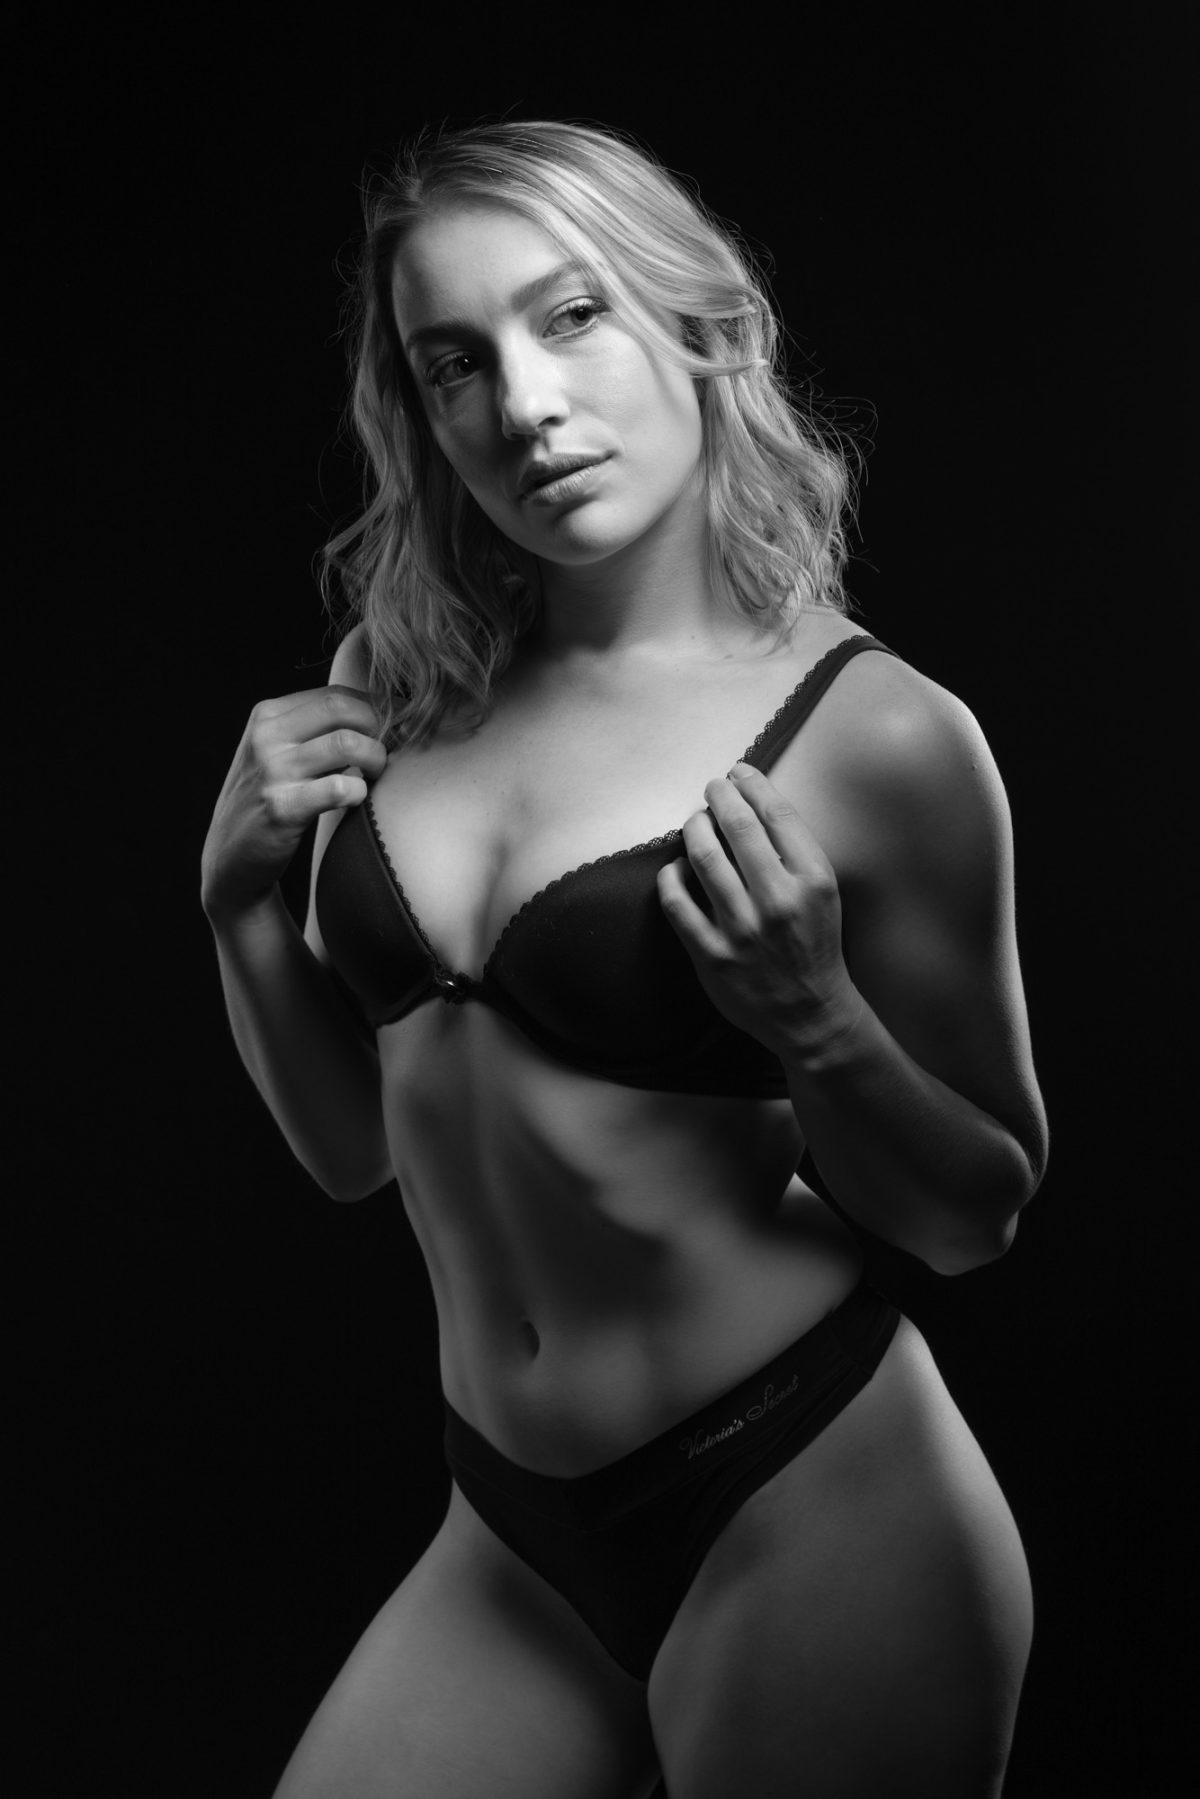
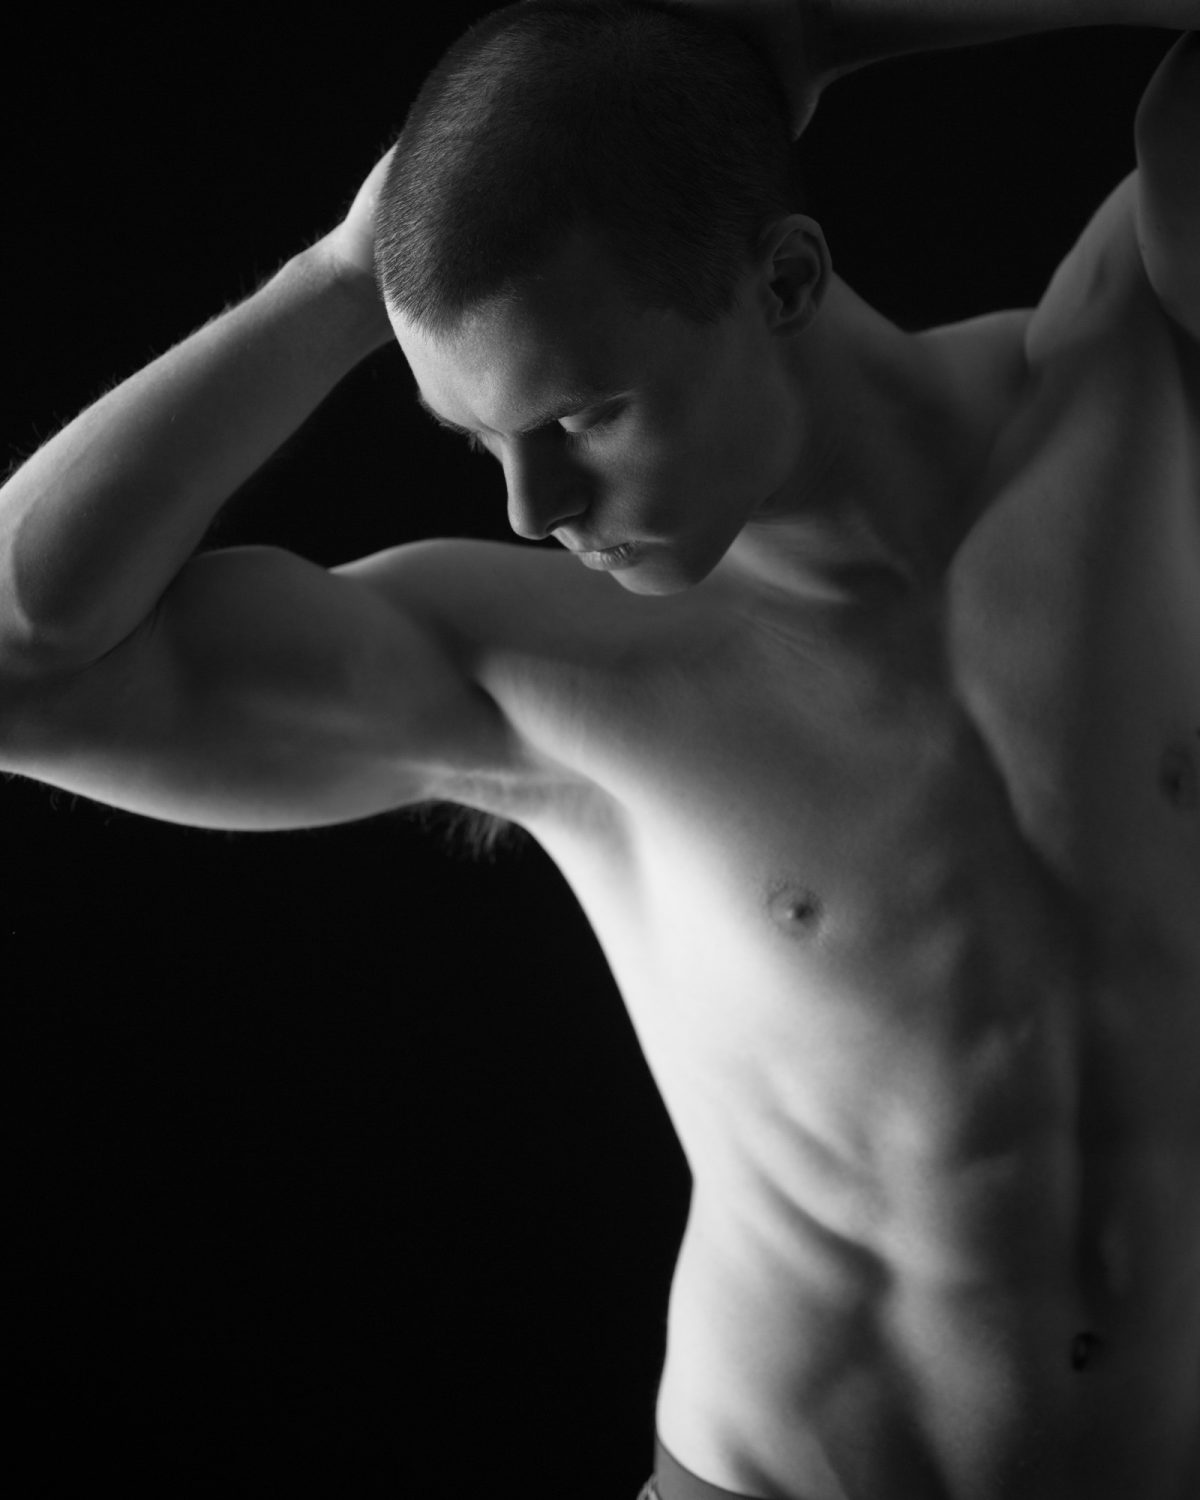
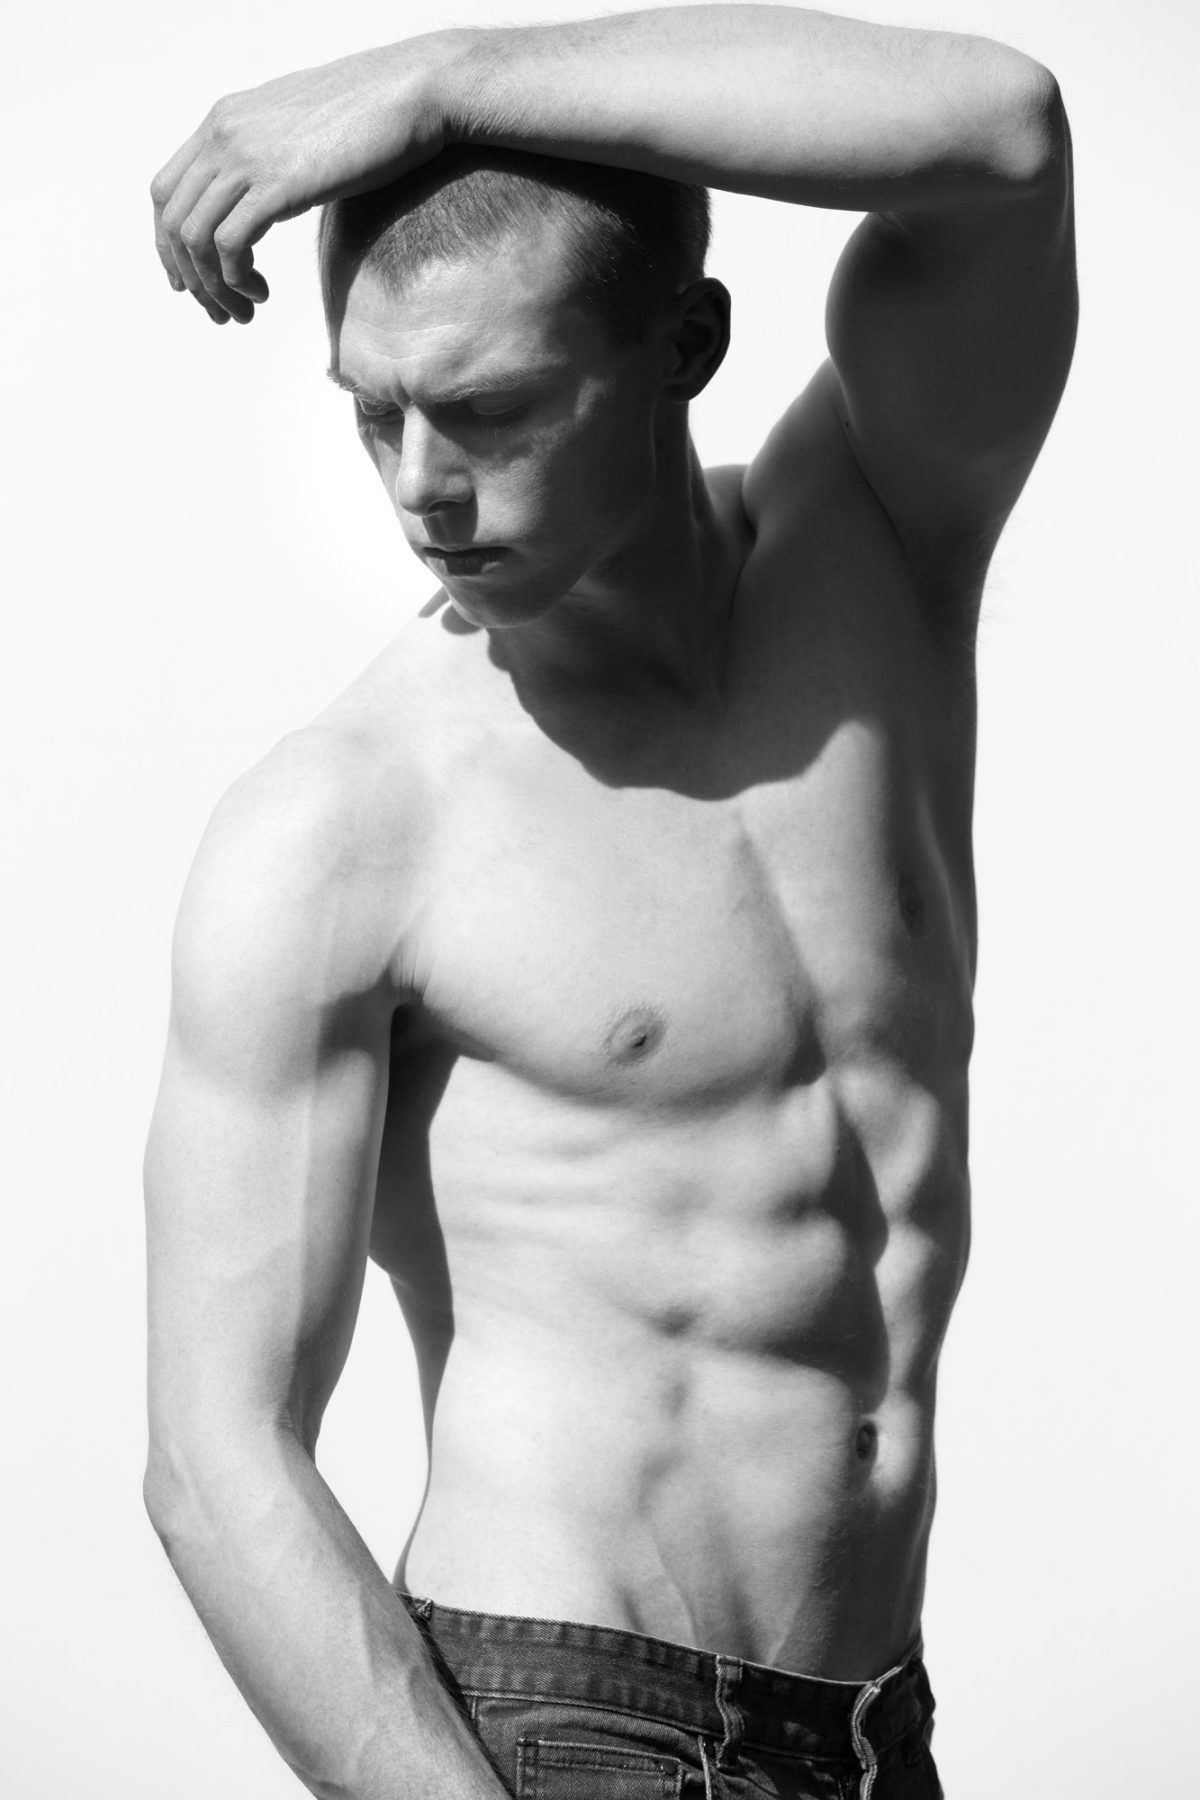
Lighting for fitness photos is usually best when it’s directional. For women directional side lighting tends to be most flattering while men tend to look best in top down lighting.
When lighting your diy fitness photos you’ll generally want to avoid flat front facing light in favor of lighting from the side or above your eye line for best results.
If you want beginner friendly lighting for fitness photography use a north facing window as your main light source. This will provide you with soft directional light. You’ll also want to stick with just one light source as multiple sources can complicate things.
Larger light sources / windows will give a softer more editorial look and will generally be easier to pose into.
Smaller light sources, like posing into full sun at noon will give a harder look, and will be less forgiving with posing mistakes.
If you’re learing how to take your own fitness photos with studio lighting, I find that it’s generally best to grid your modifiers to make the light even more contained and directional. This will help sculpt your musculature even better than un-modified light sources.
Tips For Taking Your Own Fitness Photos
As a professional fitness photographer, the following are some tips for taking your own fitness photos to the next level.
Choose Your Background
Having external lighting gives you more control over your background. Use your lighting in front of a blank wall or buy a seamless backdrop and stands if you want a professional studio look.
If you’re using a window prioritize good lighting over good background. Or better yet, put a seamless backdrop next to your window for a professional studio look.
Take Some Test Shots First
A rookies mistake when first learning how to take your own fitness photos is just going for it before you’re actually ready. Take some test shots and make sure your settings, lighting and background are all to your liking before you waste your energy on poses and ideas that aren’t going to work out.
Once you experiment with some poses, review them to see what you like best. Once you figure out what you want to do then you can then try and finess the idea by taking as many shots as you need.
If you don’t follow this step you might prematurely exhaust yourself before you get the photos you want because posing is hard.
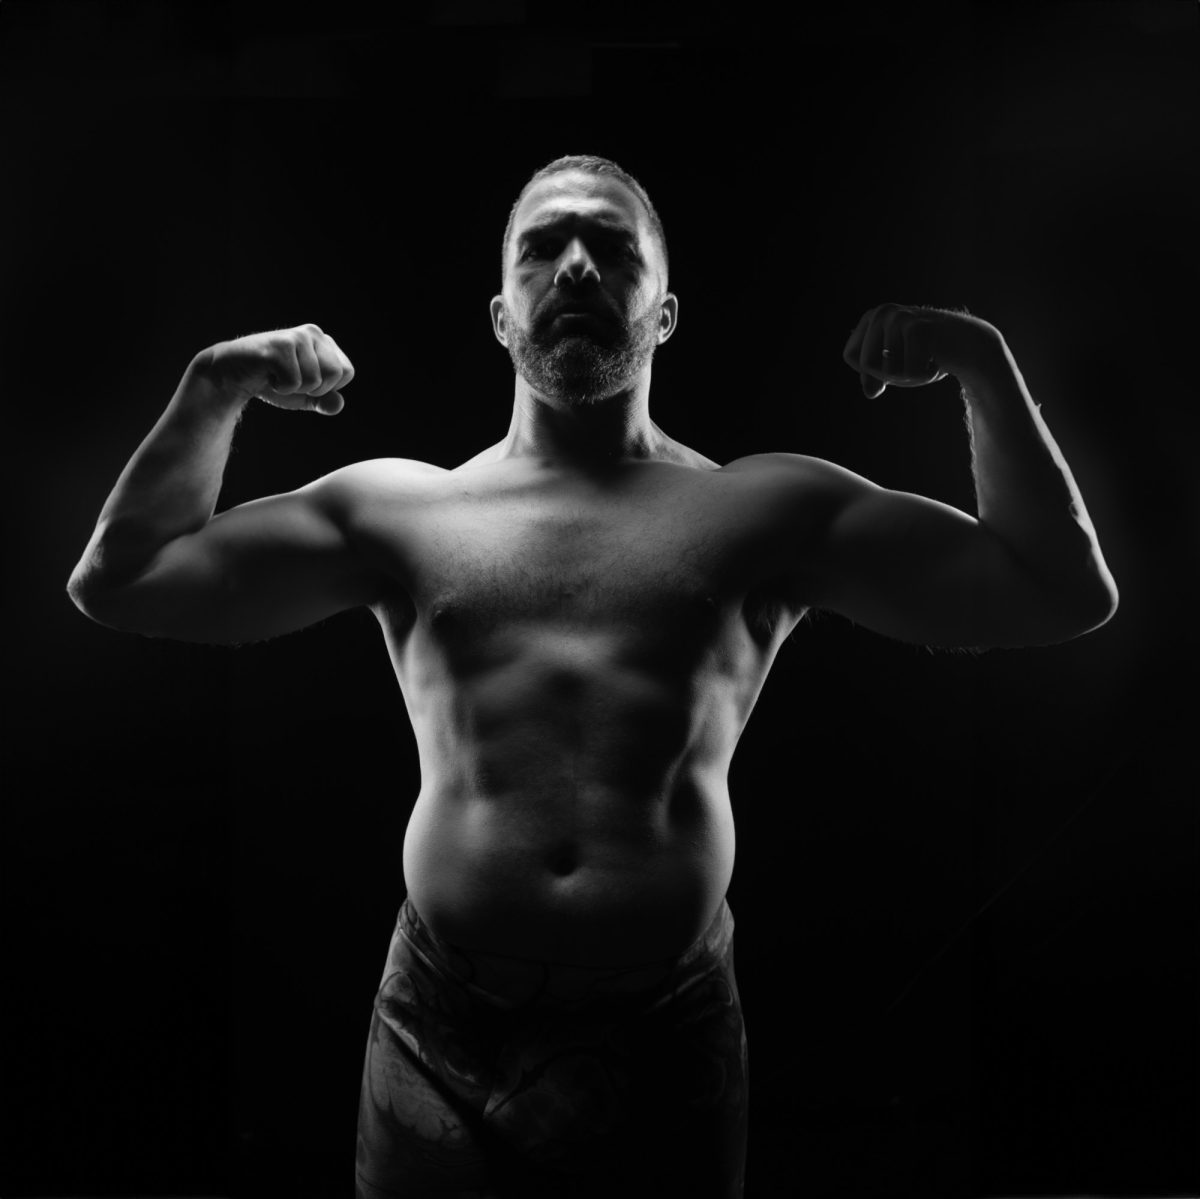
Pump Your Muscles Up
Once you dial in your gear, settings, and know the pose you want to do, now would be a good time to pump up your muscles.
Generally I find that 5 reps at 50% of your max is good enough to inflate the muscles and get a pump on without over taxing yourself. You can also do pushups instead of bench press if you aren’t taking your photos in a gym for example.
Just keep in mind that posing for photos is more exhausting then the average person thinks. This is why it’s important to only pump up your muscles once you know everything is dialed in and ready to go.
Practice Posing in a Full Length Mirror
Of all the things mentioned so far in this guide, posing is the single best thing you can focus on when learning how to take your own fitness photos.
Good posing will not only increase muscle engagement but it will also allow you to sculpt yourself in better light and finesse your angles. Here are some tips when posing.
- Learn how to do the basic bodybuilder poses: Even if you’re not a body builder, posing will teach you how to turn on different muscle groups which will help make your muscles pop on camera.
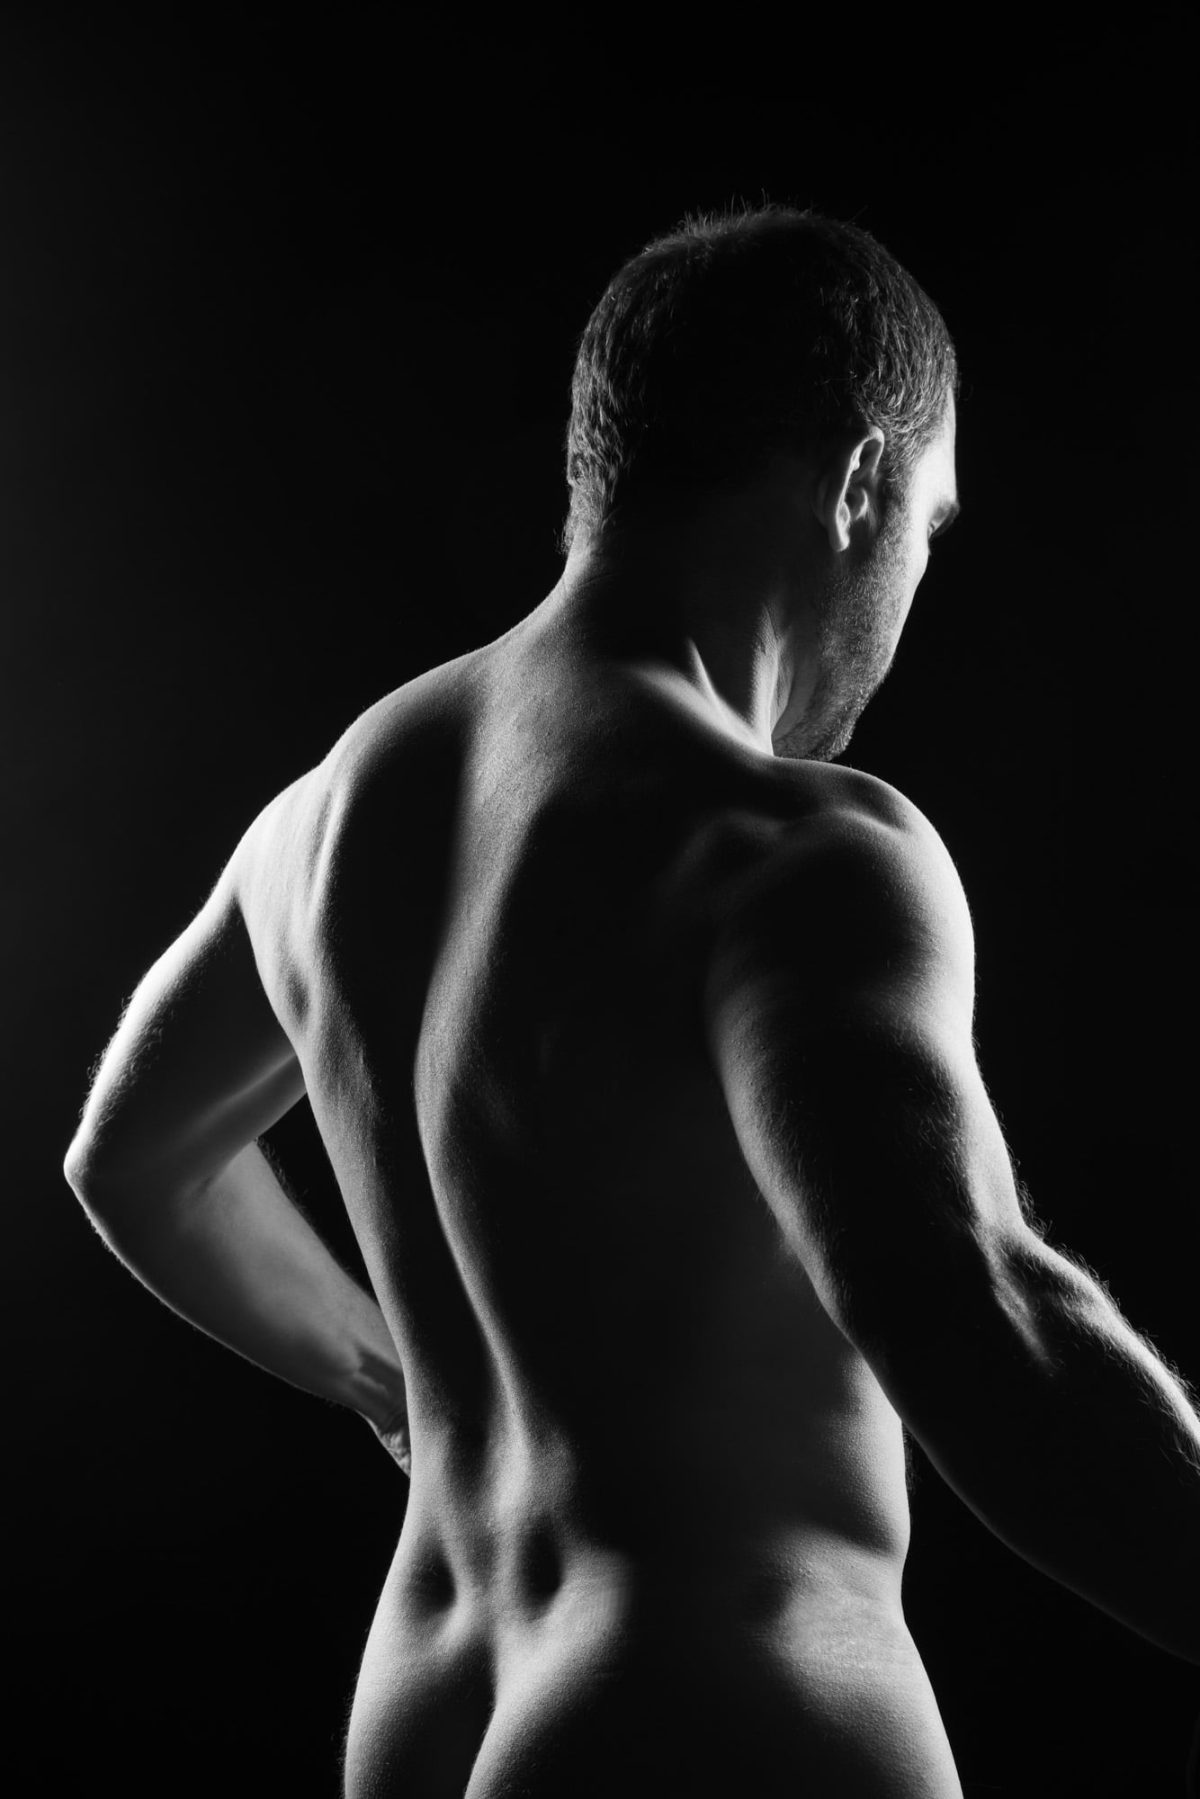
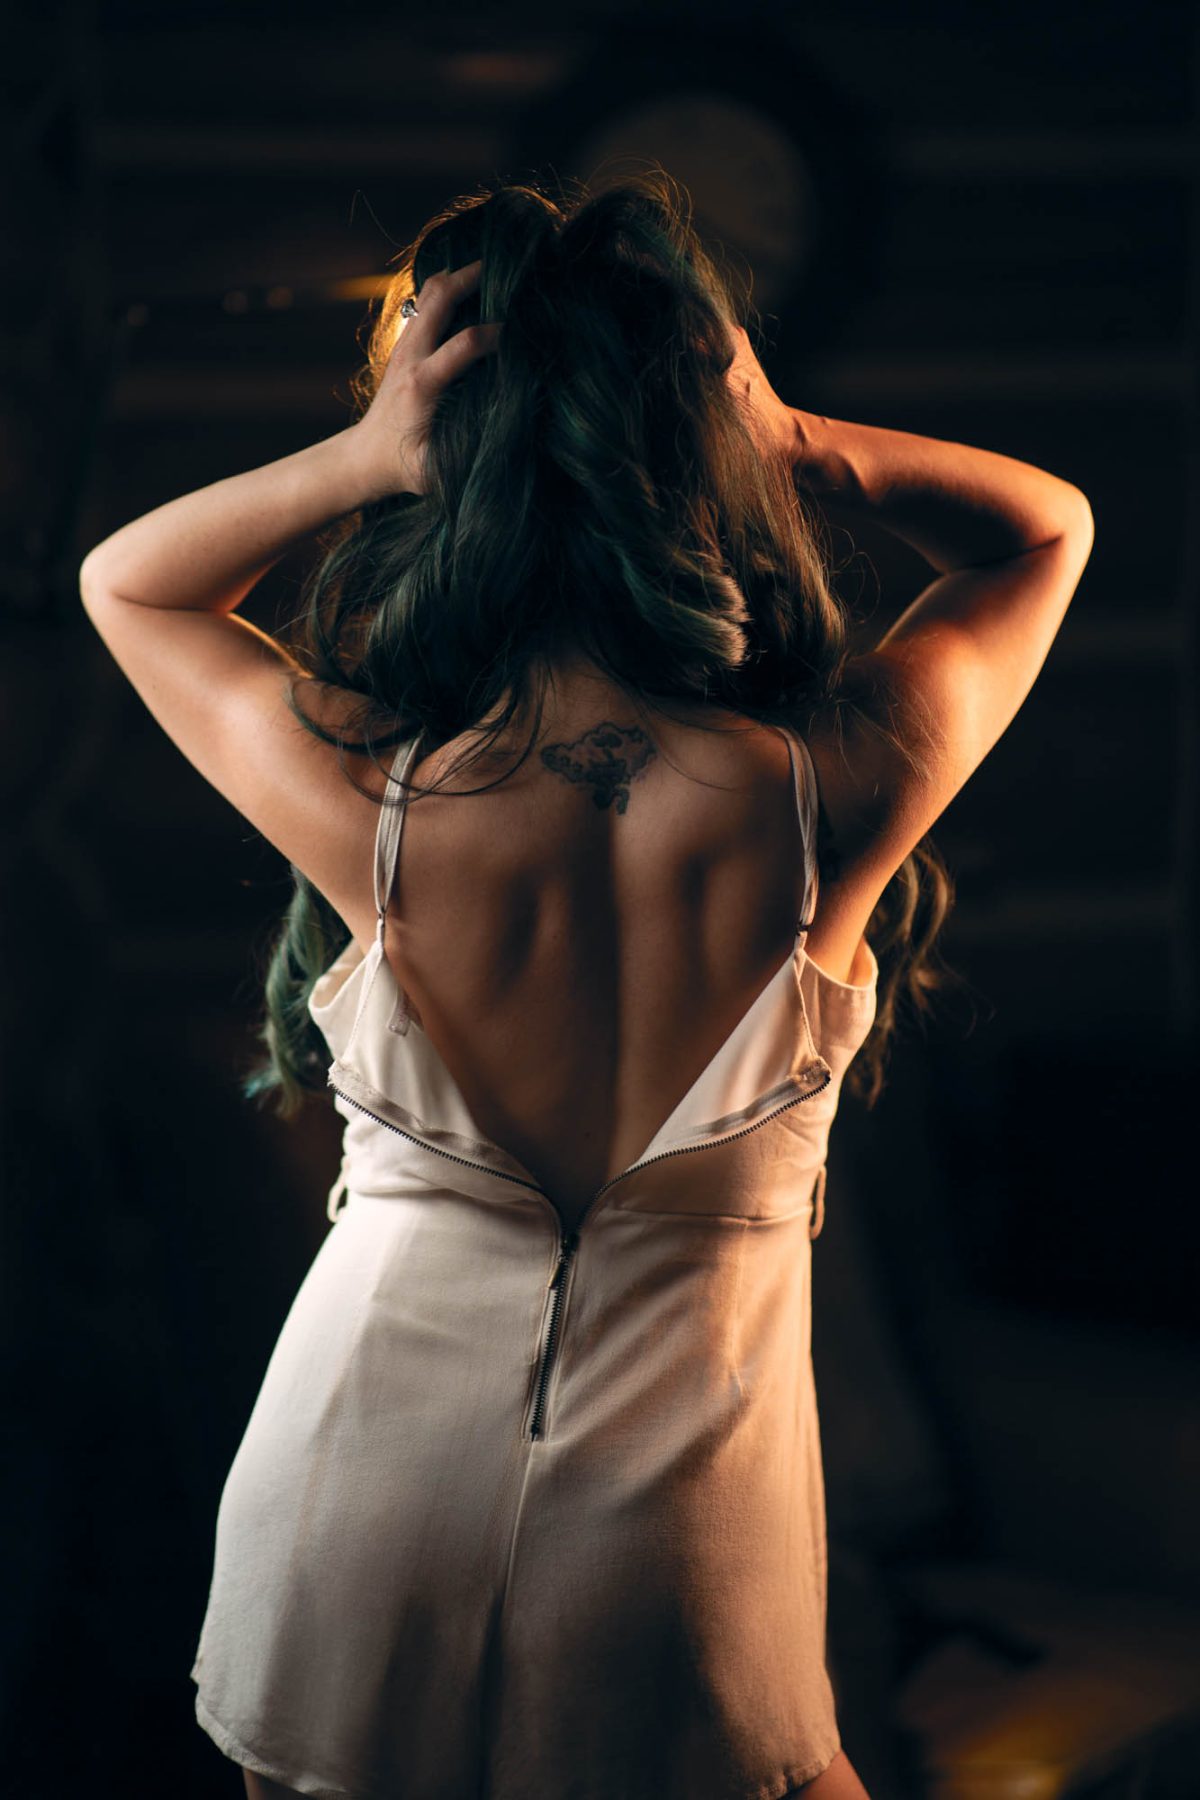
- Avoid standing perfectly square: Shift your weight to one leg and turn your hips away from the camera. Roll your shoulders in a figure eight to make the pose look less stiff and more authentic.
- Muscle engagement: The key is muscle engagement without the pose looking stiff. This requires practice as it is hard to do while also making a flattering expression.
- Hide your Face in Shadow: If you’re a beginner and are finding it difficult to pose and make a half pleasing expression at the same time, find a high contrast light source (like full sun) and turn your face away from it. This will hide your face in deep shadow.
- Additional Posing Tips For Women: Check out my guide about posing women for boudoir photos. This guide goes deep on how to best flatter a woman’s body.
Capture Your Photos From Different Perspectives
When first learning how to take your own fitness photos a common mistake is taking all of your photo from the same perspective. Move your camera lower or higher and experiment with different crops. This will give your photos more variety and will sometimes inspire other poses.
For example, capturing your photos vertically is best for full length portraits, however capturing your photos in landscape orientation can also work well for capturing detail shots of regions like the pecks or lats.
Likewise moving the camera lower can create that super hero perspective or make you look taller. A higher perspective above the eyeline can have a slimming affect or put additional emphisis on the shoulders.
The key idea to keep in mind when experimenting with perspective is that anything brought closer to the camera will get emphisized while everything pushed away will become less of a focal point. Use this to your advantage when choosing your pose and camera angle.