This post will show you how to do boudoir photos at home using my best tricks I’ve developed as a professional boudoir photographer.
Capturing tastefully sexy photos of yourself can be really challenging if you’ve never done it before. Fortunately if you follow a few simple steps, you can dramatically improve the quality of your diy boudoir photography.
The following are 9 things you can do that will have a dramatic impact on your boudoir photos. By doing each of these things your boudoir photos will turn out better than you could ever imagine!
9 Steps for Capturing Boudoir Photos at Home
- Getting Outfits to Enhance You Hourglass Shape
- Grooming Yourself As Needed
- Choosing a Good Background For Your Photos
- Enhance Your Figure With Great Light
- Composing a Sensual Photo
- Making Sexy Facial Expressions
- Camera / Phone Settings For Sexy Photos
- Editing Your Boudoir Photos
- Gifting Your Boudoir Photos
This post may contain affiliate links, meaning I get a commission if you decide to make a purchase through my links at no cost to you. Please read my disclosure for more info.
1. Choose Boudoir Outfits to Enhance Your Body Type
Firstly, it’s important to mention that to achieve best results you’re going to want to try and capture your photos as best as you can in camera. This means that they will look great without any editing.
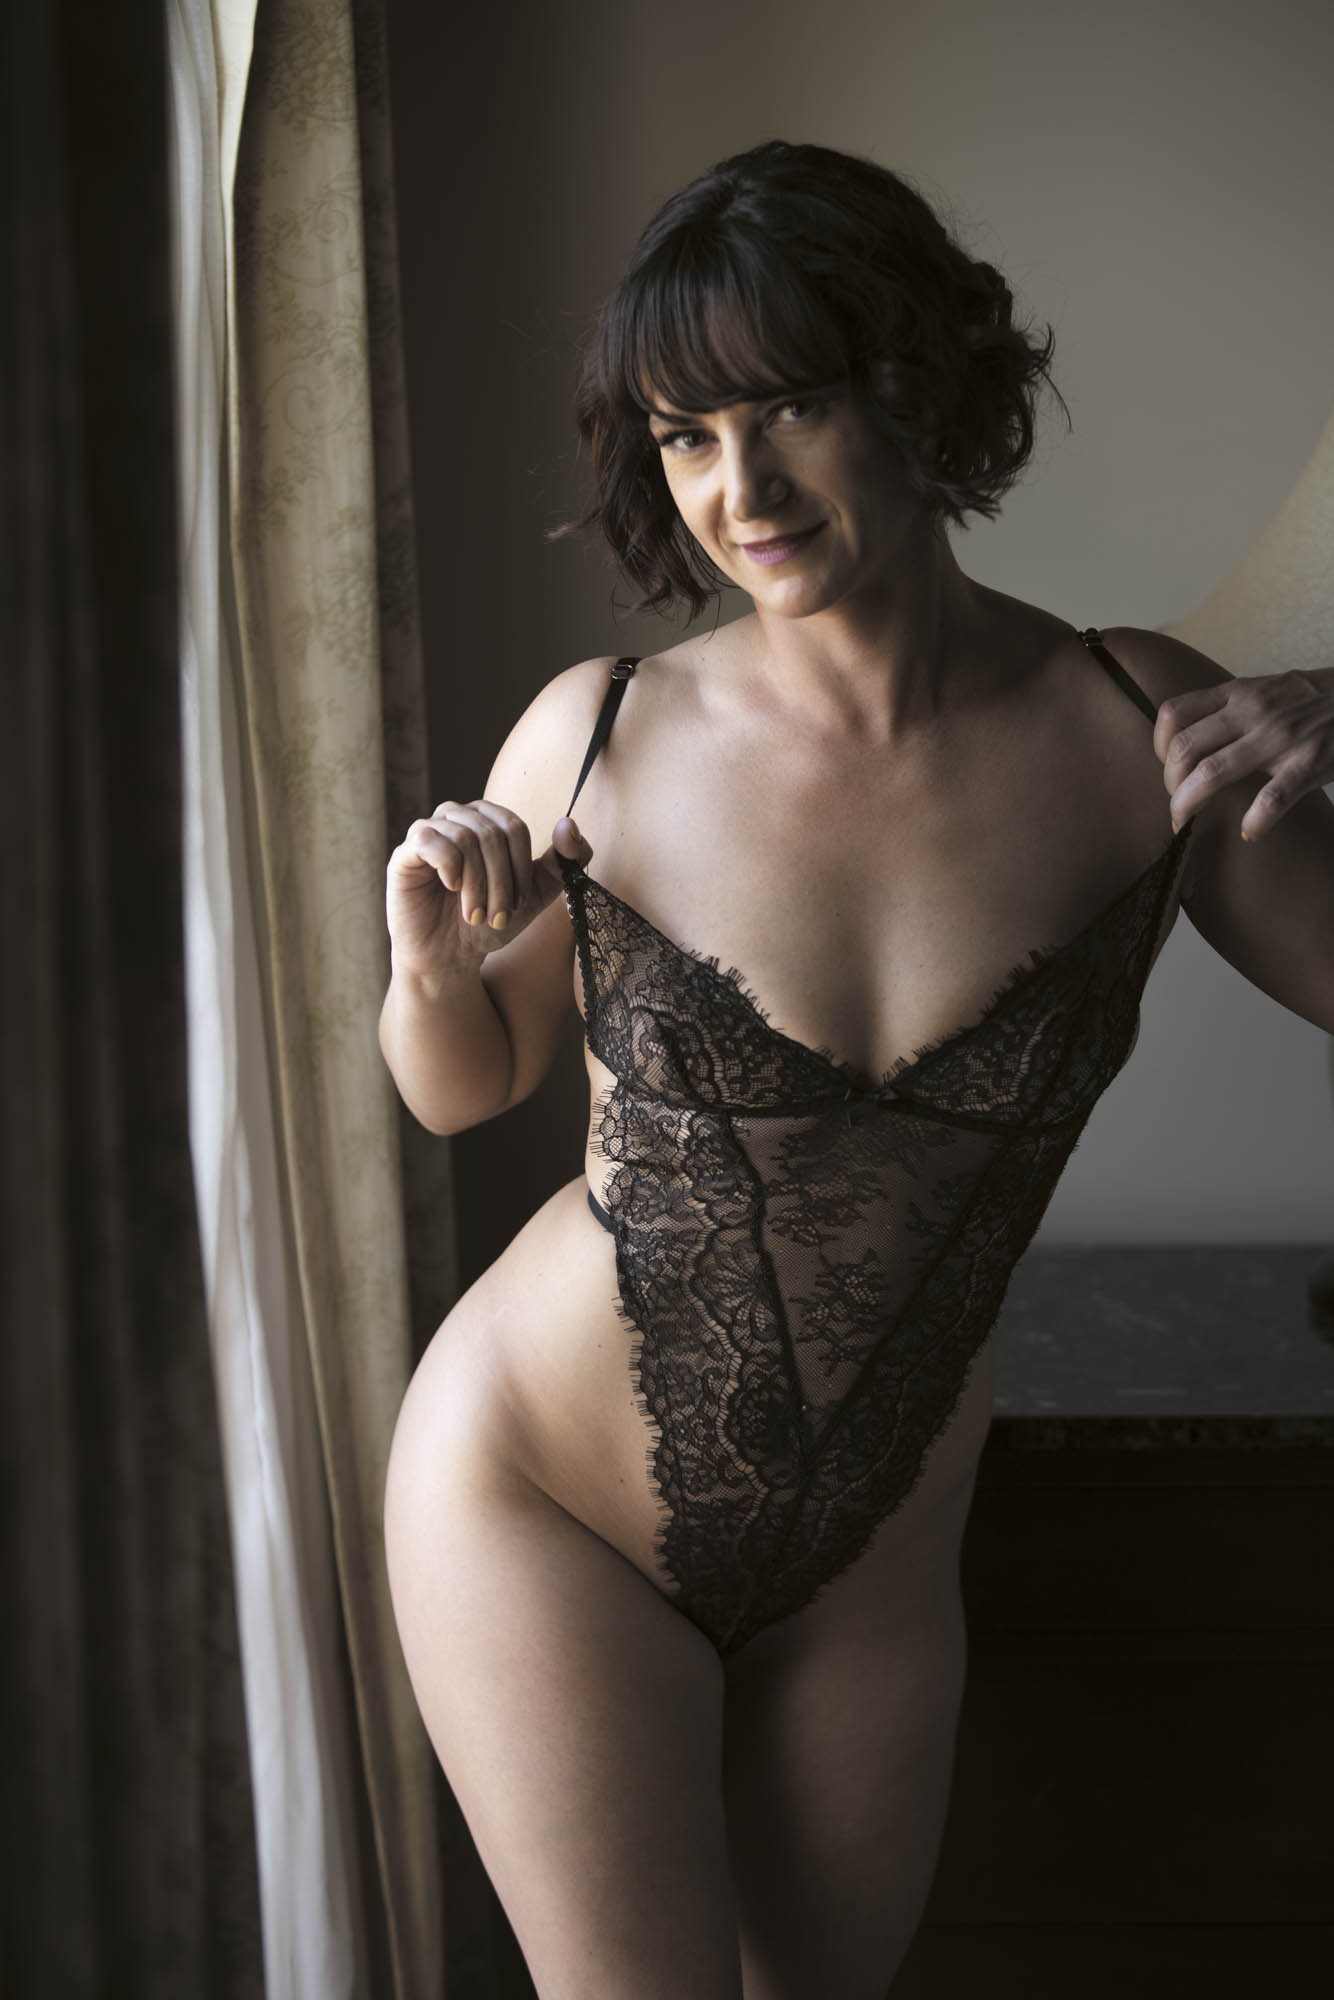
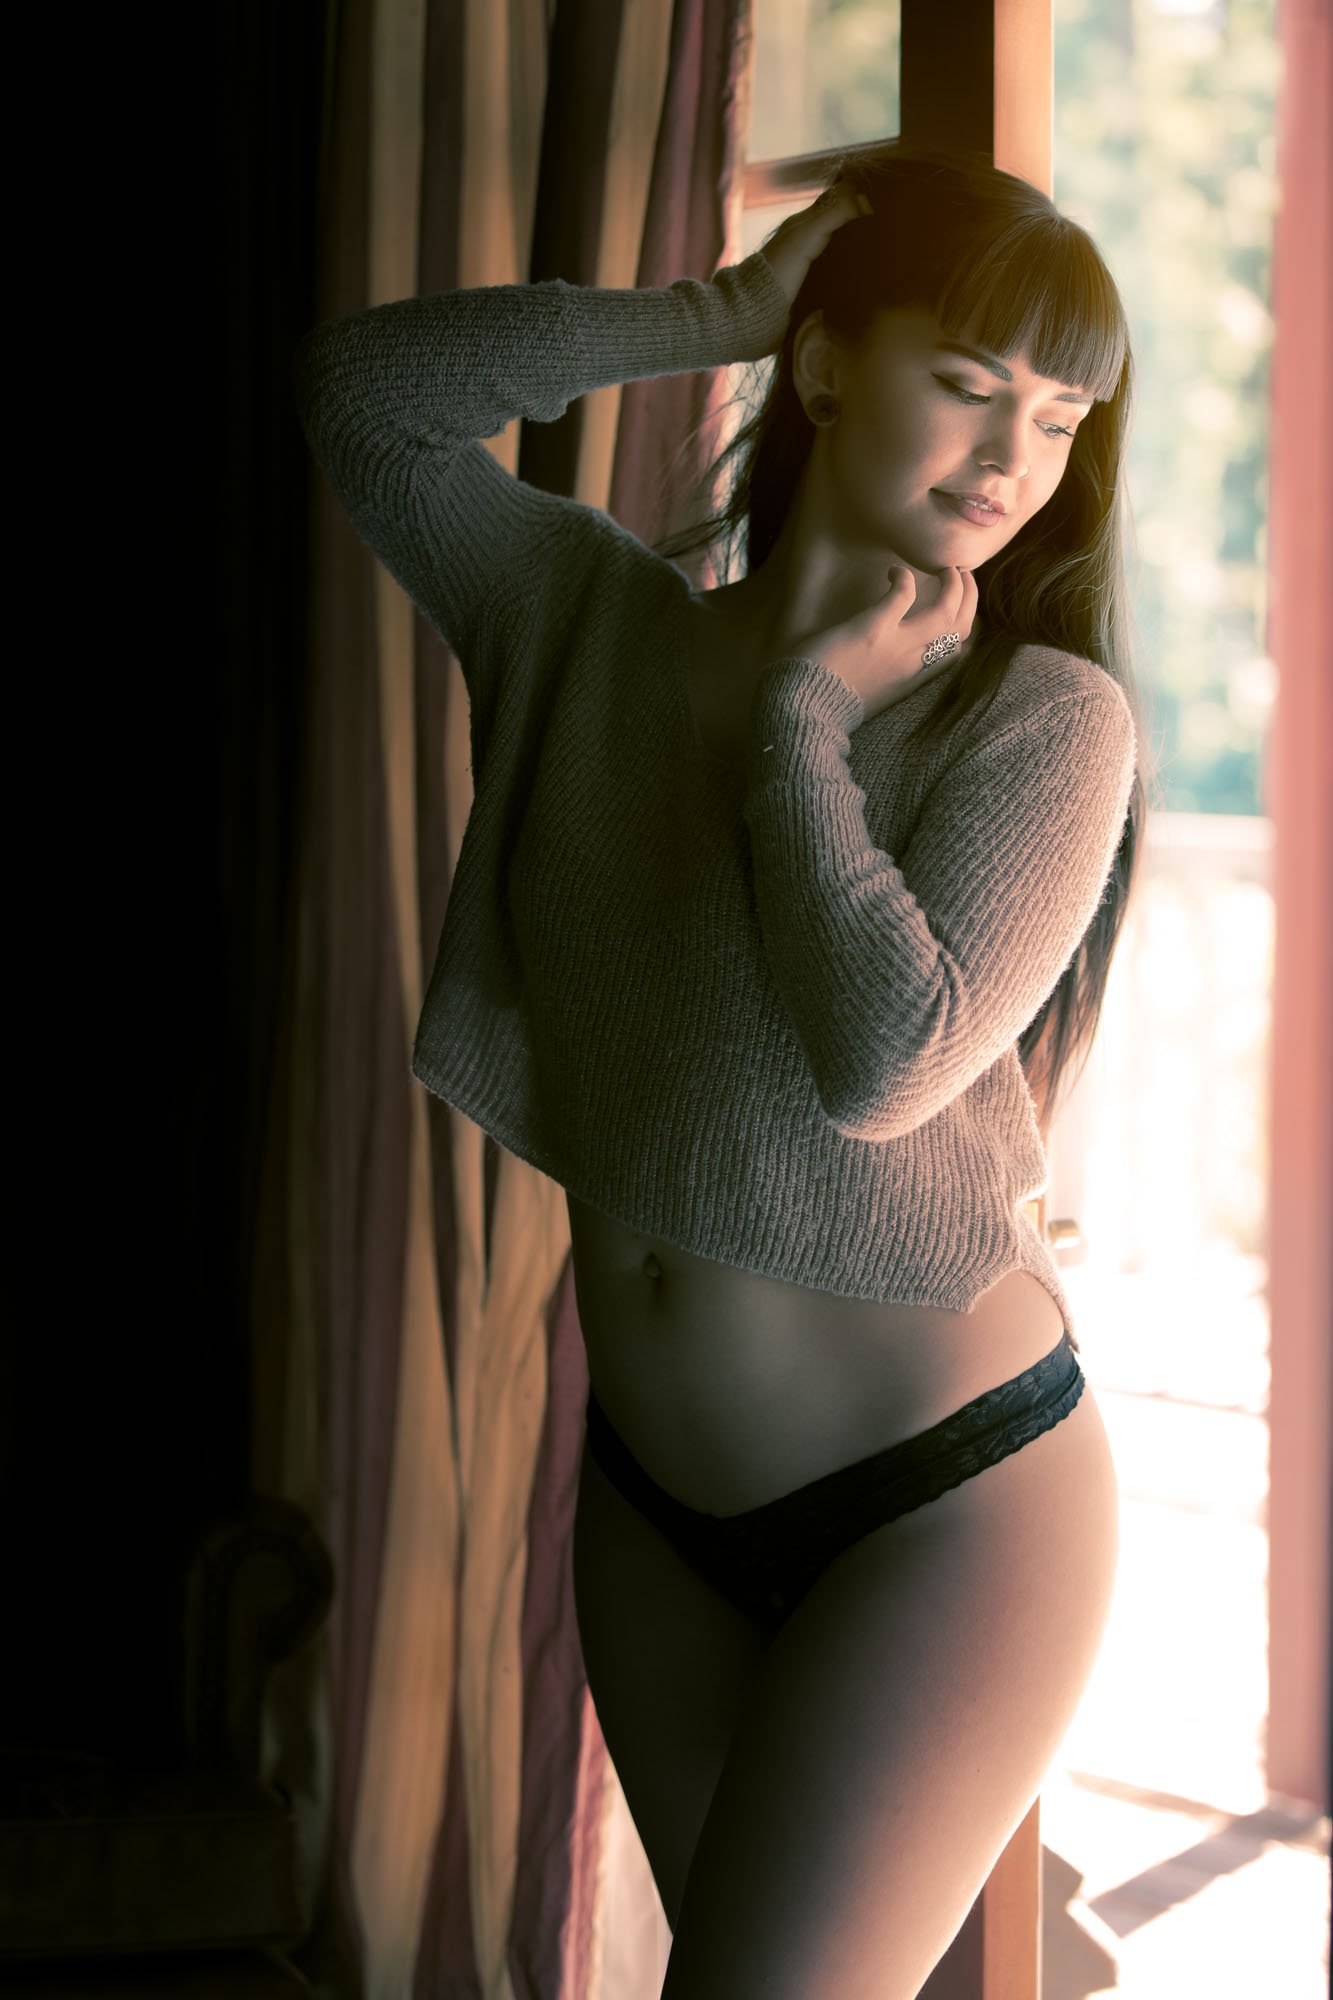
Feel free to do your own boudoir photos nude if you’d like. For those who want to enhance the shape of their bodies, I suggest you get some lingerie before you take your photos. This post will show you how to color coordinate your outfits for your boudoir photos. This post will show you how to choose lingerie to enhance your body type.
The following are ideas for where to buy boudoir outfits if you want to just get started shopping:
Places to Buy Affordable Lingerie
Places to Buy Quality Lingerie
Places to Buy Custom Lingerie
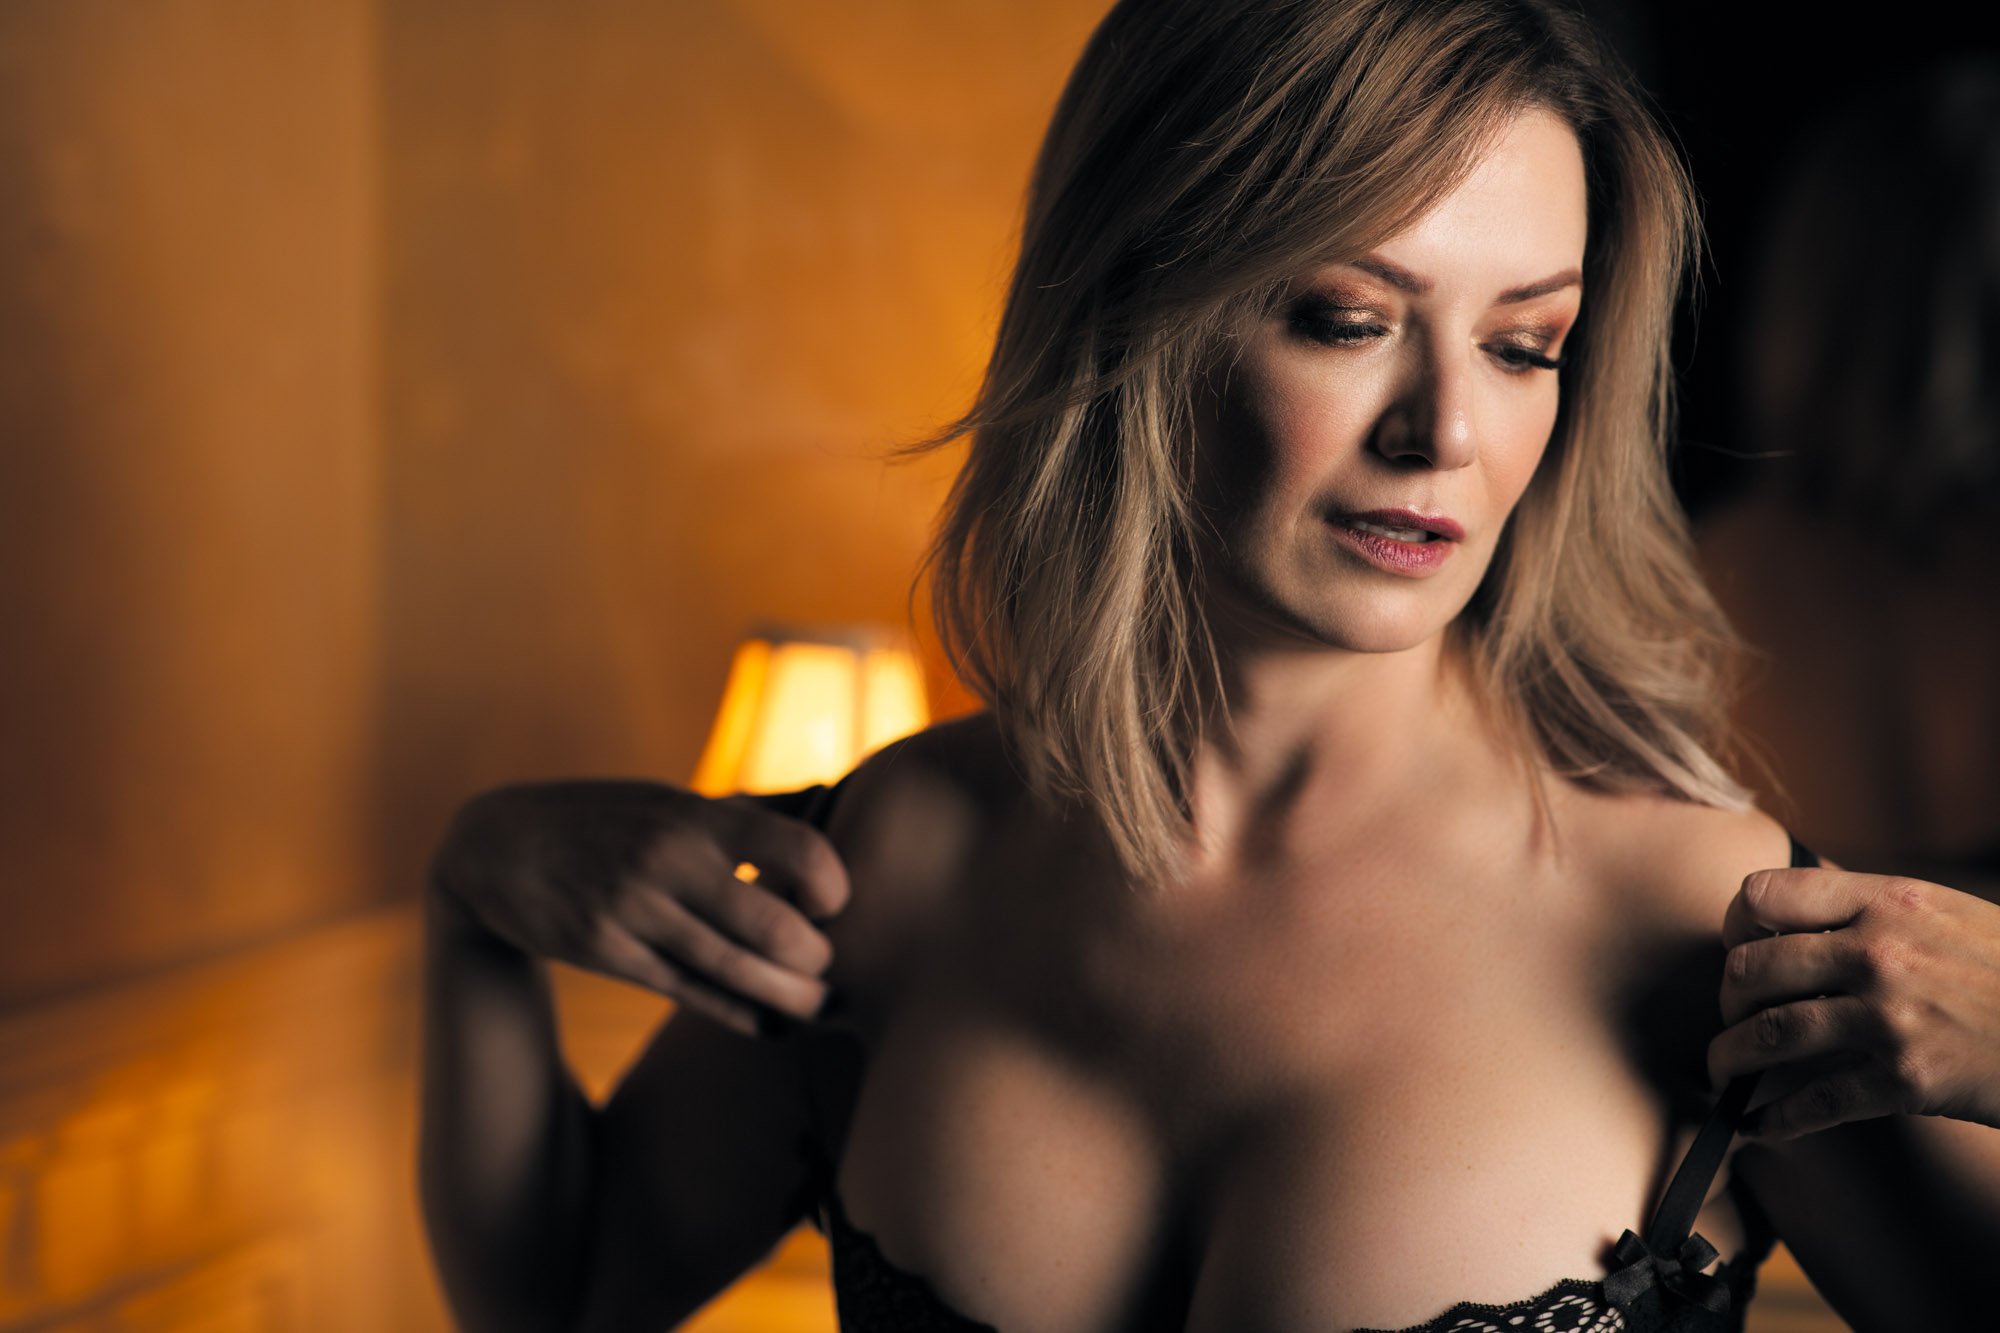
2. Personal Care Tips To Consider When Doing Boudoir Photos At Home
If you want the best quality images possible one last thing you’ll want to think about is personal care you should do before you start clicking away.
Since you’ll want to try and get all of your photos as good as possible in camera it’s important to consider doing the following before you start clicking away. Doing these things can have a significant impact on your final photos!
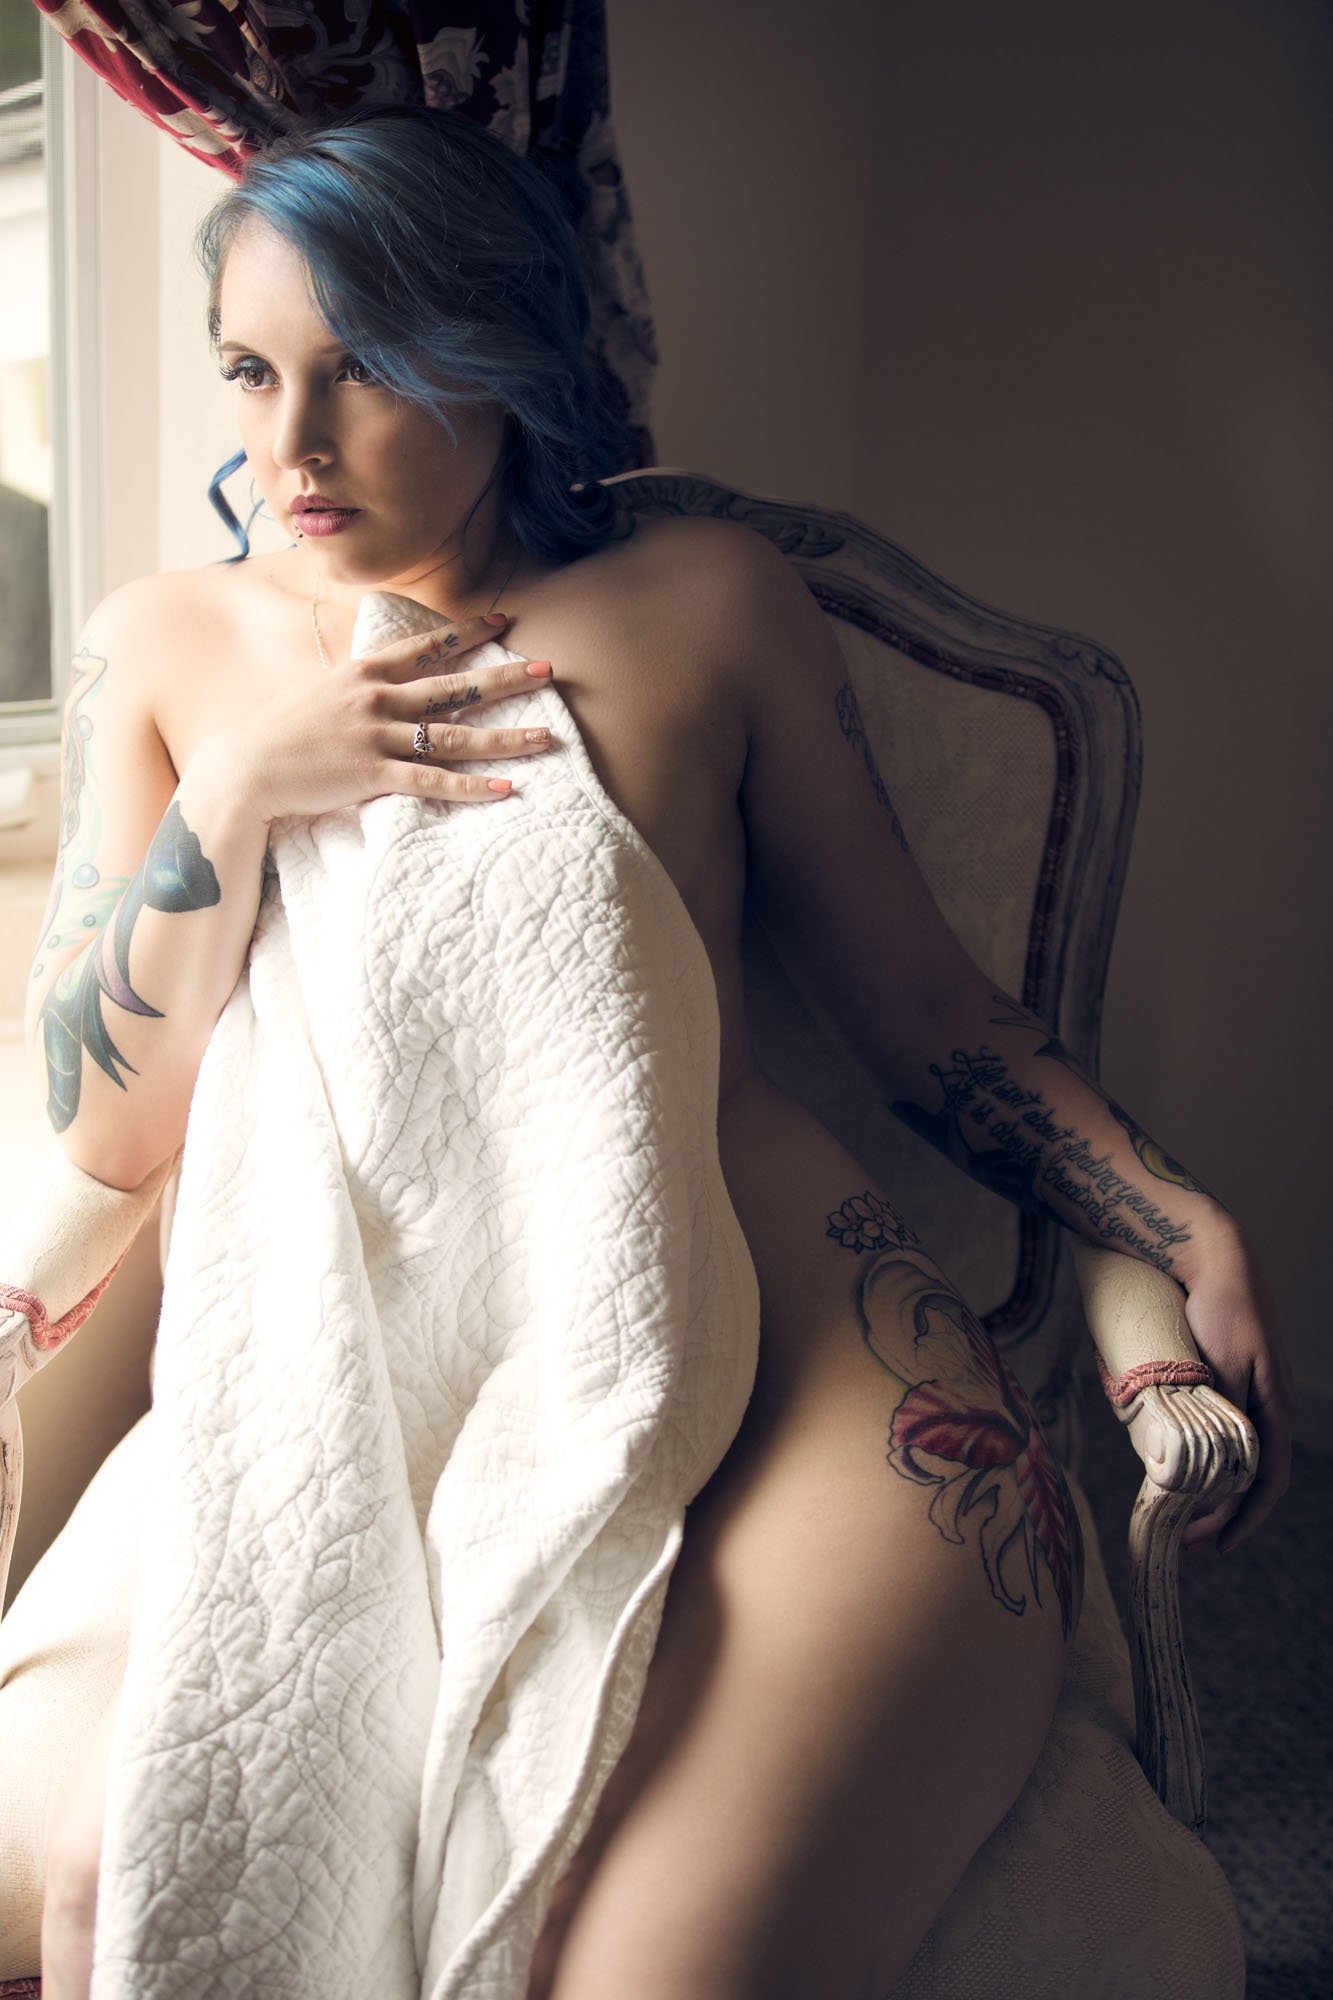
3. Selecting a Good Background When Doing Boudoir Photos At Home

Choosing your background before thinking about your lighting is the harder way to create your photos. This is because you’ll be starting with the background and then trying to light your body so you look good. Although this method is possible and I do it all the time for my clients, but for beginners it’s far easier to make a nice background then it is to make good light.
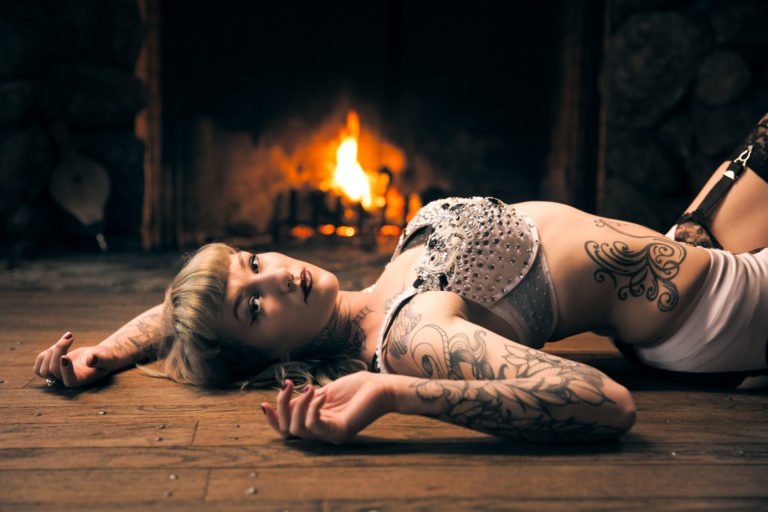
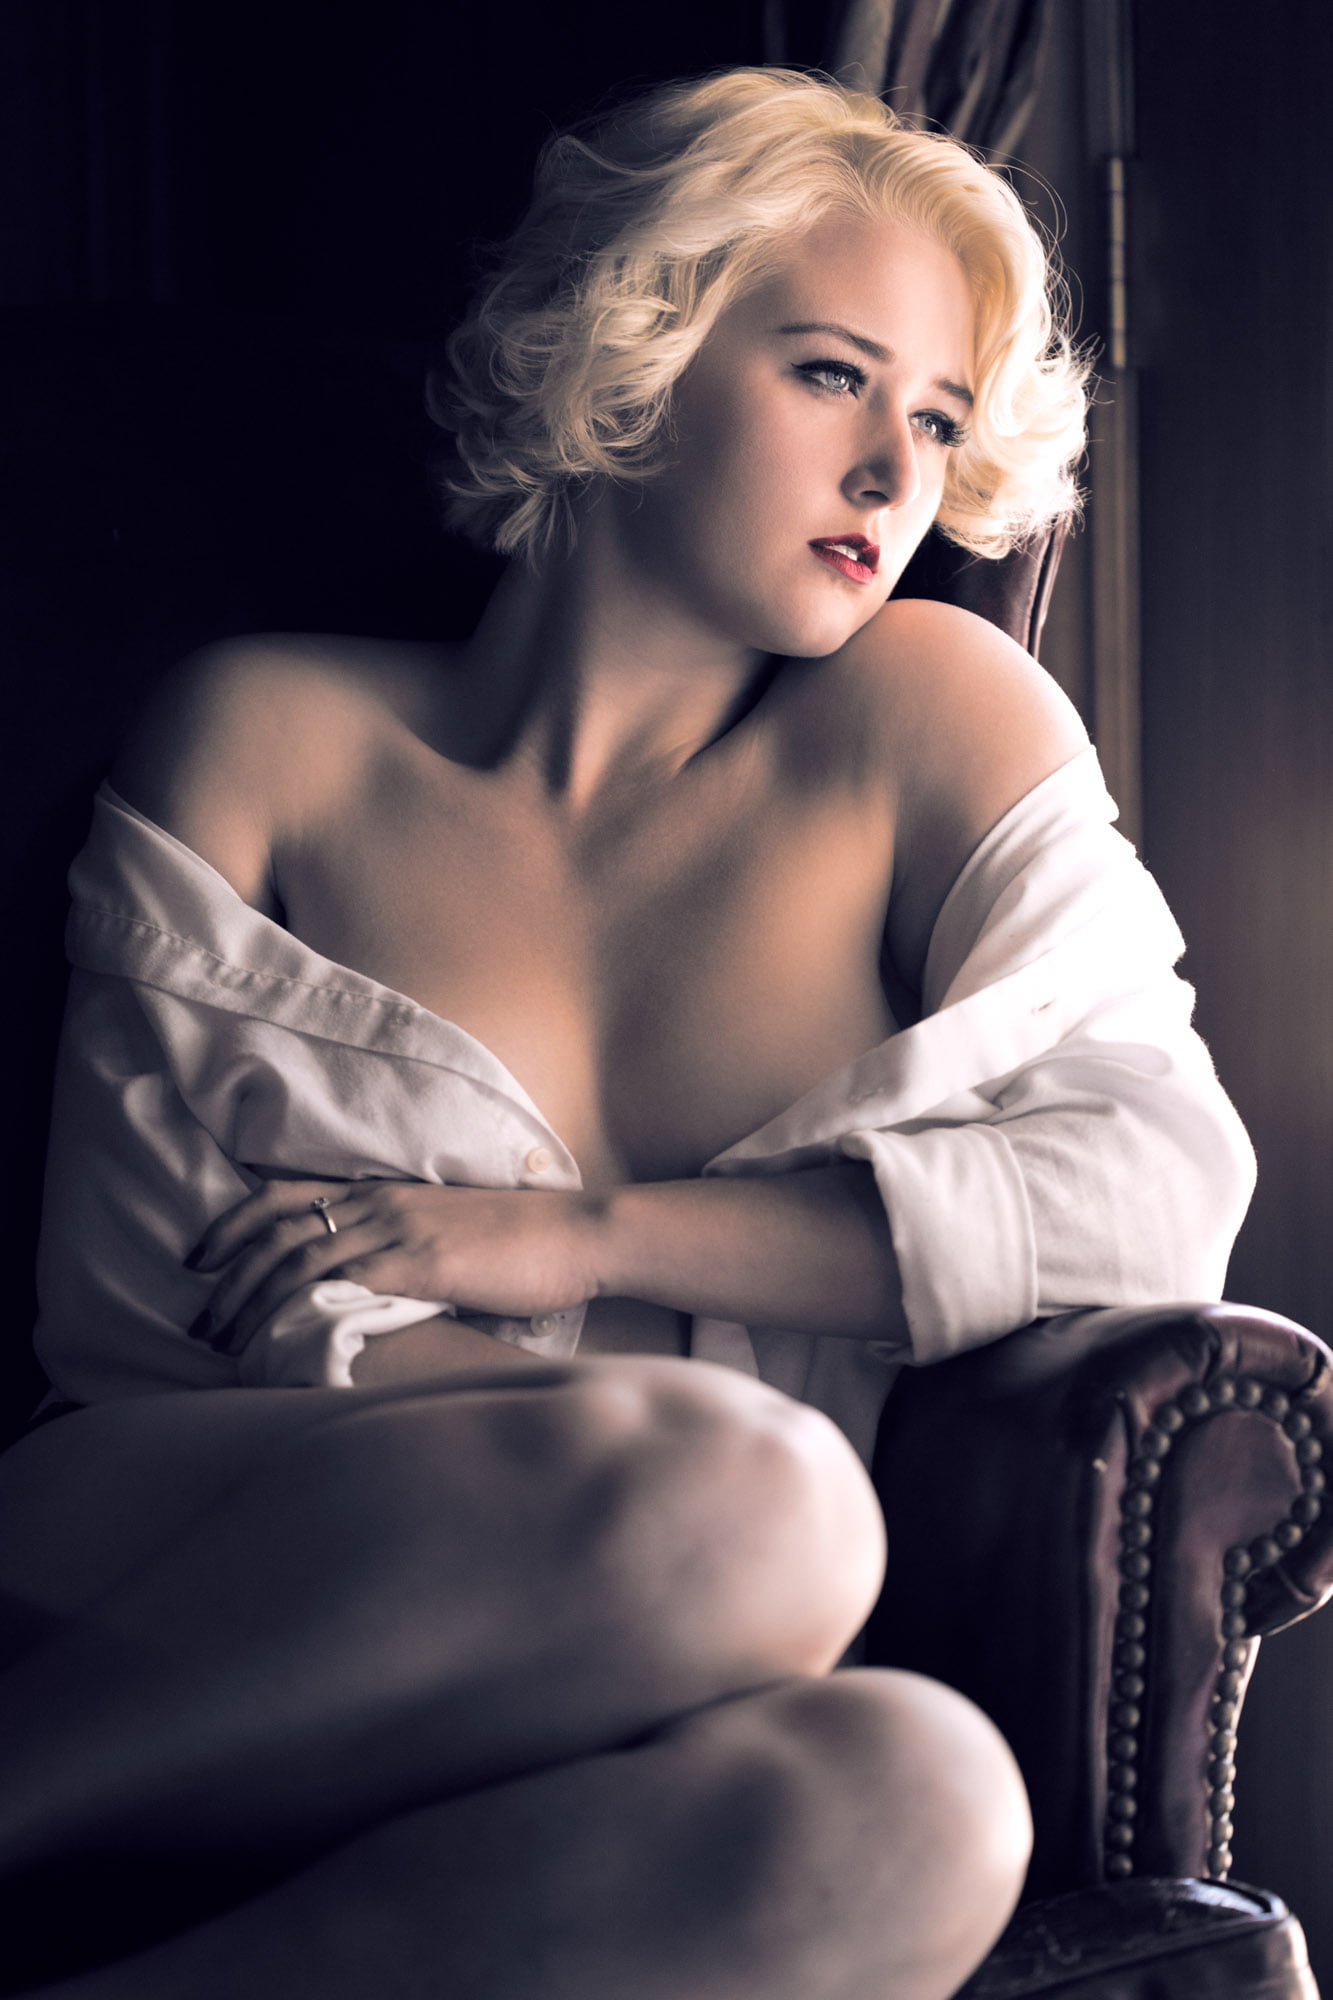
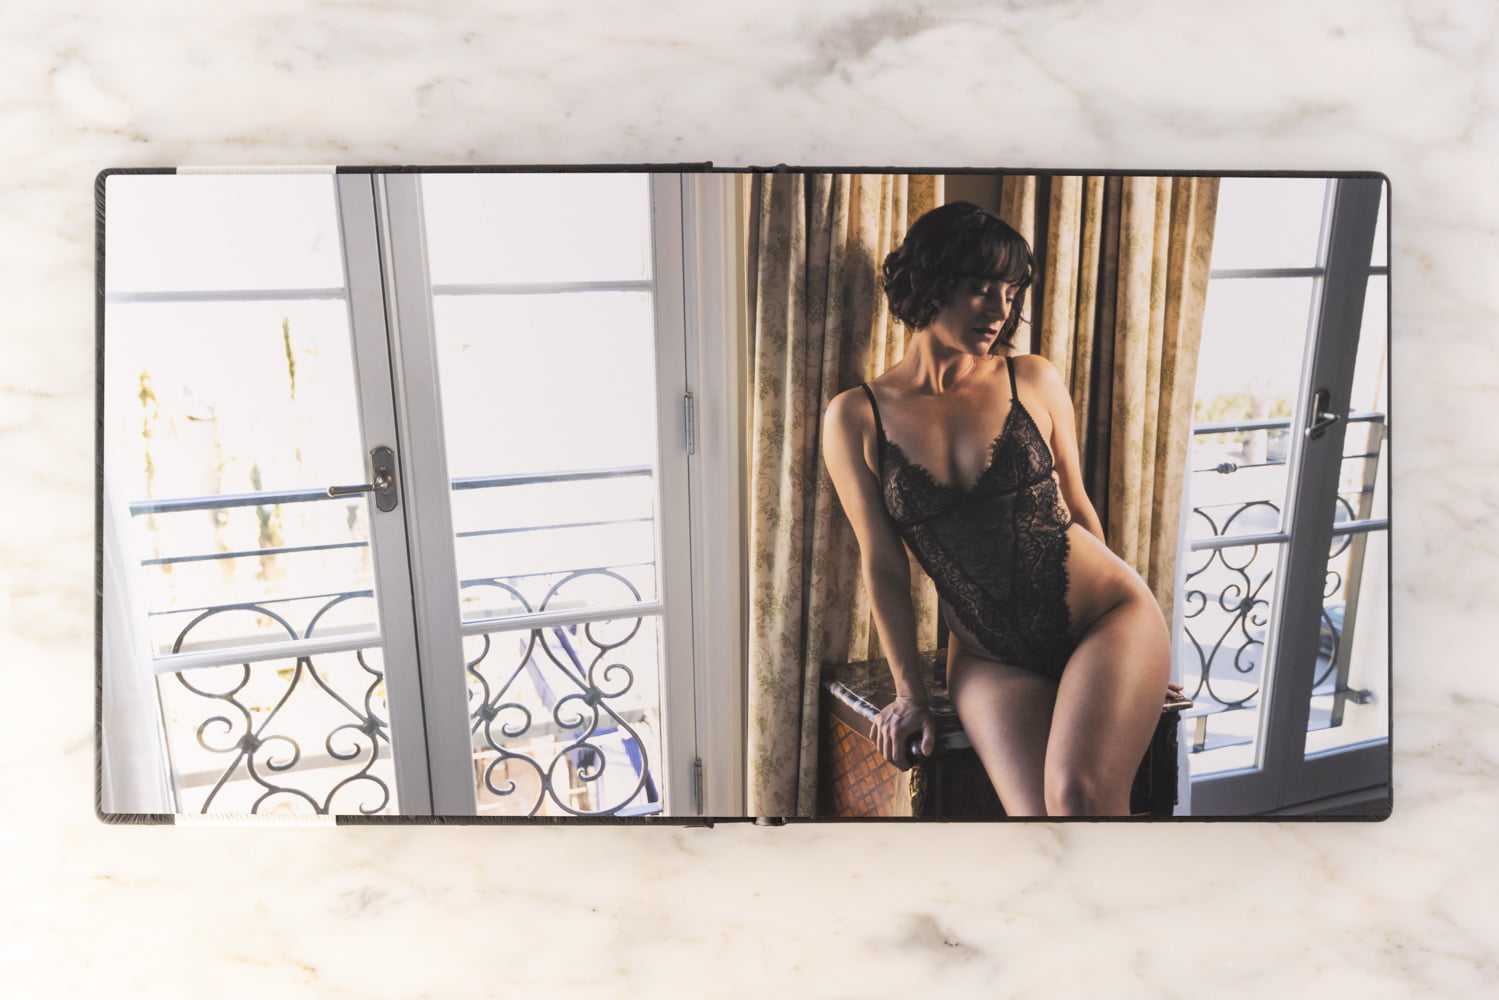
You can shoot into the window if you want to try and do a shilloutte boudoir photo. Alternatively you can change the camera’s perspective so the window is either camera left or camera right. This will cross light you. Cross light is generally the most flattering light pattern for shaping the curves of your body.
With this in mind, I suggest you find a window with a pleasing background or find a window and enhance the background accordingly.
The benefits of capturing you photos with this method is that it will generally give you the best quality light for your photos. Put another way, by choosing the area with good light and improving the background, you won’t have to buy expensive lights for your photos to manipulate the lighting. Instead you can borrow some of your favorite furniture or decorations from your home and manipulate your background where the good light is.
If you don’t have anything to improve your background or don’t like the way the photos are turning out, you can try and improve the background with the following ideas. Window coverings offer the best bang for the buck but if that’s good, anything that lights up will add significant interest to your photos.
4. Learning How To Do Boudoir Photos At Home By Sculpting Yourself In Great Light
I photograph a lot of my boudoir clients in their homes. One of the easiest, beginner friendly ways to find great lighting for your photos is to locate good windows and shoot your photos around those.
Windows on the northern exposure of your home in particular are generally good sources all day. This is because the sun will never directly enter the window. This indirect lighting will keep the window light soft all day and will make the lighting much more forgiving. This will be very helpful if you don’t know much about photography.
If you’re more experienced with lighting boudoir photos, you can try posing into direct sunlight that enters windows and skylights. This will create deep hard shadows which look particularly striking on younger women. That said, older women will appreciate softer light from northern exposure windows as it won’t pick out wrinkles and other skin imperfections as much as hard light will.
If you want to get a bit fancier by adding a rim or fill light to your boudoir photos, these light wands are excellent and very beginner friendly. For maximum control you’ll also want to get a light stand for your light wand.
Another idea is you can get one of these Govee floor lamps and use it as a way to rim light your body. Obviously you can also use it for it’s intended purpose as a flor lamp for background interest. In any case, it’s something you’ll likely actually use long after you use it to create your your photos.
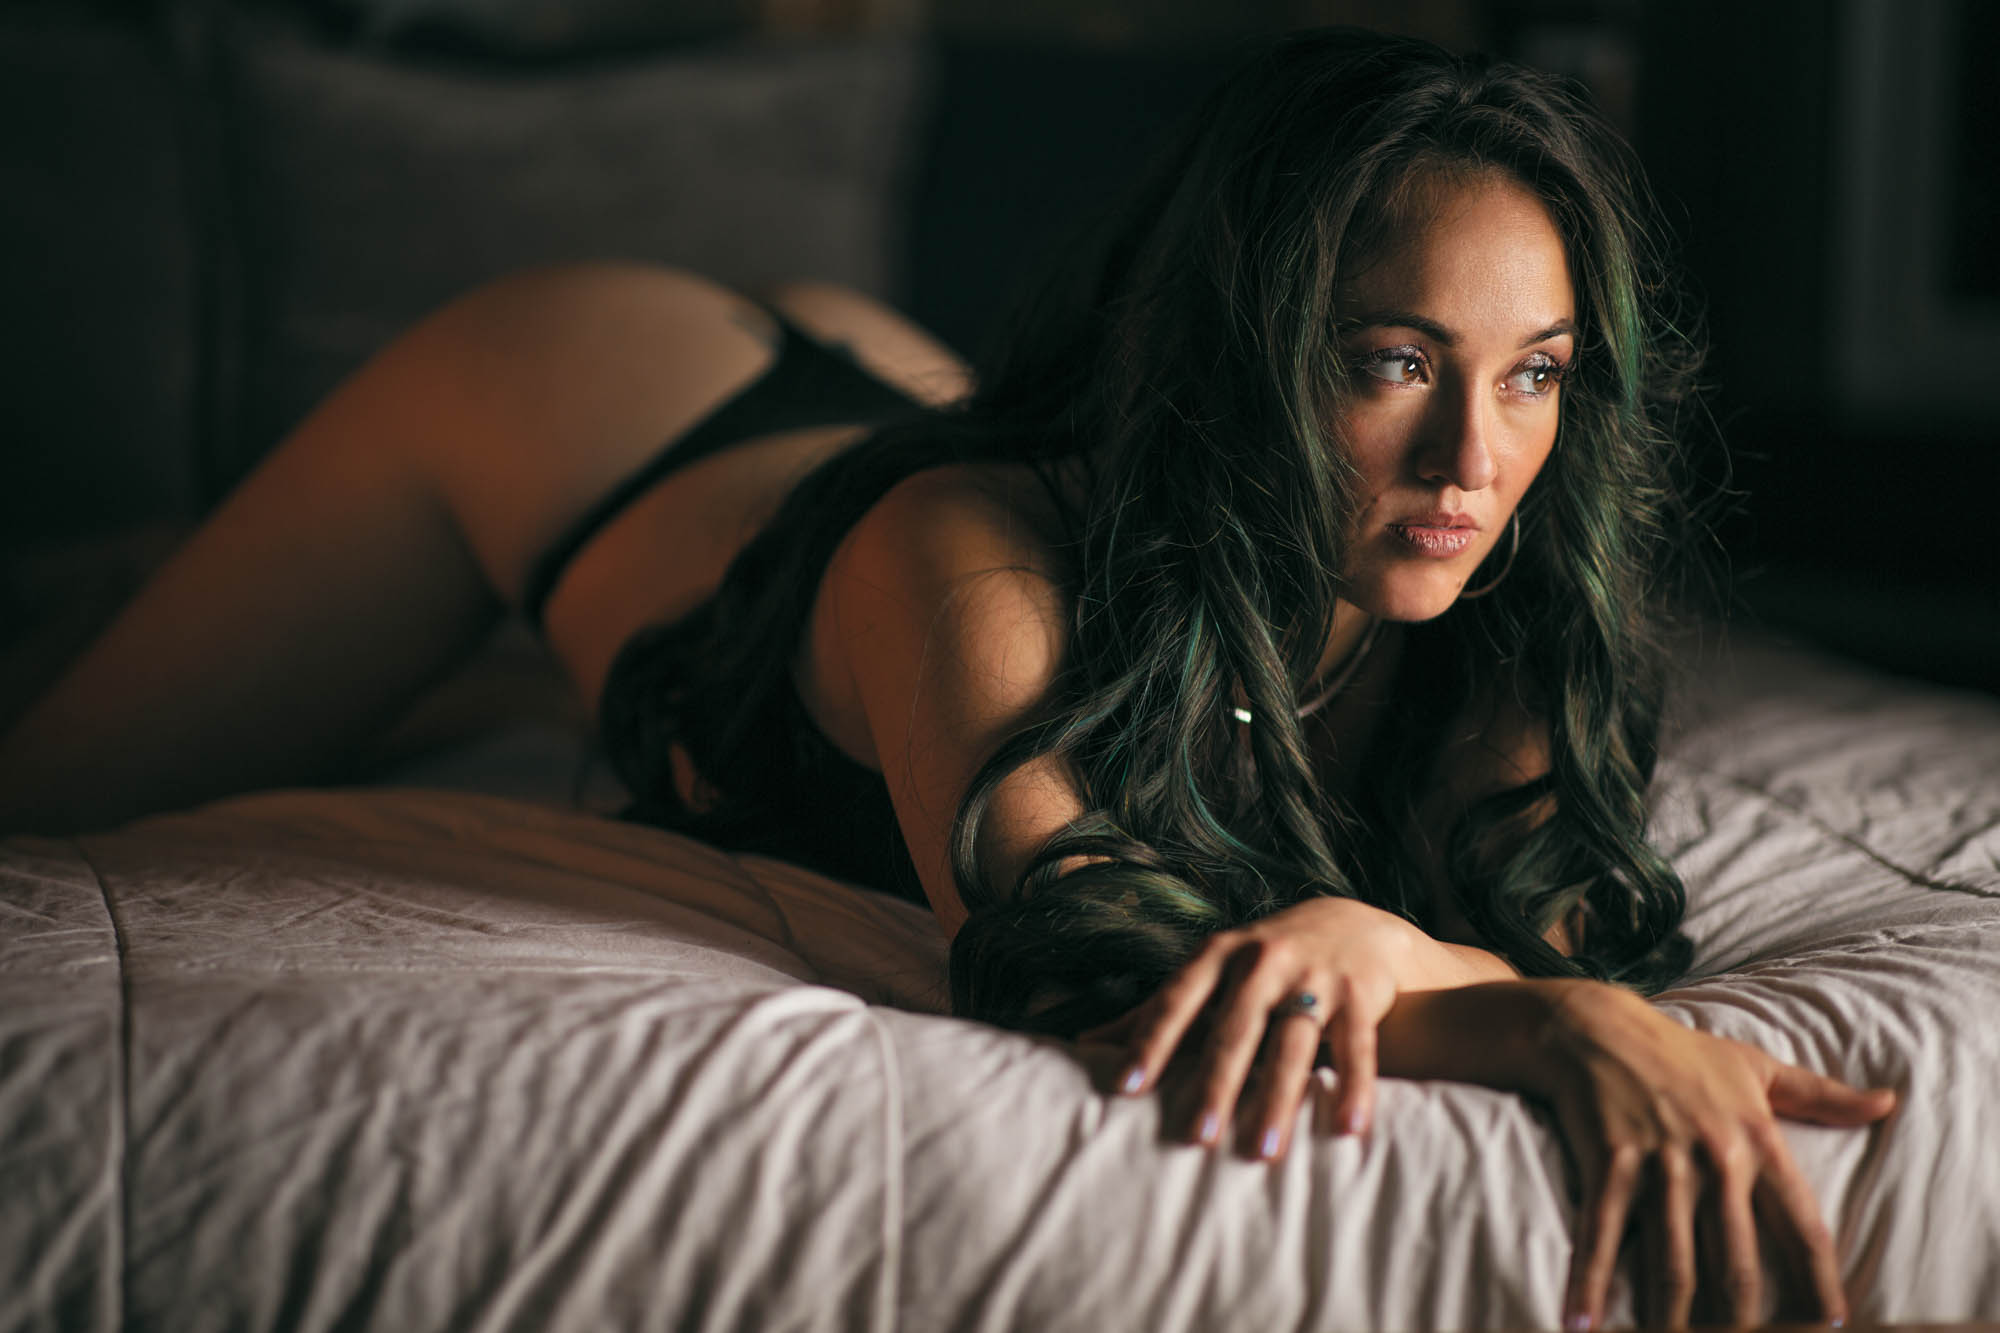
5. Composing Your Shot When Learning How To Do Boudoir Photos At Home
The next thing I like to think about when capturing boudoir photos is composition. Composition is essentially how you’ll frame your boudoir photos. Although it’s possible to do this hand held, you’ll be able to get much more looks if you get a tripod and remote trigger. This will allow you to capture photos at more angles than if you try to do it all at arms length.
If you’re doing DIY Boudoir photos with you phone, this tripod and trigger kit will be incredibly helpful. Without something to hold your phone, and then some way to take the picture remotely, you’ll have to prop your phone against something and rely on the timer. This method will just make everything harder than it needs to be.
For the best quality, a dedicated digital camera of a similar age to your phone, will almost always produce better pictures then your phone will. So If you have a digital camera, use it!
If you’re using a digital camera you’ll want to get a tripod, and wireless remote so you can again get more diversity when framing your photos.
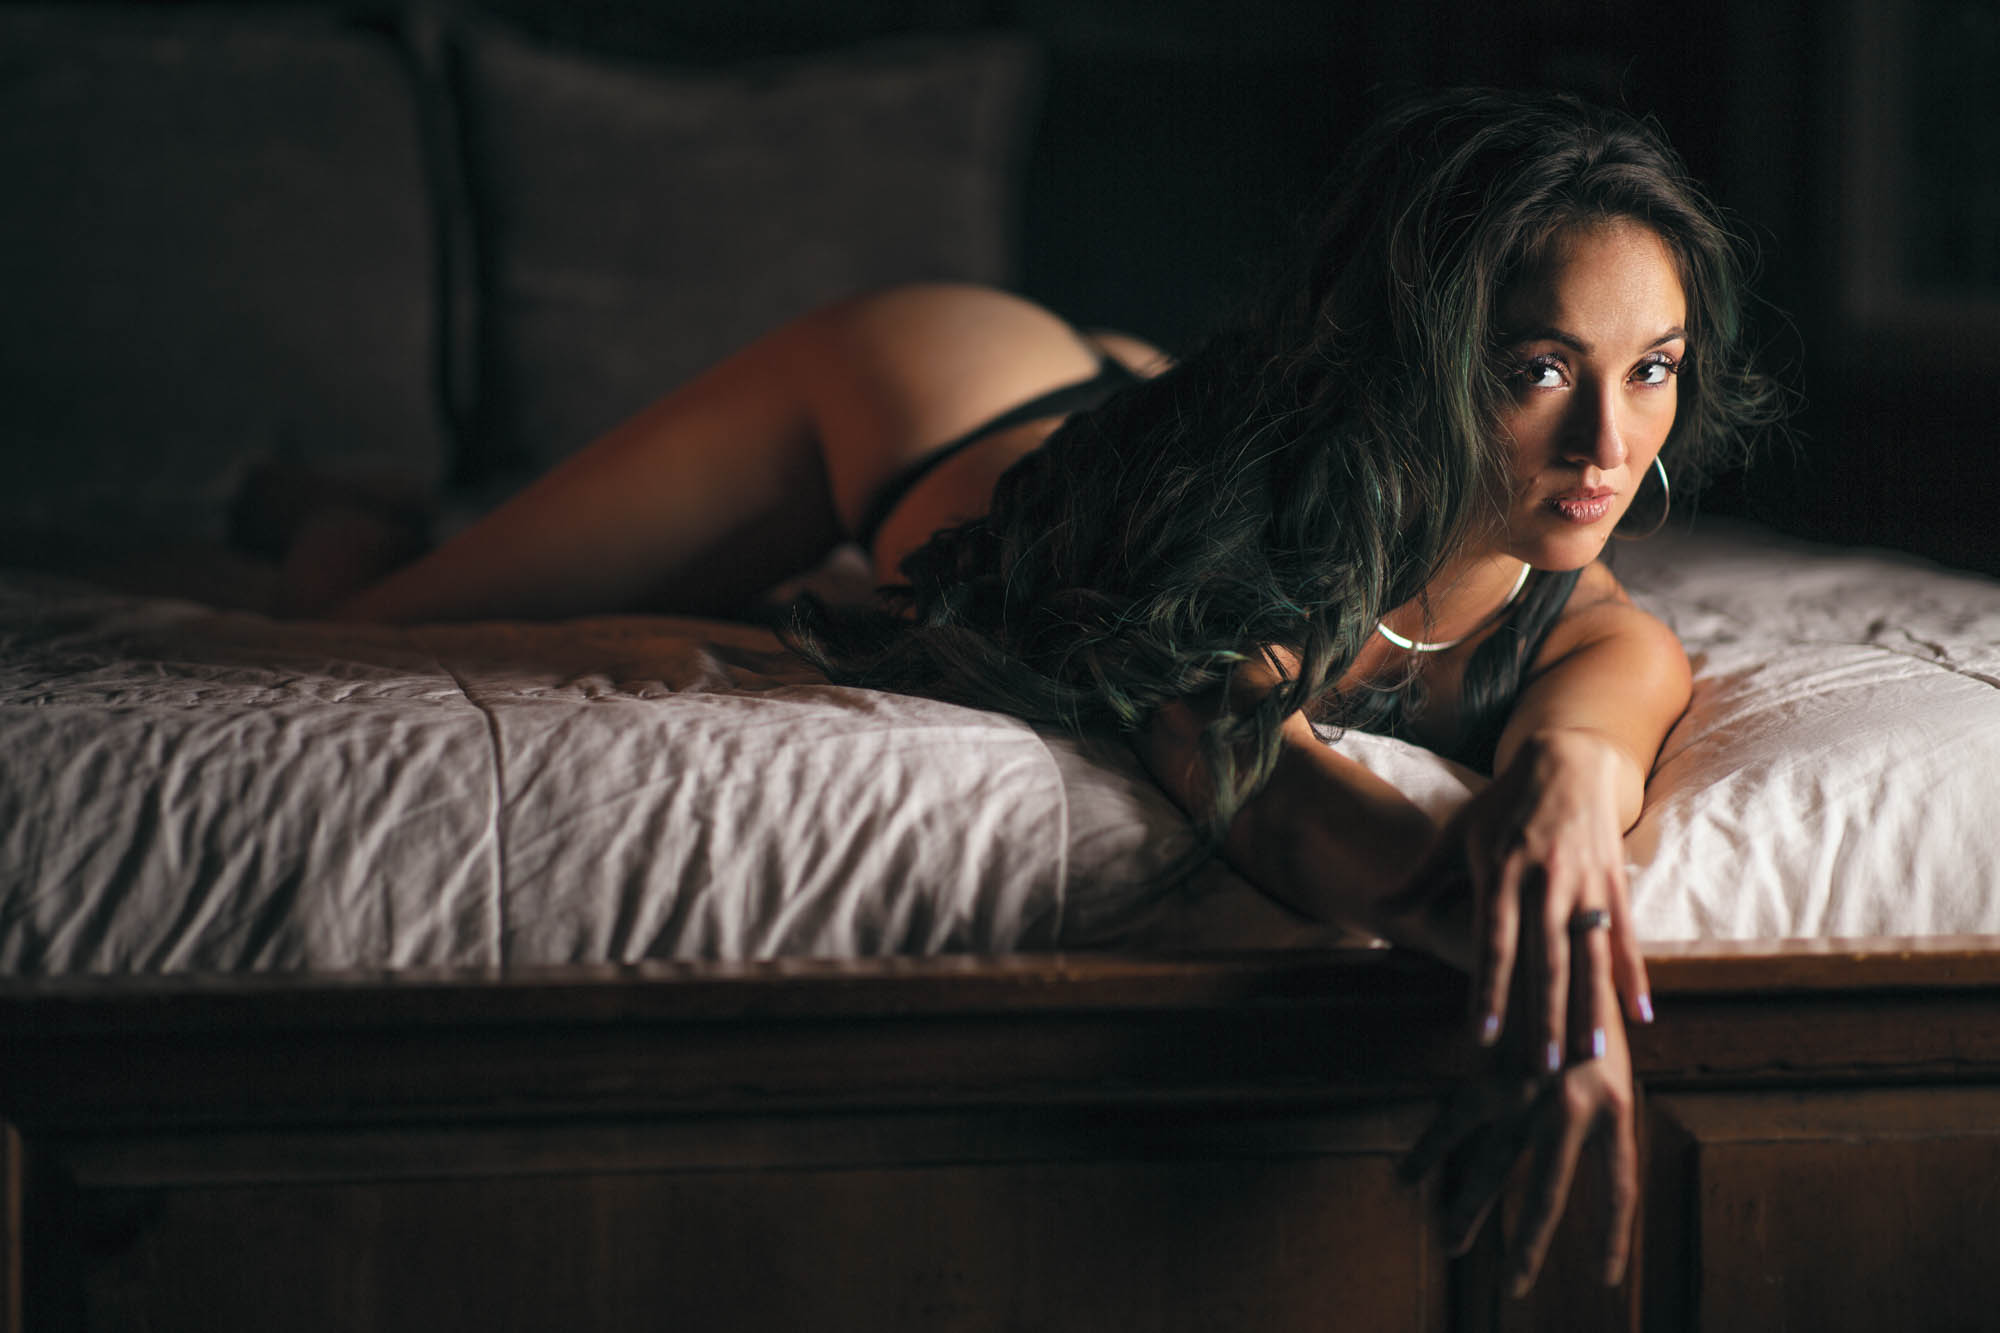
6. How To Make Sexy Facial Expressions When Learning How To Do Boudoir Photos At Home
There’s no one thing you can do to make sexy facial expressions. Body language is all about clusters of signals that combine to demonstrate a persons behavior. In other words, a smile with just the lips isn’t enough, you’ll need to smile with your eyes to, to sell the expression.
To smile with your eyes you basically need to move just the bottoms of your eyelids closer to your pupil. This video shows how to do it, and with a little bit of practice you’ll be able to do the squench on demand whenever you want. This smiling with your eyes is how you show confidence in non verbal human communication. It also shows that your interested in the viewer of the photograph if you do it while looking into the camera.
The problem is if you do the eyes without the smile. If that happens the expression tends to come across as pissed off. If confidence comes from the eyes, approachability comes from the lips.
I always like subtle parts in the lips for sensuality. To convey more diverse emotions, you can try pairing small inhales and exhales while saying vowels. By subtly mouthing A-E-I-O-U-Y I often stumble across a clients expression that works really well for their features.
7. Selecting The Best Camera / Phone Settings When Making Boudoir Photos At Home

If you’re capturing your boudoir photos with a dedicated digital camera, you’ll have the best control if you capture your photos in manual. For those that don’t know how to shoot in manual and don’t want to learn, I strongly suggest you ate least learn how to shoot in the semi auto aperture value mode.
Shooting in an aperture value mode with a digital camera will give you more control over how the photo looks since you’ll be able to lock in the aperture value (size of the hole in the lens).
If you’re using your phone to create your boudoir photos, you’ll again want to use a manual camera app so you can lock in your exposure. If you don’t lock in your exposure, it will adjust itself (often in ways you don’t want) as you move around in the frame.
Android phones have manual camera controls in the native camera app. iphone does not have a way to lock the exposure from the native app. Fortunately if you’re an iphone user, you can get a third party camera app like Halide so you can lock in your exposure while you take your pictures. Manual camera apps like this are very inexpensive and will make things a lot easier to capture better photos.
8. Editing Your Photos
If you followed all of the above steps well, you should have a photos that look exceptional without editing. If you then want to further enhance your photos, the best way to do it is with something like Adobe Lightroom and or Photoshop.
When editing my clients photos I use both Lightroom and Photoshop. With lightoom I adjust the camera raw basics like color temperature, shadows, highlights etc. Then I’ll import the raw file into photoshop to retouch the clients skin and color grade the photos. Although this yields the best results, there’s also a steep learning curve to these programs.
For newbies I recommend that you stick with beginner editing apps like those that come with your phone or other third party options like VSCO. Whatever you use to edit your photos, just remember to be judicious with your skin smoothing and color grading as it’s easy to go over the top with both.
9. Pro Tip: Think About How You’ll be Gifting Your Boudoir Photos, It Matters A Lot!
Now that you understand how to do boudoir photos at home, it’s important to point out that how you’ll choose to give your photos can influence how you should capture them.
For example, if you wanted to give your significant other a boudoir album, you’ll want to keep the design of the album in mind when creating your photos. This means you’ll want to think about how a collection of images will look across a spread or dedicate a spread to stand out landscape image.
to illustrate this, when I design my clients albums, I capture multiple photos in an outfit to tell a story with the images across the album spread. The very best shots get displayed on dedicated spreads as features in the album, you’ll likely want to capture these “featured” photos in a landscape orientation for most album designs. Portrait crops would likely leave too much negative space for most album designs as they tend to open and view as a widescreen like format
To illustrate a different example, you might want to gift him a sexy retro viewer. When I create these for clients, sometimes we include just the highlight standout shots from the session. Other times we’ll make a real that’s a seductive sequence of images.
The point is, no matter how you choose to give your images to your signifiagant other, just think about how you want to gift your photos before your capture them. If you plan on just sending them to him on his phone, it probably won’t matter much, but it’s definitely something you should keep in mind if you want to create something truly memorable for him on a dedicated format.
Like, Share & Comment!
I hope this post helped show you how to do boudoir photos at home. Remember to just keep things as simple as possible if your a beginner and follow the steps laid out in this guide and you’ll do great!
If you have any questions about anything or feel like I missed something, let me know in the comments. I sincerely hope this helps you get better photos of yourself then you ever thought possible!